If the bird will not sing, make it sing.
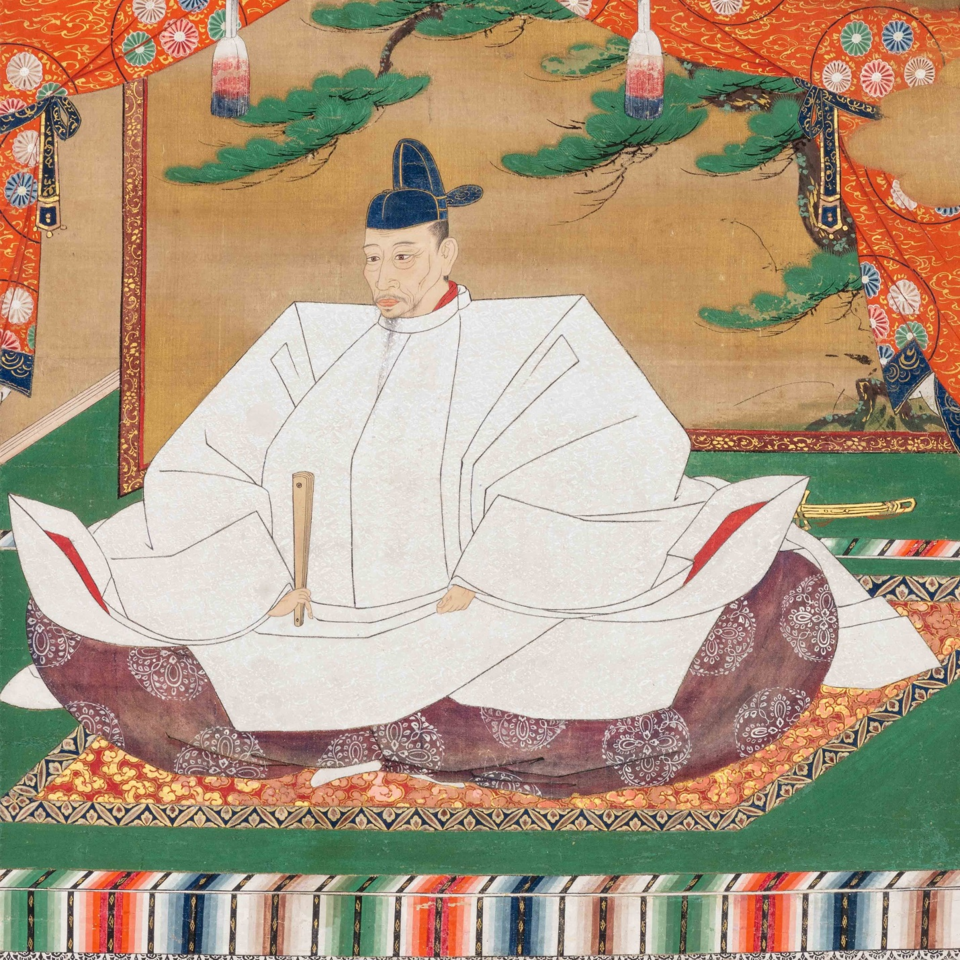
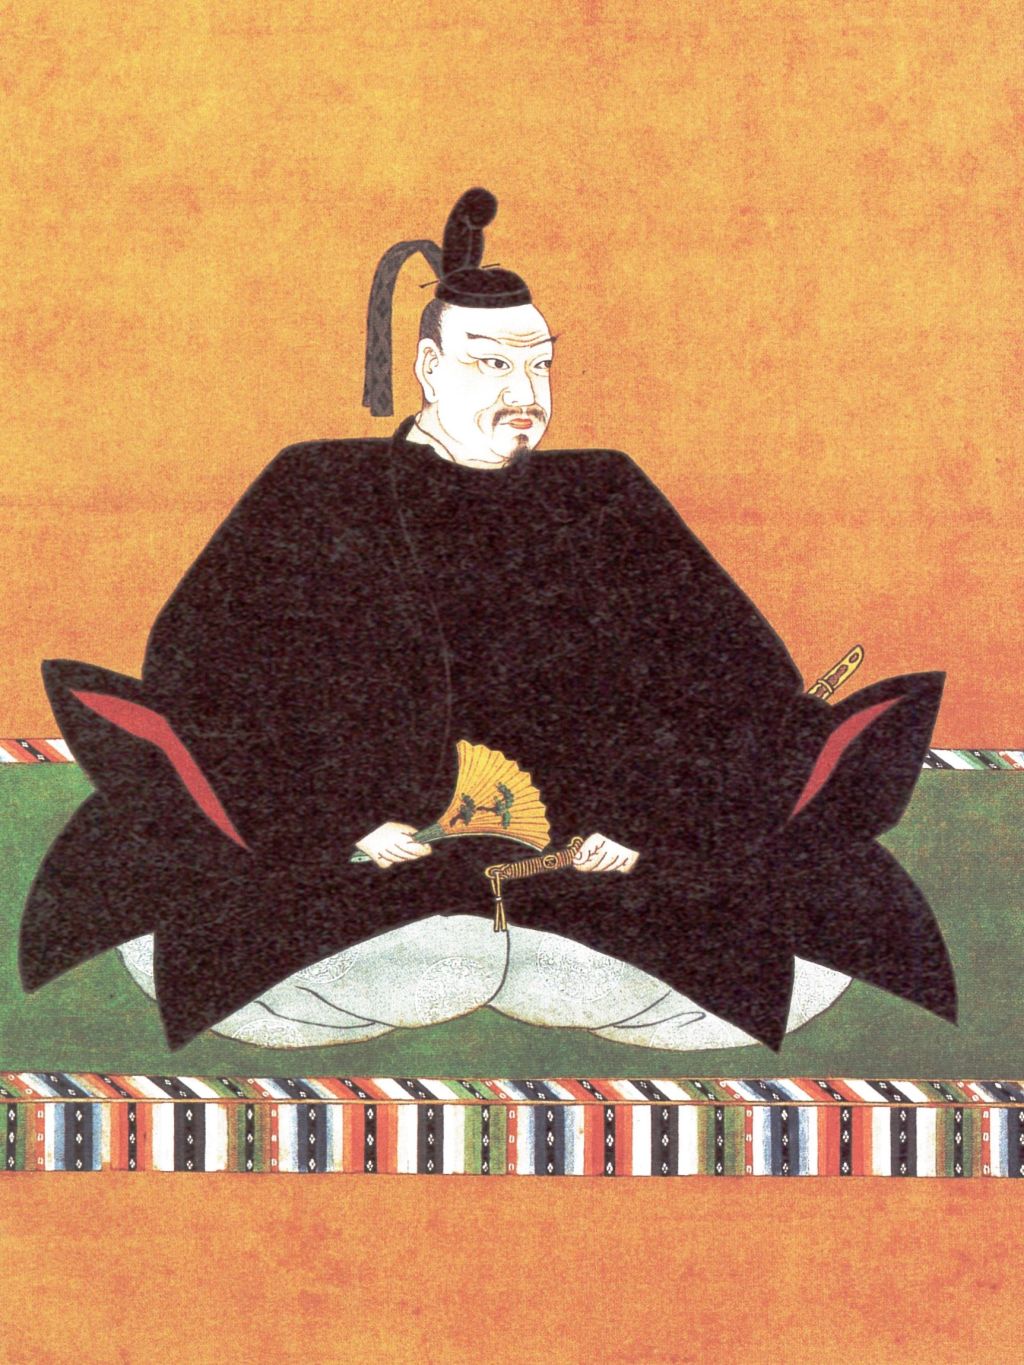
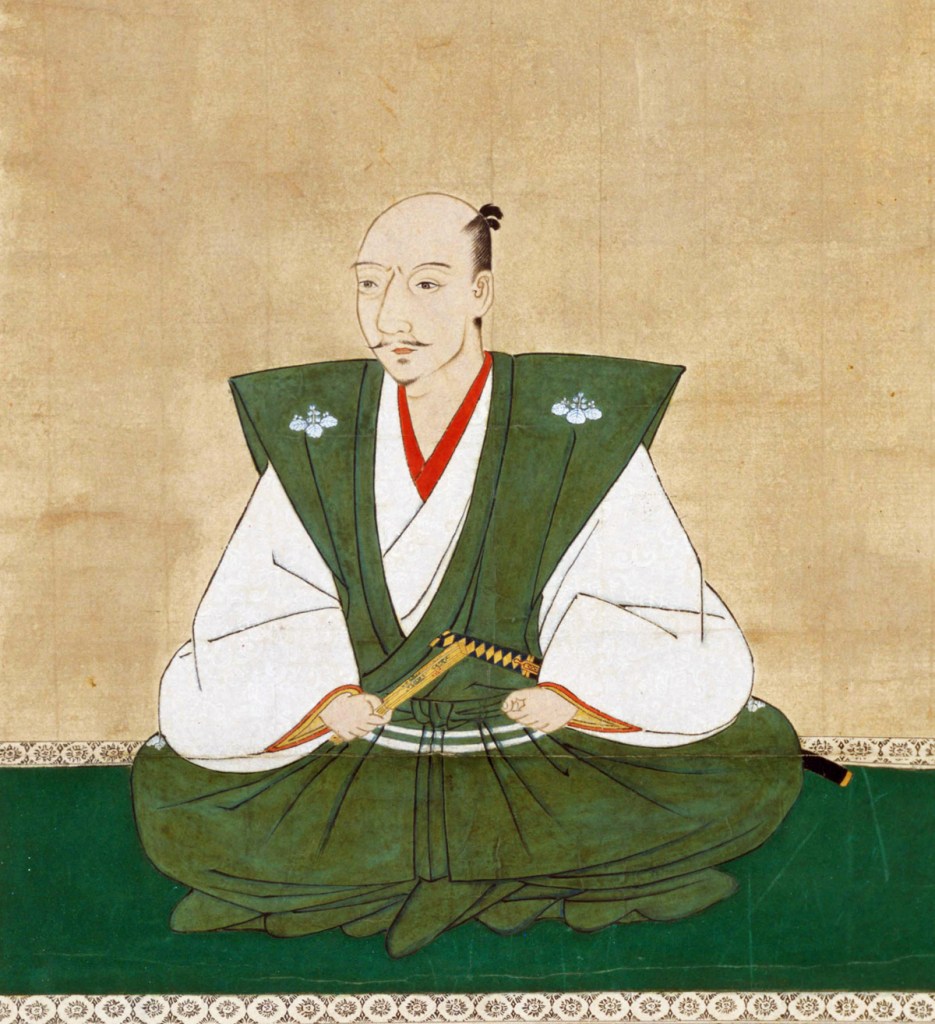
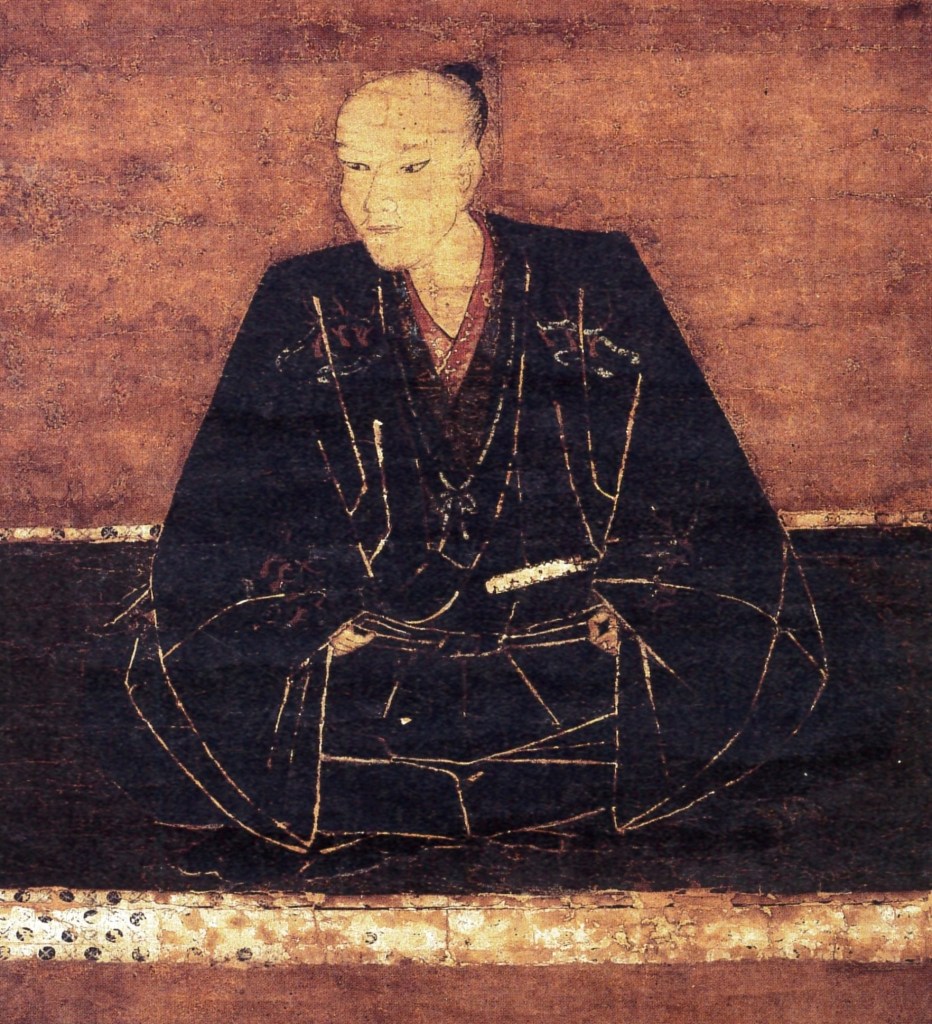
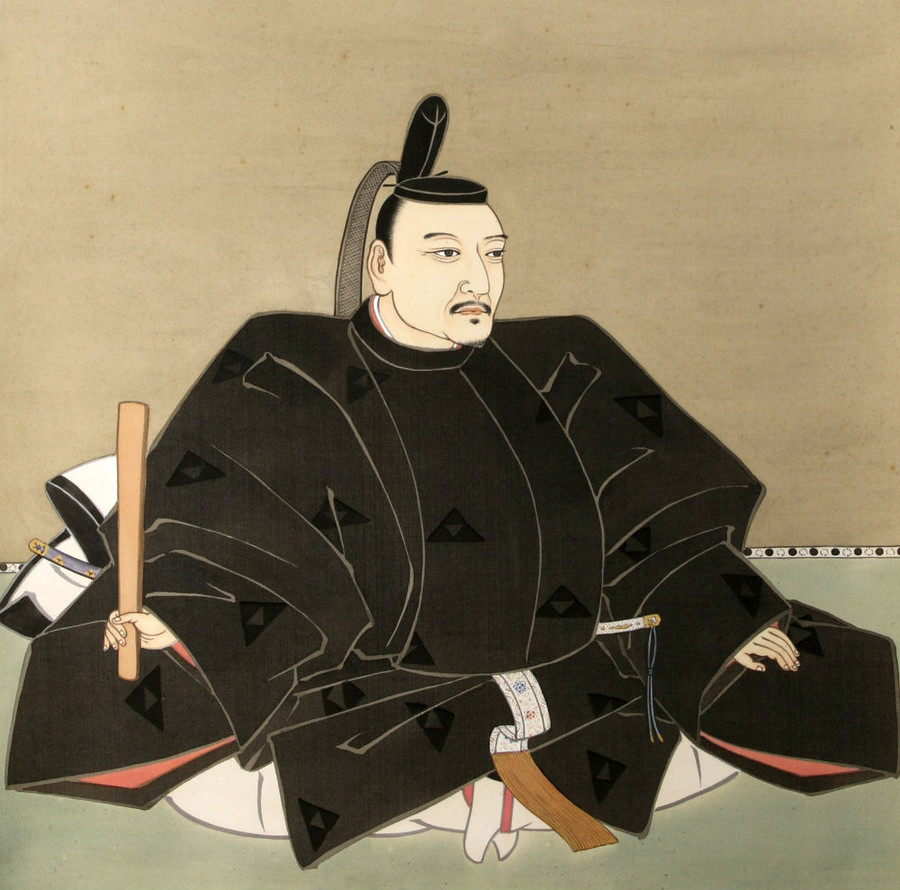
Oda Nobunaga’s death in June 1582 left a power vacuum that was ultimately filled by Toyotomi Hideyoshi (then using the family name Hashiba). Hideyoshi’s tale is remarkable even by the standards of the time: from peasant footsoldier to master of the realm, he epitomised the danger and opportunity of the Sengoku Jidai and would be the man most responsible for bringing it to an end.
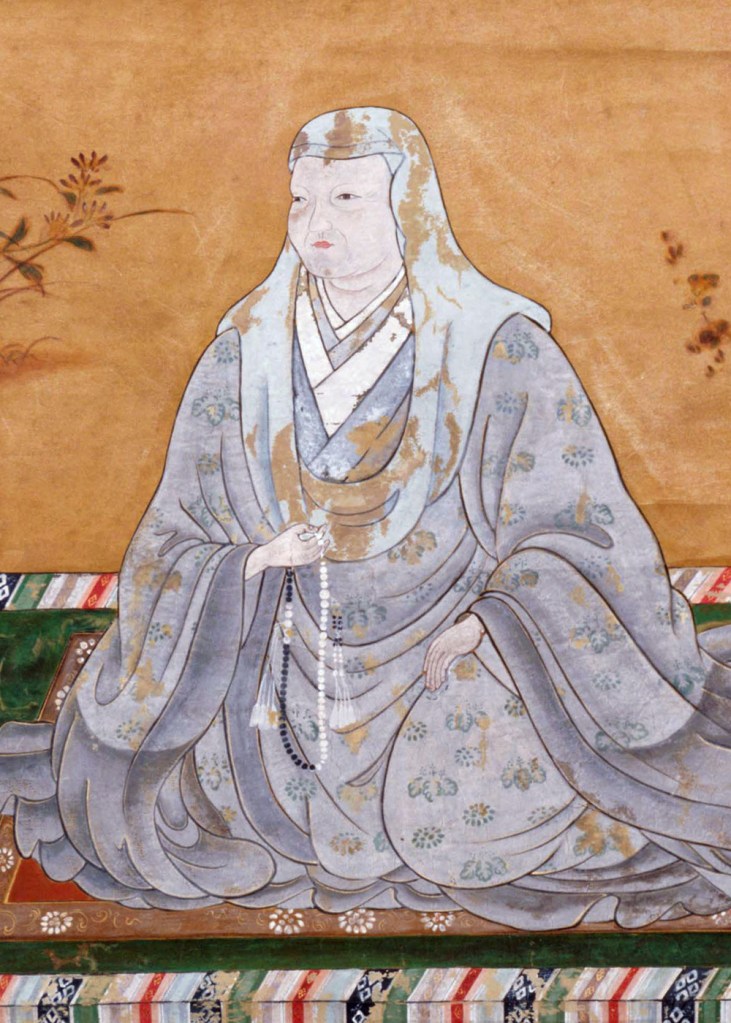
Hideyoshi’s origins are suitably mysterious and have been subject to a fair bit of speculation and mythologising, mostly by the man himself. After his rise to power, he is supposed to have spread the rumour that he was a secret bastard of the Emperor, stating that his mother had been a maid in the Imperial Palace and had “grown close to the Emperor’s Body”, which is quite the thing to say about your own mother.
Less mum-shaming sources suggest that Hideyoshi was born in 1536 or 37 in Owari Province, now part of the modern city of Nagoya. His father, usually recorded as Kinoshita Yaemon, is a similarly mysterious figure, but historians generally agree he was probably of the lower classes, most likely a peasant soldier (Ashigaru). Hideyoshi’s childhood is also poorly recorded, with some sources suggesting his father died when he was 7, after which Hideyoshi entered a monastery, though he left shortly afterwards.
At the age of 15, he received part of his inheritance and left home to become a wanderer. Sometime later (the dates are unclear), he is recorded as Kinoshita Hideyoshi in the service of the Iio Clan, which, in turn, was a vassal of the Imagawa Clan. It’s not certain exactly when he came into the service of the Oda Clan, but it appears to have been before 1554, when he was serving at Kiyosu Castle (under Oda control) in charge of the kitchens, and in some kind of role in construction or maintenance.

Even this is a matter of some debate, though, as other sources state he didn’t join the Oda until 1558 (though they agree he served at Kiyosu Castle), and a common origin story in English language sources is that he was Nobunaga’s sandal bearer, a story which possibly reflects his role as a kind of ‘military servant’ which might explain how he was able to gain recognition from Nobunaga.
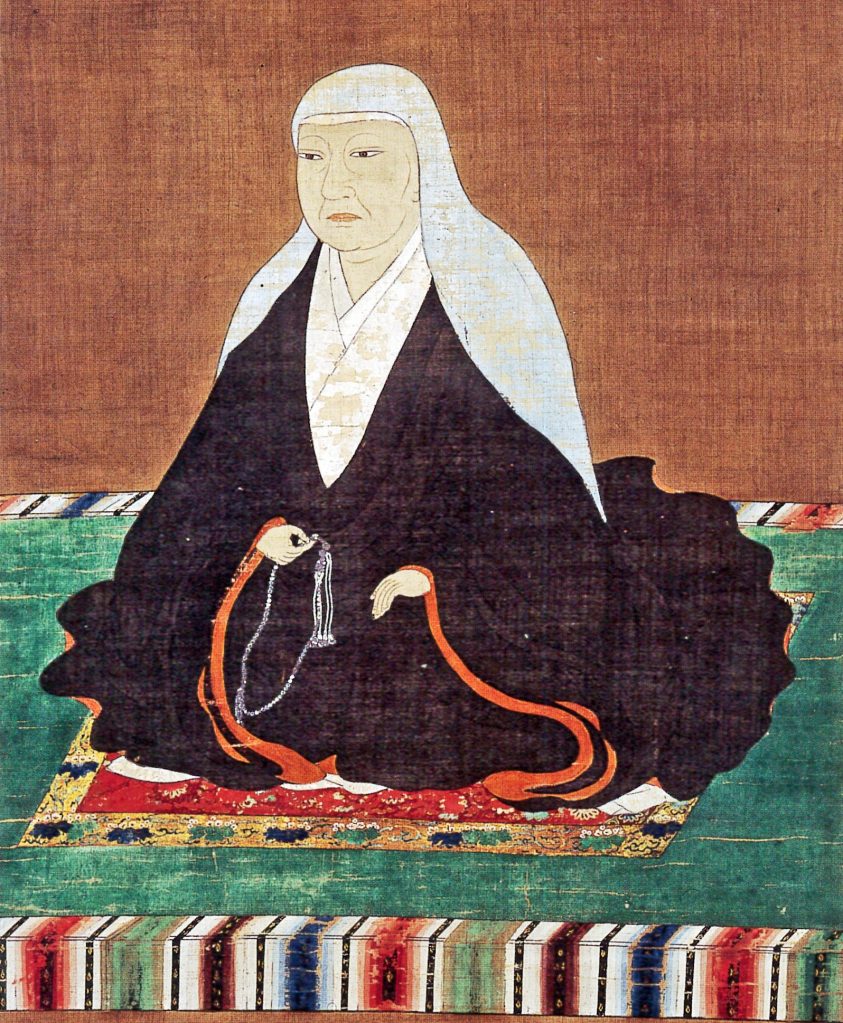
Even the matter of Hideyoshi’s marriage is subject to debate; it is certain that he married Nene, but her origins and even the year of the marriage aren’t totally clear. Some sources say the marriage took place in 1561, when Nene was 12 or 13, and Hideyoshi was in his 20s. This earlier date is controversial because even though 13 was the age at which girls became adults (legally speaking), it was still considered unusual for a girl to marry as soon as she came of age.
Another theory is that the marriage took place in 1565, when Nene was 16 or 17, still young by modern standards, but a far more acceptable age at the time. Nene’s adoptive father was Asano Nagakatsu, who would later receive a stipend of 300 Koku from Nobunaga and served as one of his bodyguards. This status suggests that Nagakatsu was of sufficient rank, and the marriage to Nene is often cited as evidence that Hideyoshi was already moving up in the world by the mid-1560s.
As well as his marriage, further evidence of his rise in Nobunaga’s service appears in 1565 when his name appears as the co-signer on documents assigning fiefs, suggesting he was already one of Nobunaga’s most important vassals. Throughout the back half of the decade, he is recorded as having taken part in several of Nobunaga’s campaigns, notably taking Mitsukuri Castle during the Omi Campaign in 1568.
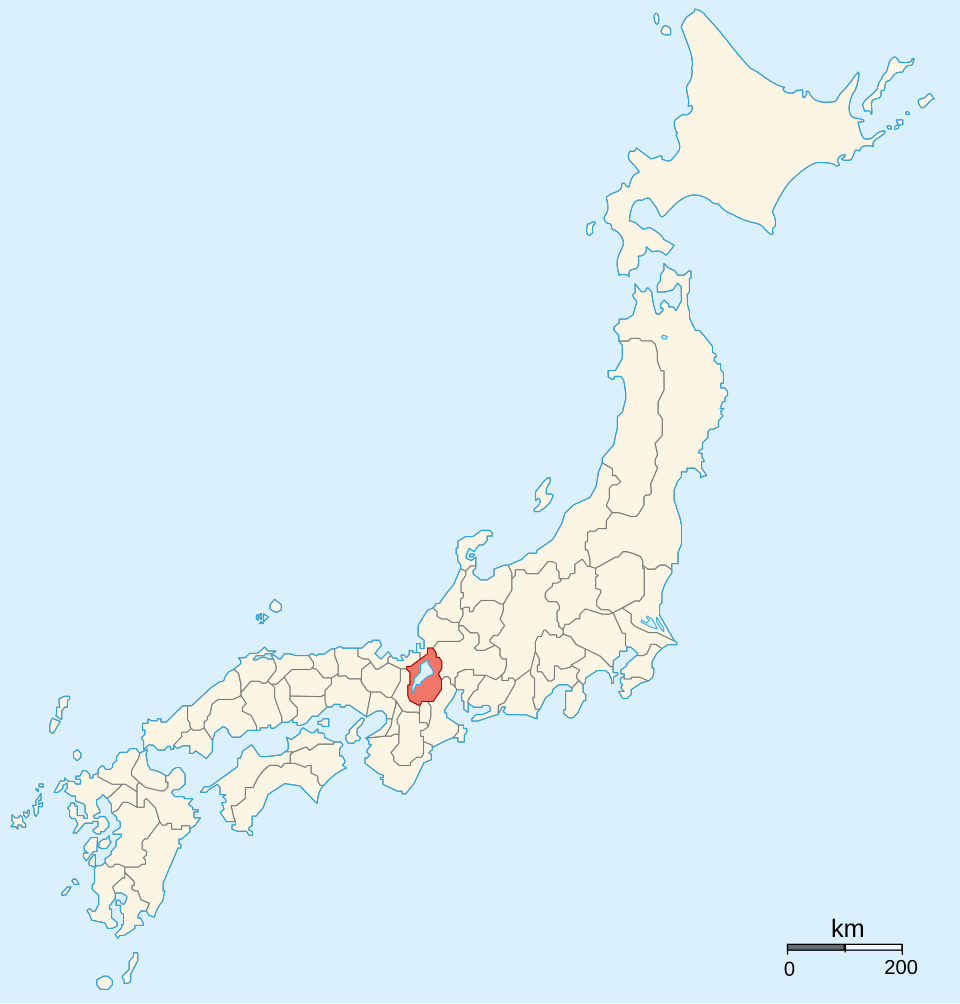
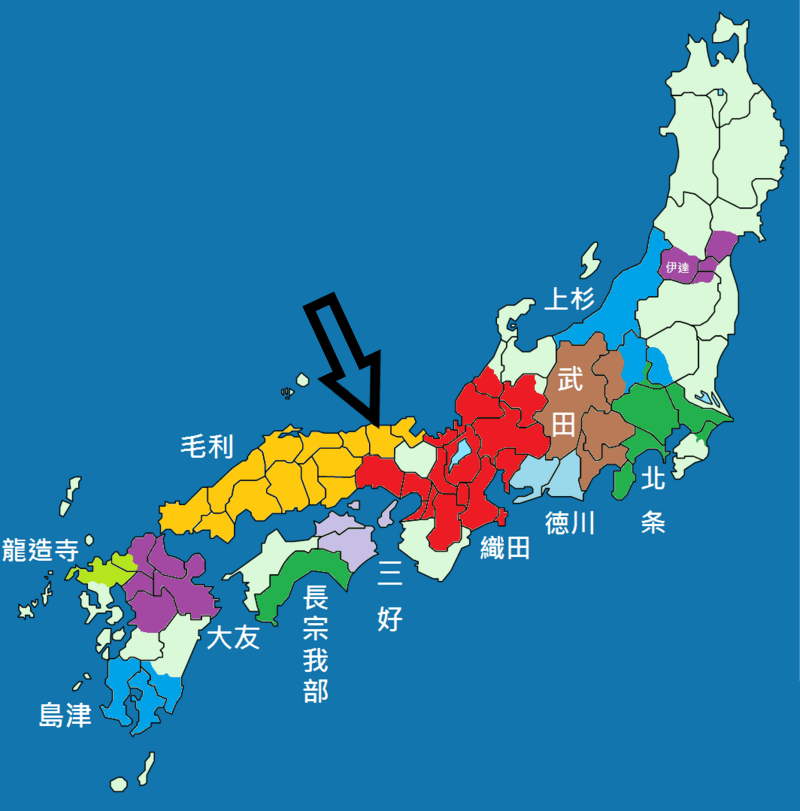
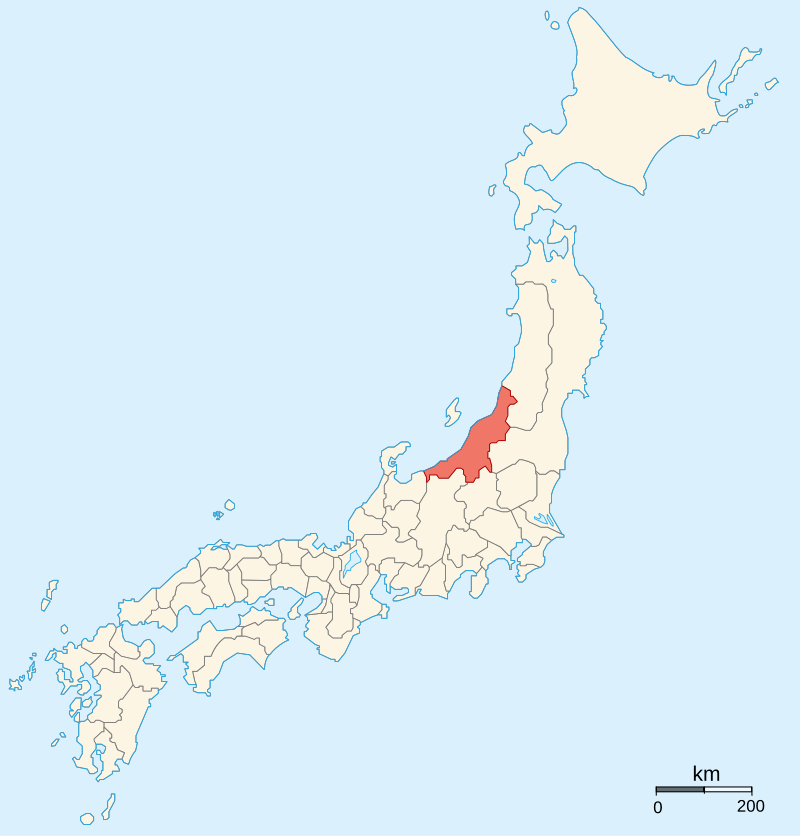
By Ash_Crow – Own work, based on Image:Provinces of Japan.svg, CC BY 2.5, https://commons.wikimedia.org/w/index.php?curid=1690755
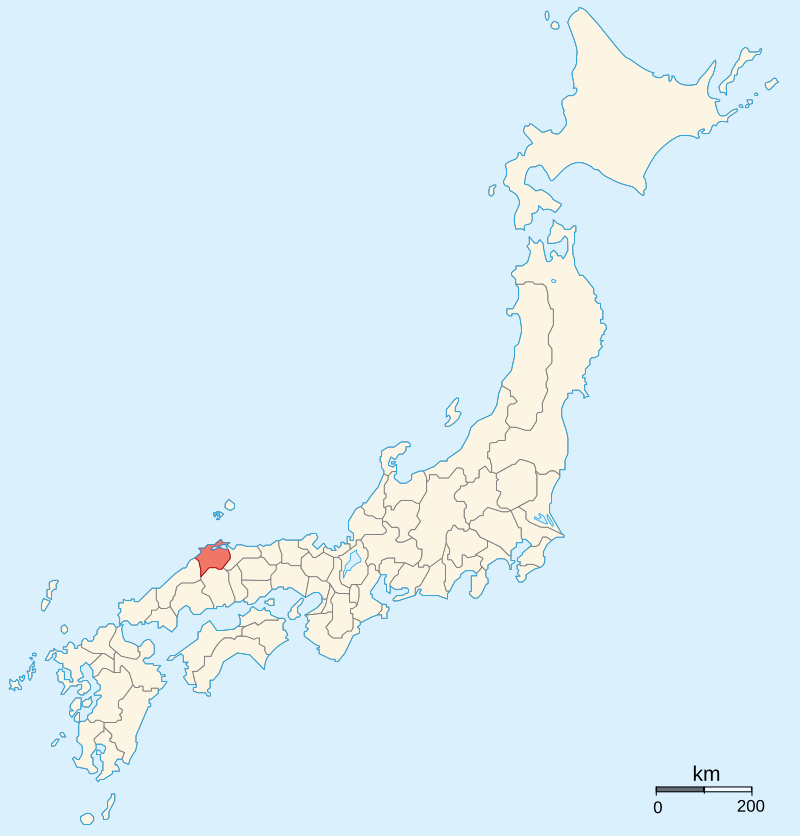
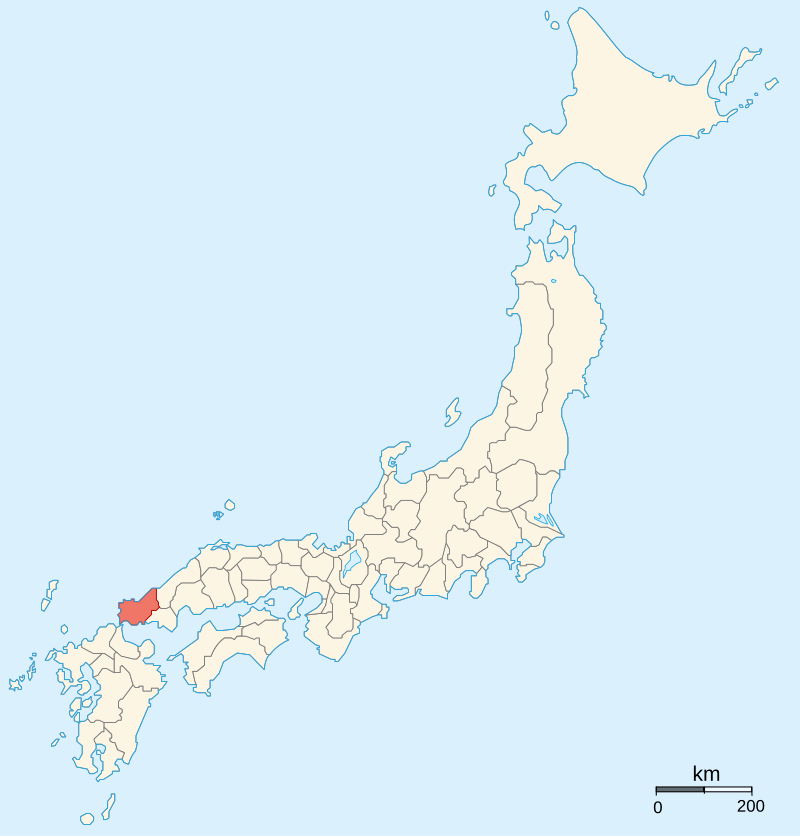
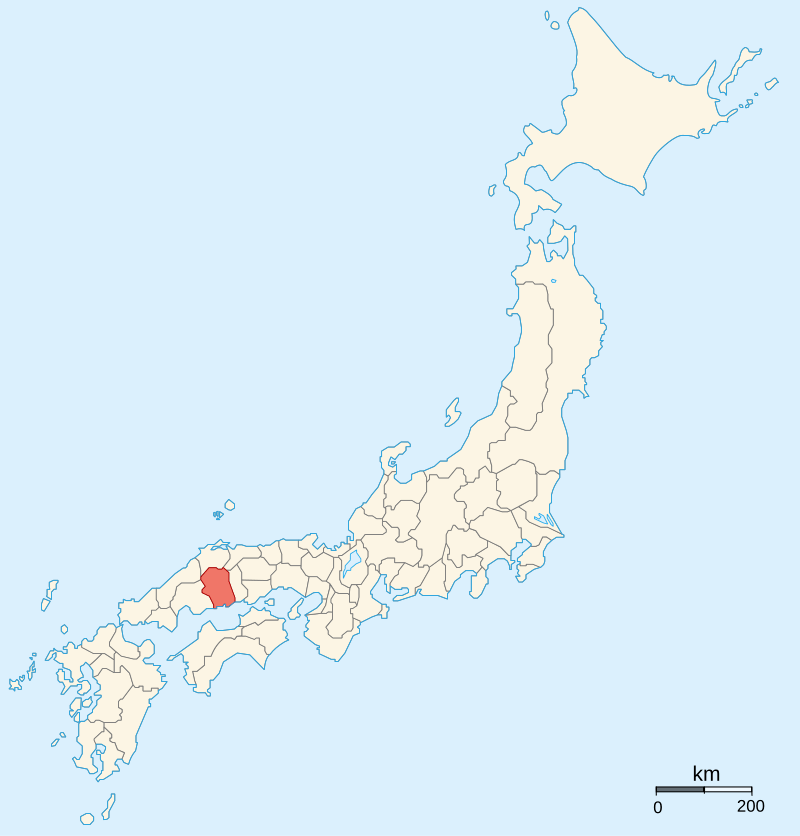
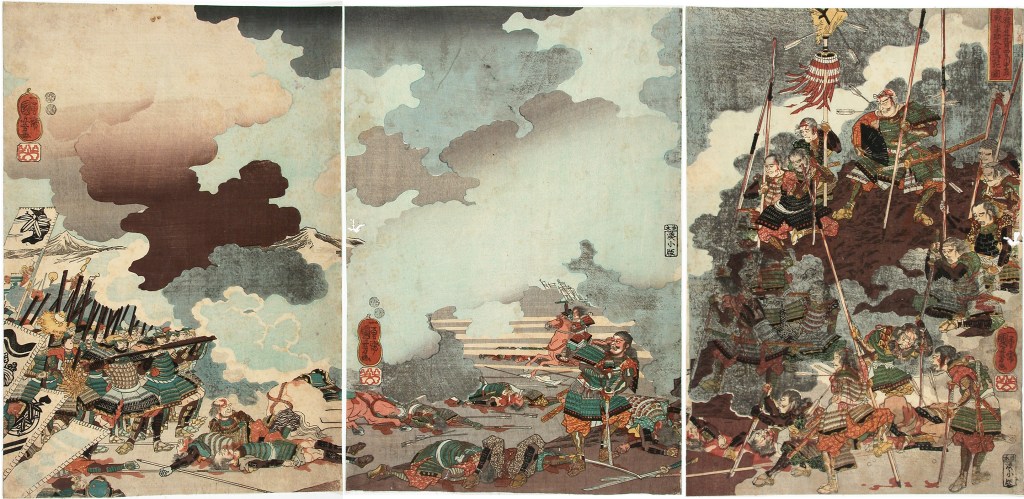
In 1569, in support of the Mori Clan (who were his temporary allies), Nobunaga dispatched a force of some 20,000 to support them against a rebellion, whilst the bulk of the Mori forces were in Kyushu fighting the Otomo clan. This army, led by Hideyoshi, was, by all accounts, a phenomenal success, capturing no fewer than 18 castles in just 12 days and ending the rebellion swiftly.
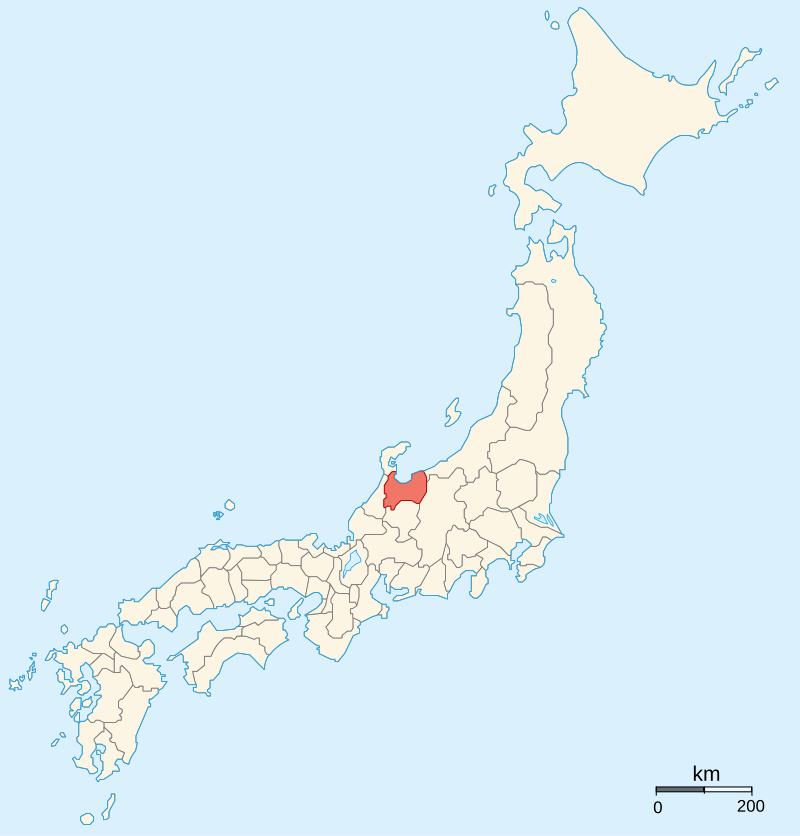
A year later, he was part of Nobunaga’s campaign against the Asakura Clan of Echizen Province, which ended when Nobunaga’s brother-in-law, Azai Nagamasa, switched sides, threatening to cut off Nobunaga’s retreat. Though the exact scale of the threat is debated (as I mentioned in my posts on Nobunaga himself), what is certain is that Hideyoshi led the rearguard and was instrumental in ensuring that his master was able to escape.
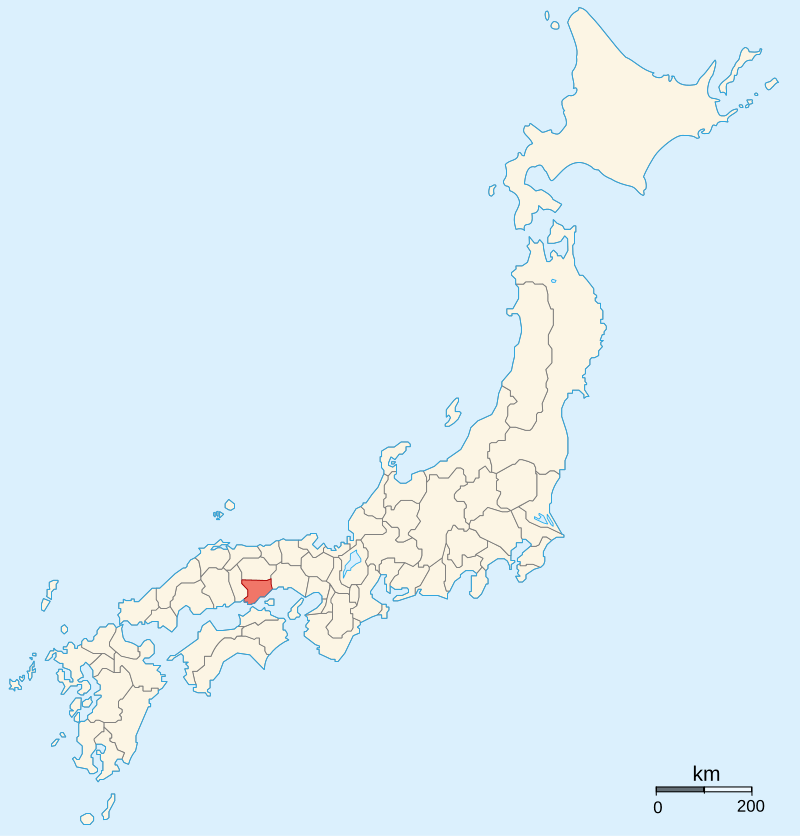
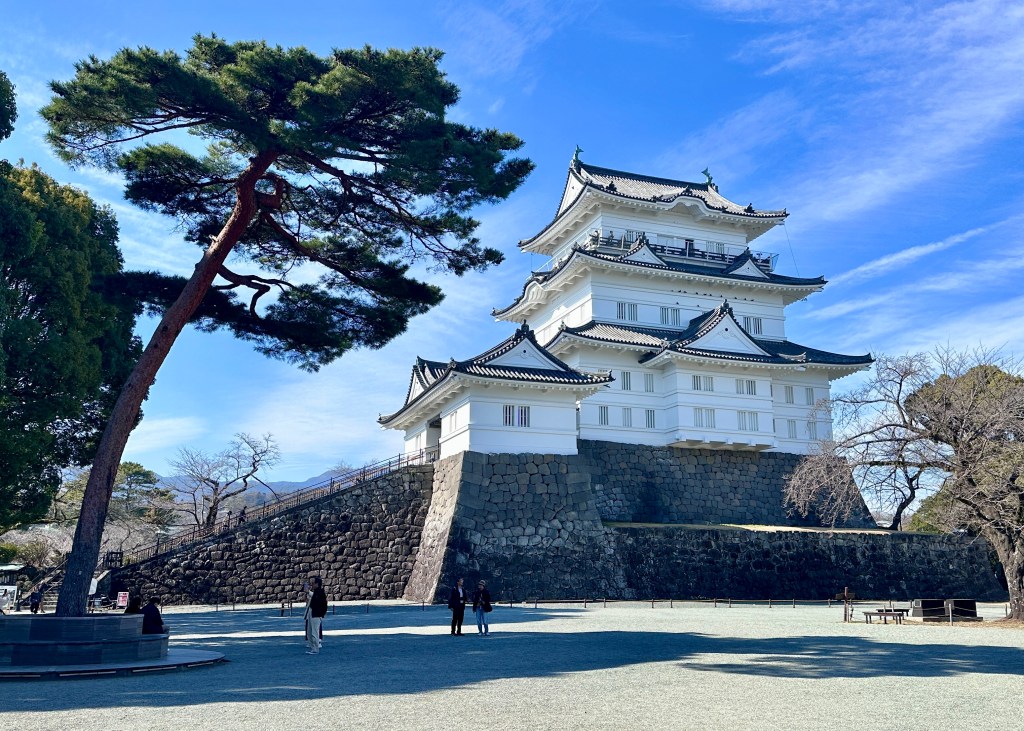
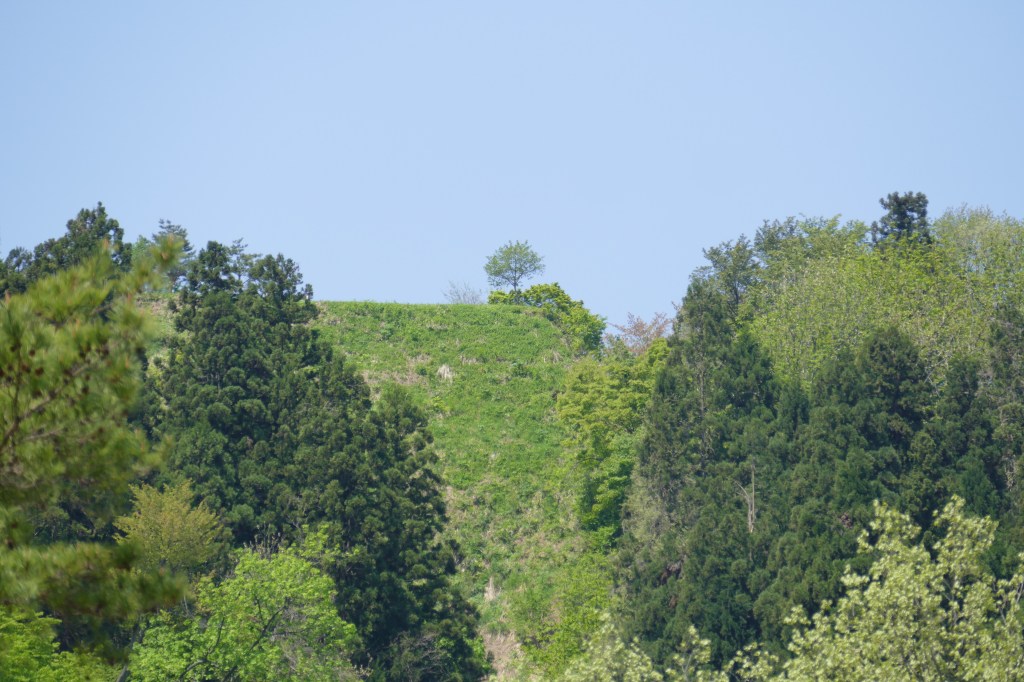
After the Battle of Anegawa, in which Nobunaga avenged himself on the Azai-Asakura forces, Hideyoshi was appointed castellan of the strategically important Yokoyama Fortress, from which he would be tasked with keeping up the pressure on the remnants of the Azai-Asakura until their final destruction in 1573.
I’ve previously mentioned the tradition of changing names among Samurai and how it often leads to confusion when you’re trying to source information about specific figures who may have had several names. While Hideyoshi is generally remembered as “Toyotomi Hideyoshi” in English-language sources, this wasn’t his name until much later. His peasant origins mean that he likely didn’t have a surname at all, and the names he was known by later were either taken from places or bestowed by others.

In 1573, Hideyoshi adopted the name Hashiba. The origins of this name are somewhat unclear; a common theory is that he took one character each from Shibata Katsuie and Niwa Nagahide (the Japanese character ‘wa’ can also be pronounced ‘ha’), though this is disputed.
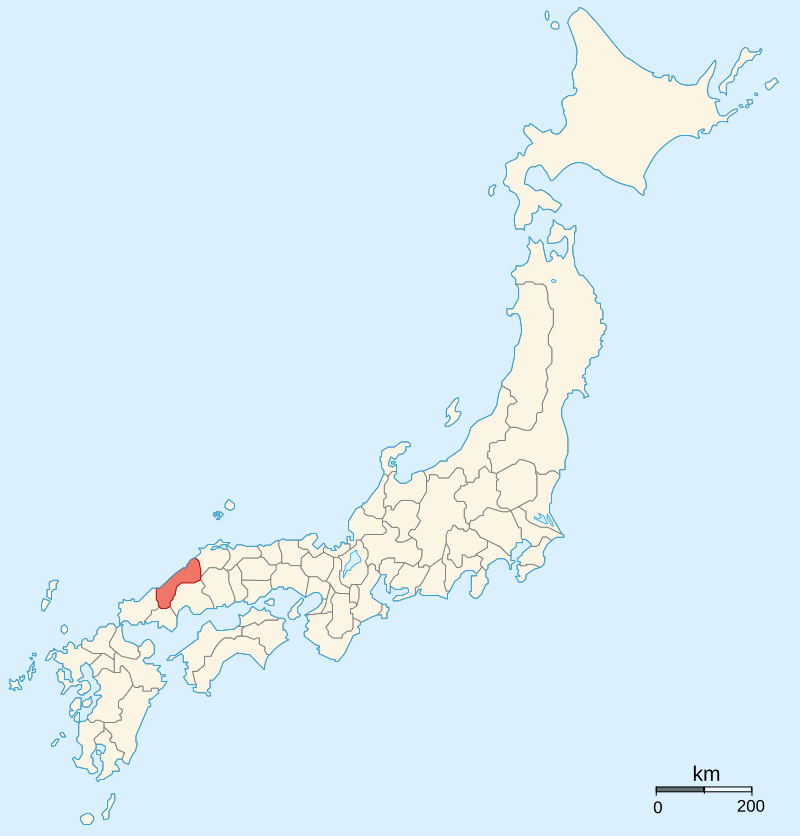
Along with a name change, the fall of the Azai Clan in 1573 resulted in Hideyoshi receiving their former lands around the shores of Lake Biwa. He based himself at Imahama, which is promptly renamed Nagahama, after Nobunaga. This was not some unique quirk of his, by the way, the ‘giving’ of character from prestigious names was a common occurrence, and was generally treated as a respectful and honoured thing to do.
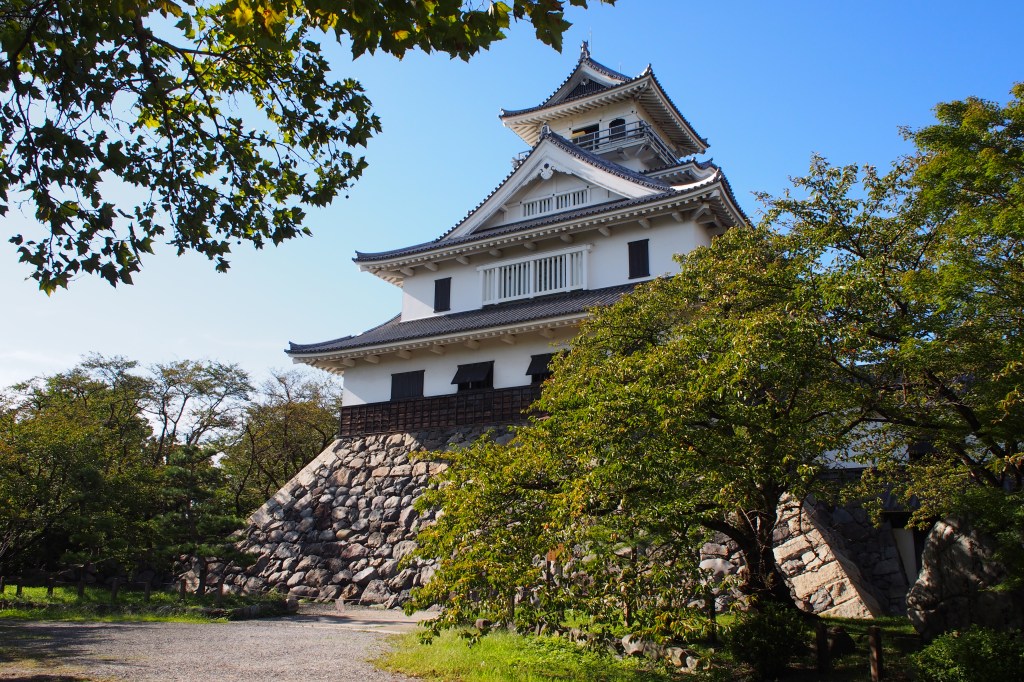
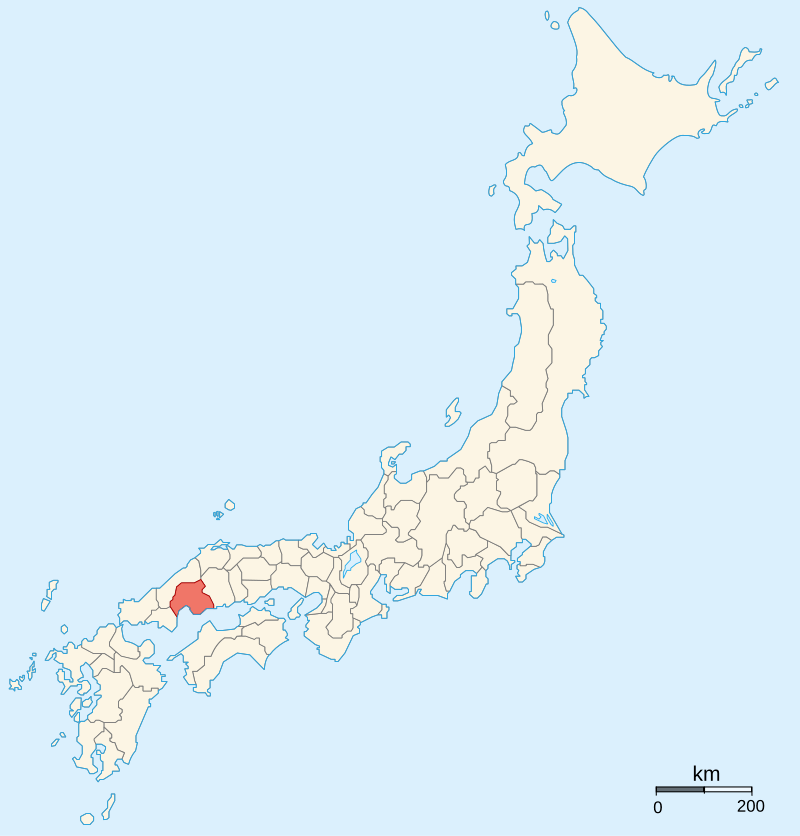
By 663highland, CC BY 2.5, https://commons.wikimedia.org/w/index.php?curid=73322120
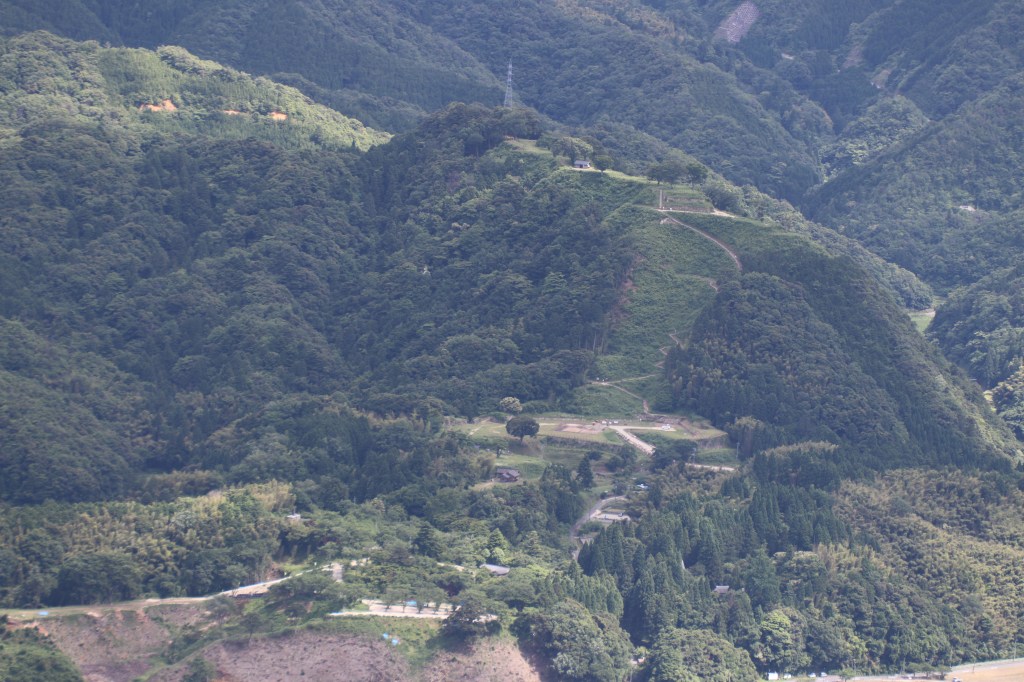
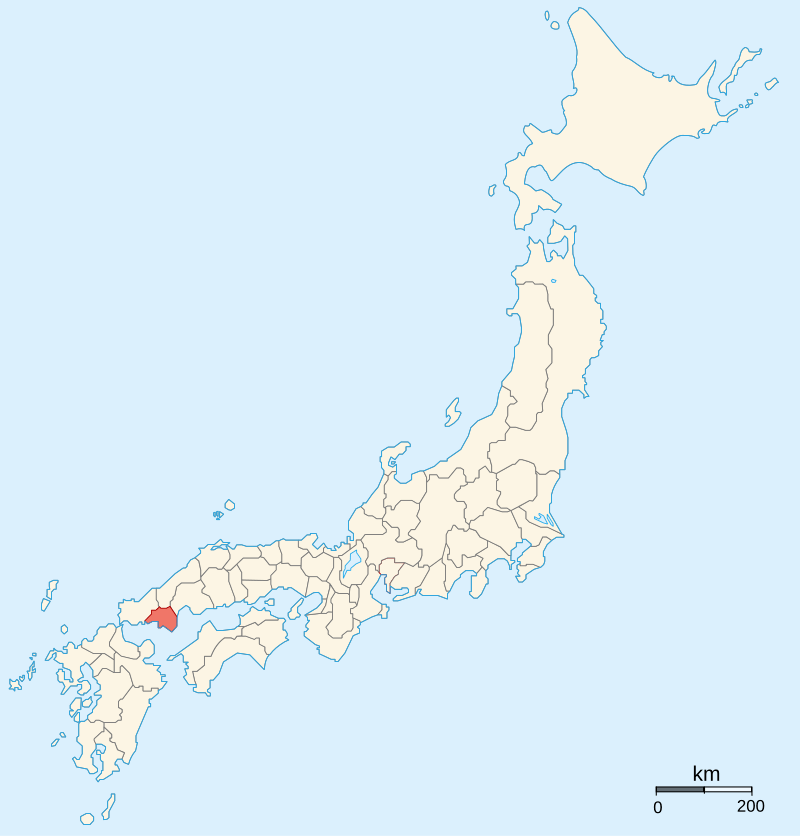
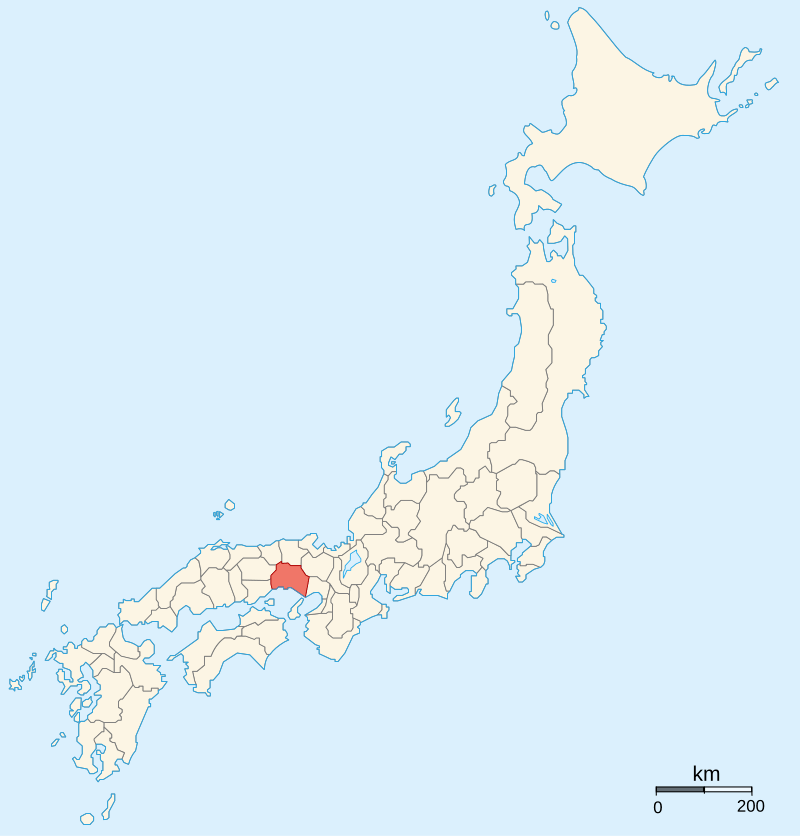
He continued to play a significant role in Nobunaga’s military expansion, serving at the decisive Battle of Nagashino in 1575, and capturing Kiriyama Castle from the powerful Kitabatake Clan of Ise Province the next year. In 1577, Hideyoshi’s star seemed to be on an inexorable rise, but personal rivalries would get in the way.
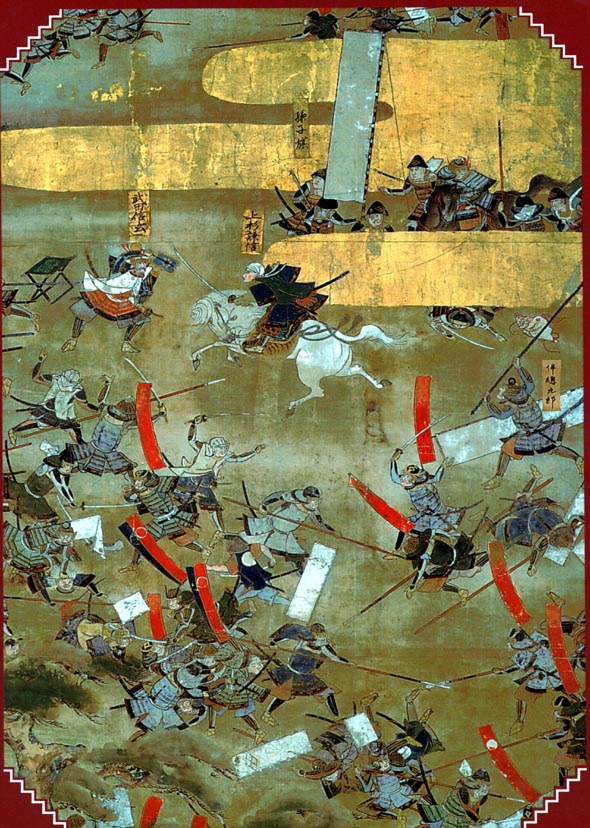
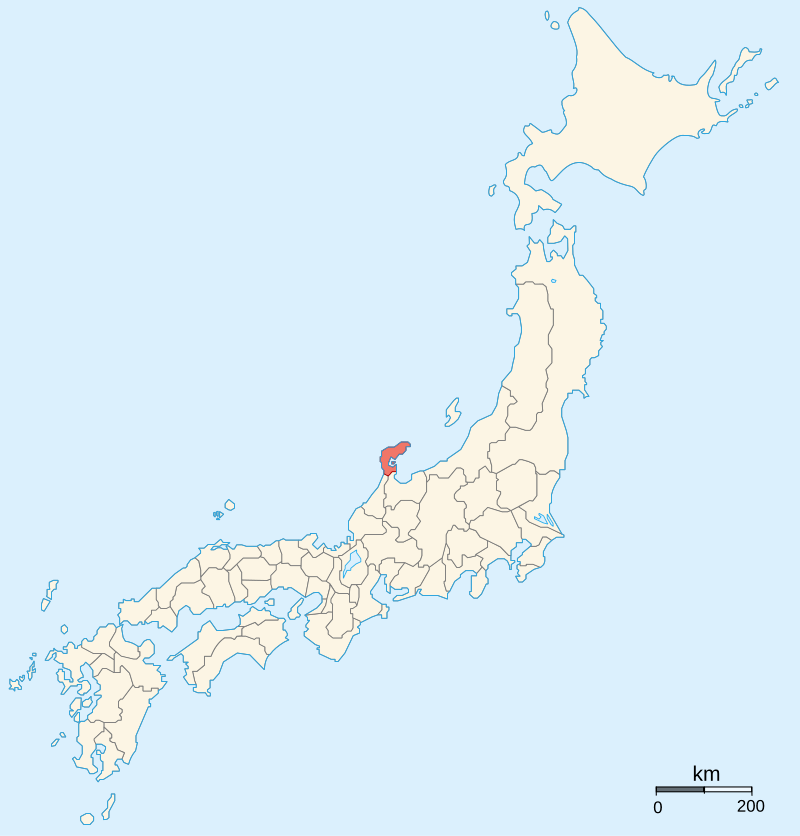
Nobunaga dispatched an army under Shibata Katsuie to face Uesugi Kenshin in the north. Now, you may remember from my post about him, but Kenshin was a formidable opponent, a rival to both Hojo Ujiyasu and Takeda Shingen; he was certainly not a man to take lightly. Nobunaga obviously understood this and dispatched reinforcements commanded by Hideyoshi.
At this point, a simmering feud between Hideyoshi and Katsuie exploded. The exact nature of the argument isn’t recorded in contemporary sources, and later writers could only speculate; however, it is known that Hideyoshi literally took his army and went home. This open defiance of Nobunaga’s orders would have been bad enough, but when Katsuie was defeated shortly afterwards at the Battle of Tedorigawa, Nobunaga was furious.
Hideyoshi was arguably lucky to keep his head after that, and he would spend some time in the political wilderness. His time would come again, however, and we’ll talk about that next week.
Sources
https://ja.wikipedia.org/wiki/%E8%B1%8A%E8%87%A3%E7%A7%80%E5%90%89
https://ja.wikipedia.org/wiki/%E6%89%8B%E5%8F%96%E5%B7%9D%E3%81%AE%E6%88%A6%E3%81%84
https://ja.wikipedia.org/wiki/%E9%95%B7%E6%B5%9C%E5%9F%8E_(%E8%BF%91%E6%B1%9F%E5%9B%BD)
https://ja.wikipedia.org/wiki/%E9%9C%A7%E5%B1%B1%E5%9F%8E
https://ja.wikipedia.org/wiki/%E9%87%91%E3%83%B6%E5%B4%8E%E3%81%AE%E6%88%A6%E3%81%84
https://ja.wikipedia.org/wiki/%E5%A7%89%E5%B7%9D%E3%81%AE%E6%88%A6%E3%81%84
https://ja.wikipedia.org/wiki/%E6%A8%AA%E5%B1%B1%E5%9F%8E_(%E8%BF%91%E6%B1%9F%E5%9B%BD)
https://ja.wikipedia.org/wiki/%E4%B8%B9%E7%BE%BD%E9%95%B7%E7%A7%80
https://ja.wikipedia.org/wiki/%E8%A6%B3%E9%9F%B3%E5%AF%BA%E5%9F%8E%E3%81%AE%E6%88%A6%E3%81%84
https://ja.wikipedia.org/wiki/%E9%AB%98%E5%8F%B0%E9%99%A2
https://ja.wikipedia.org/wiki/%E6%B5%85%E9%87%8E%E9%95%B7%E5%8B%9D
https://ja.wikipedia.org/wiki/%E9%A3%AF%E5%B0%BE%E6%B0%8F
https://ja.wikipedia.org/wiki/%E5%A4%A7%E6%94%BF%E6%89%80