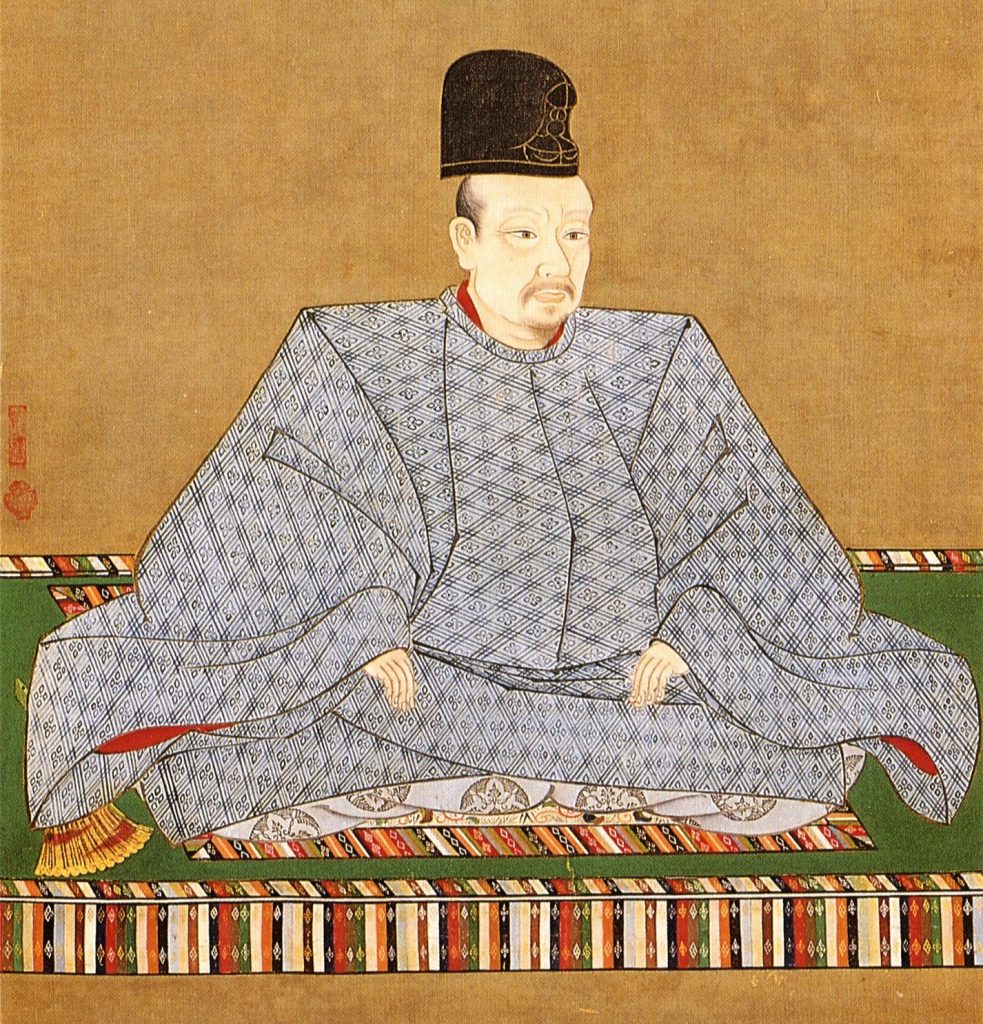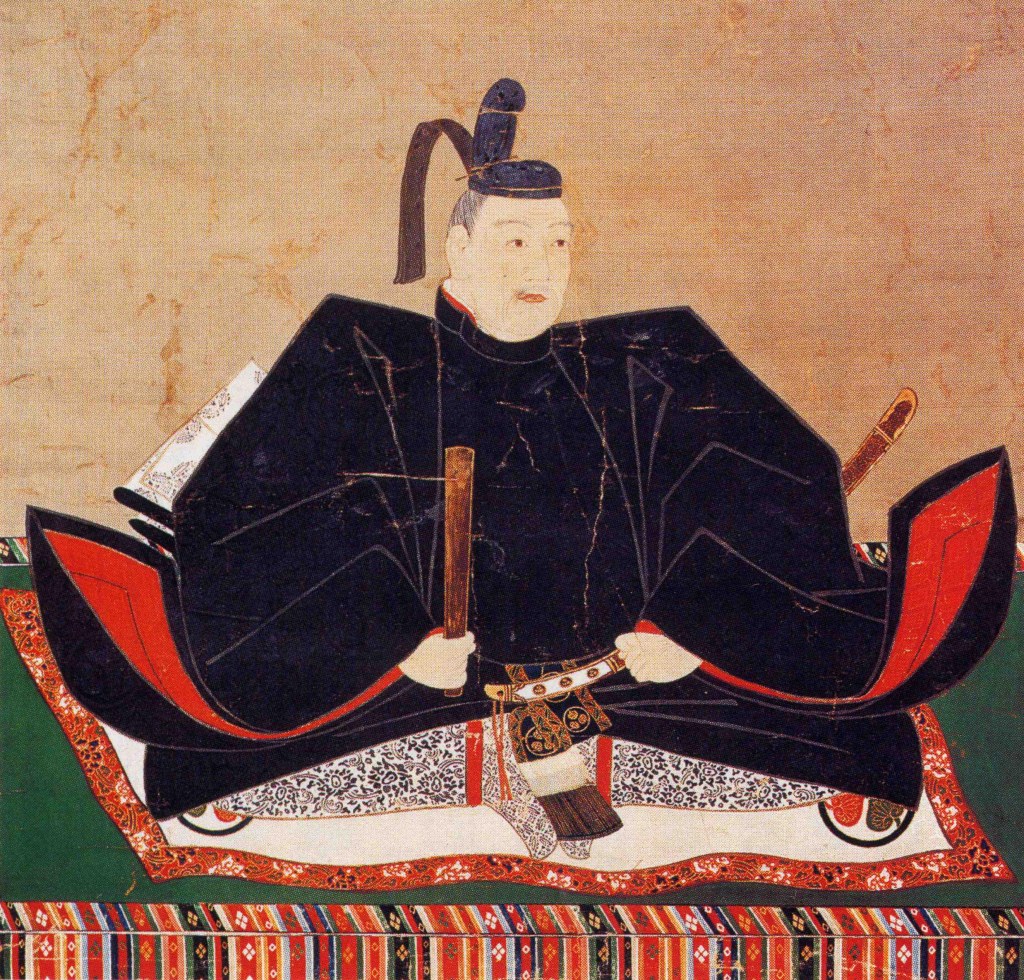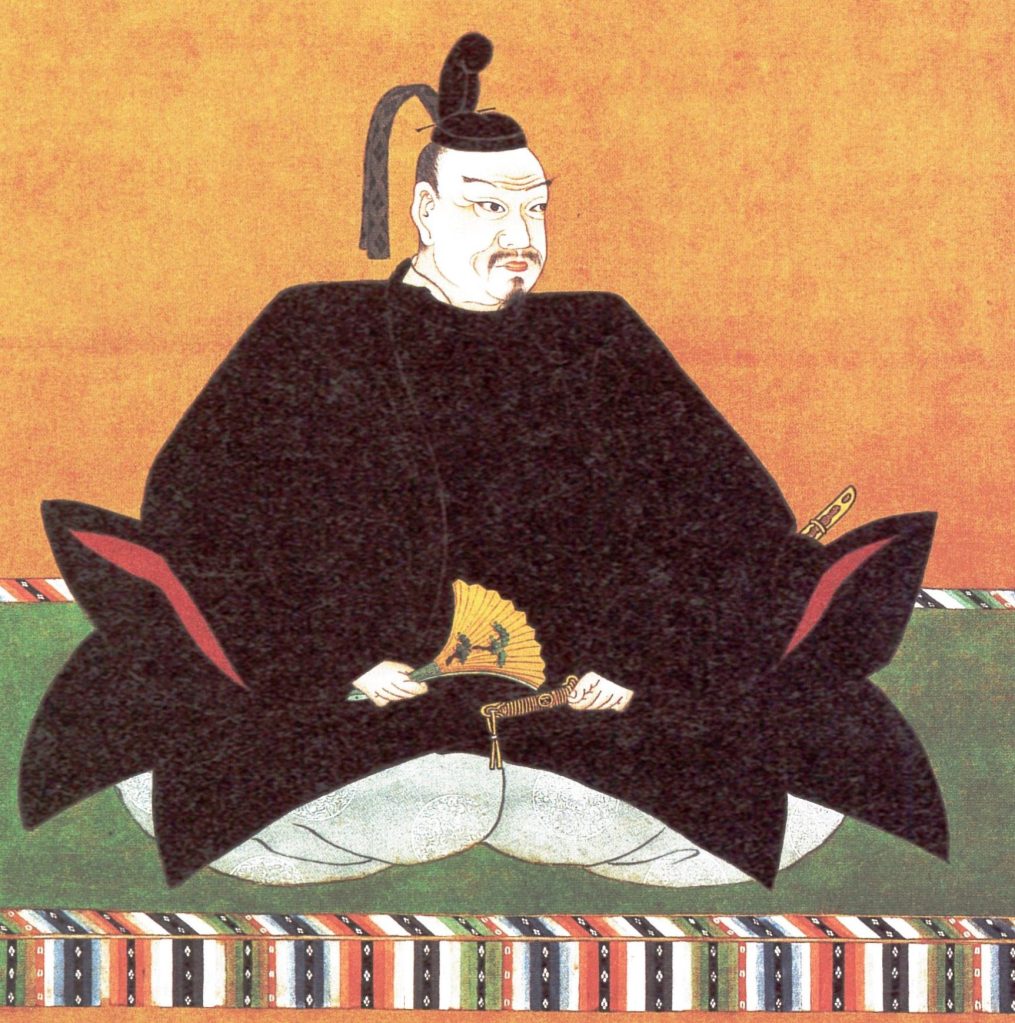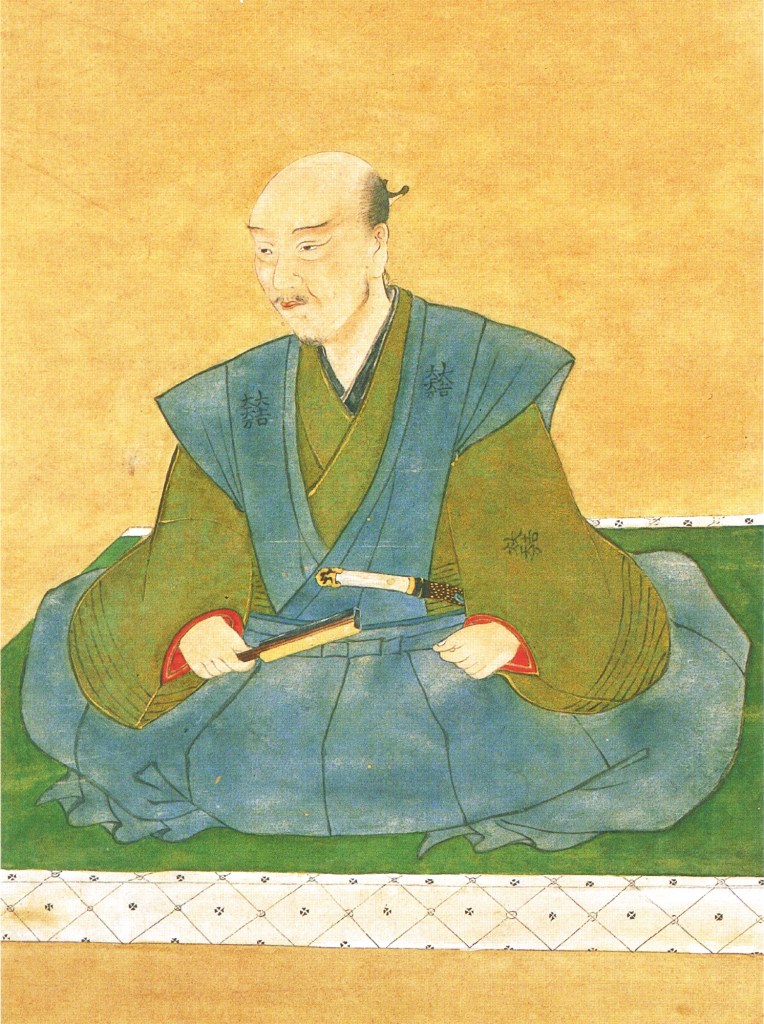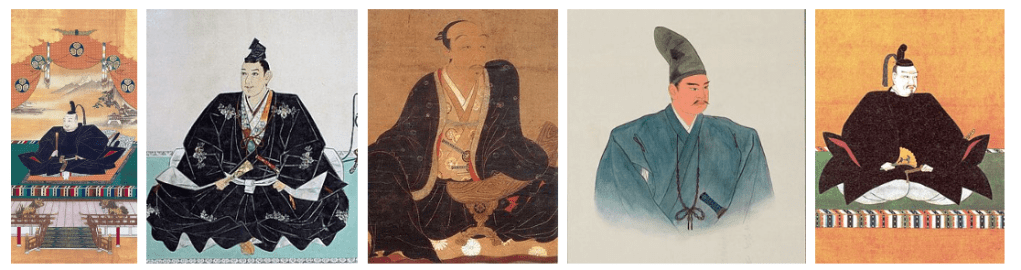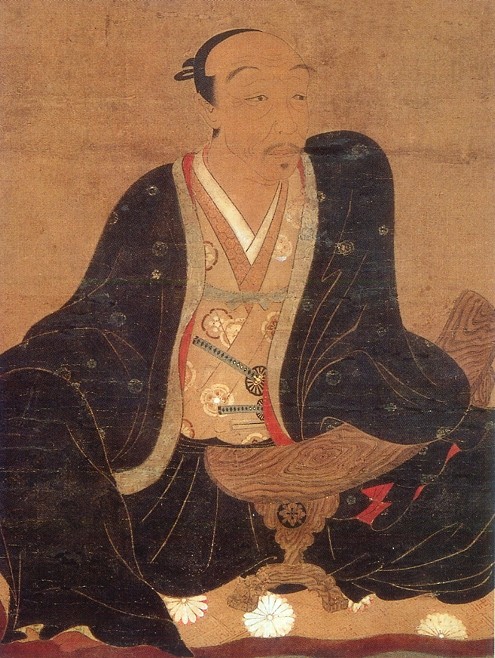
By 1614, Ieyasu was unquestionably the master of Japan. Though he had formally resigned as Shogun in favour of his son, Hidetada, a decade earlier, the reins of power were firmly in his hands. Already in his 70s, practically ancient by the standards of the day, he was no doubt considering the sort of questions a man at the end of his life might contend with: “What happens after I am gone?”
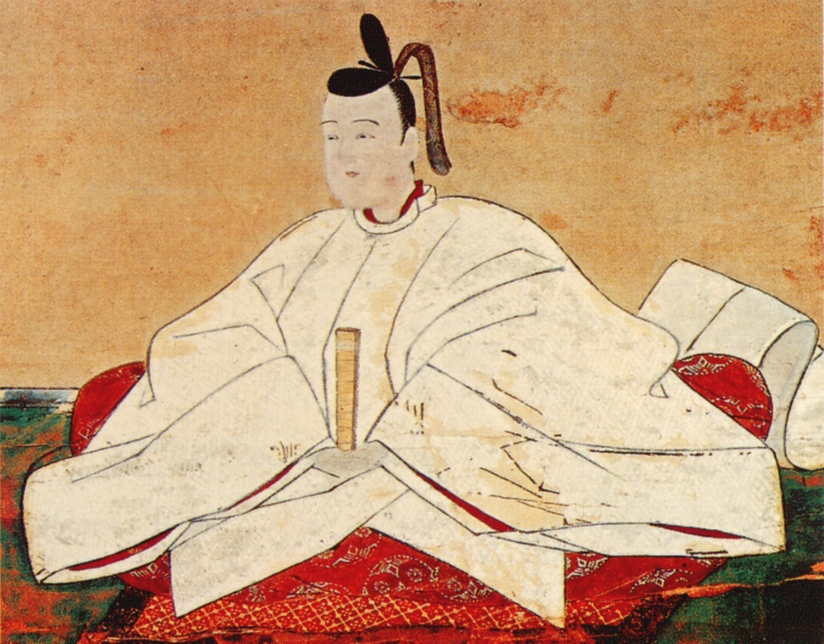
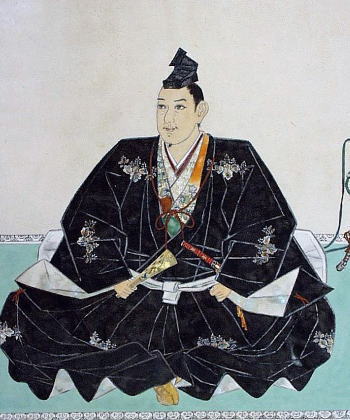
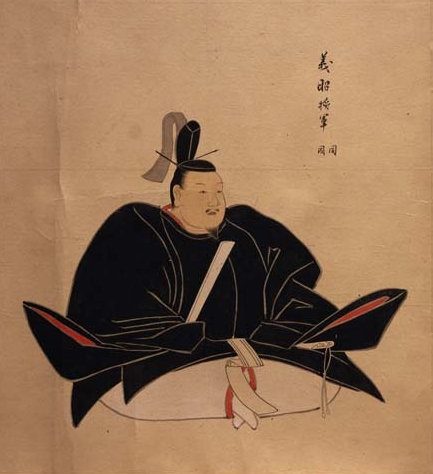
Hidetada was, by most accounts, a perfectly capable Shogun. He had earned a relatively good reputation on the battlefield, and most sources agree that he was hard-working and well-trained by his father. The problem for Ieyasu was that, despite everything, Tokugawa rule was not entirely unchallenged.

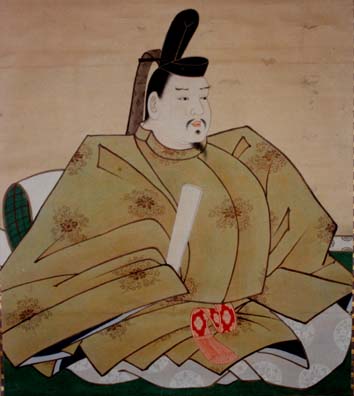
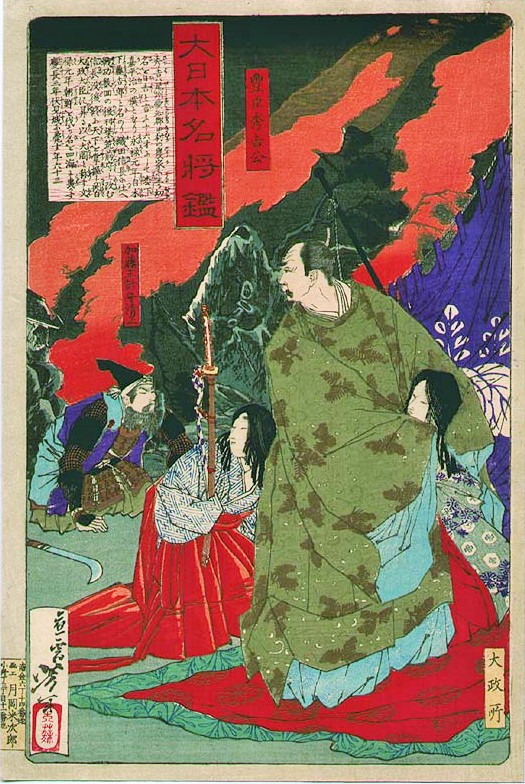
After the Battle of Sekigahara, Ieyasu had explicitly refused to take any action against Hideyoshi’s infant son, Hideyori. Instead, he had ensured that the Toyotomi Clan remained wealthy, and as long as Hideyori remained holed up in Osaka Castle, Ieyasu was content to leave him be.
For his part, Hideyori initially seemed happy enough to remain where he was, spending large sums of money on restoring or rebuilding temples that had been damaged during the war, though his exact motivation for this has been questioned by scholars, with some suspecting he was seeking to gain divine support, and others suggesting that he was simply religious.
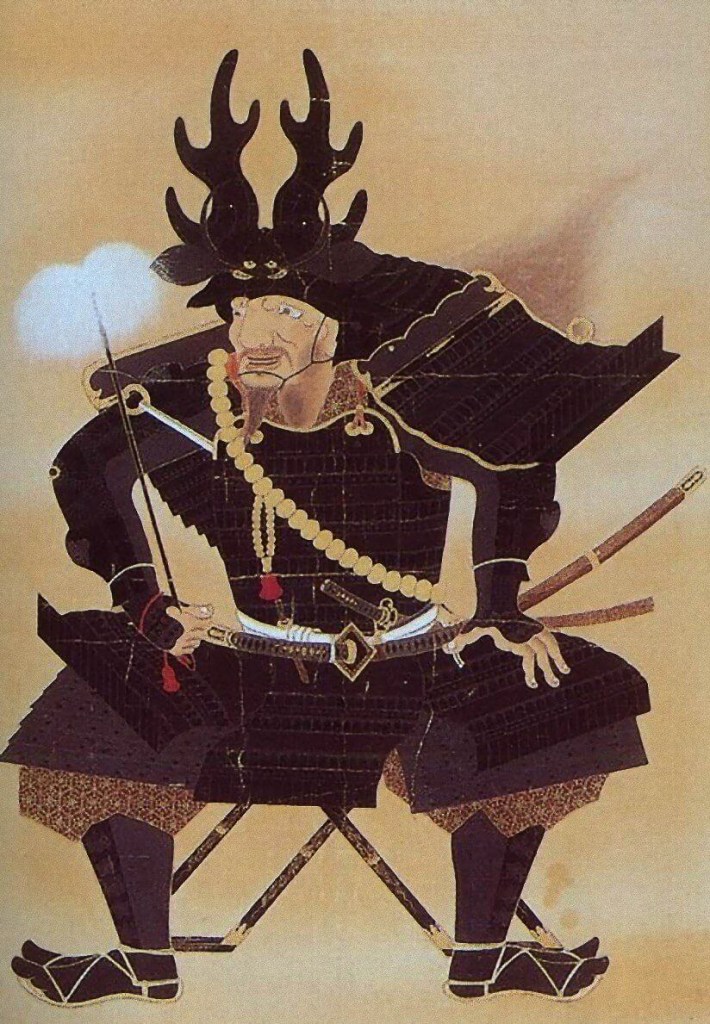
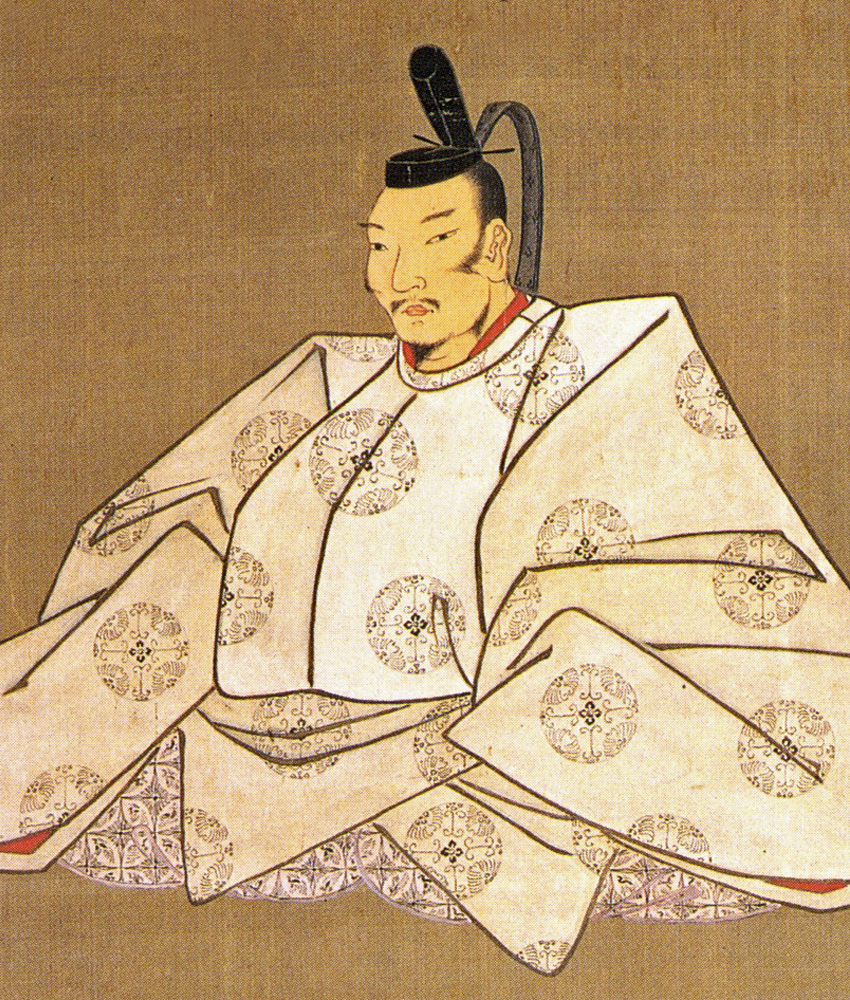
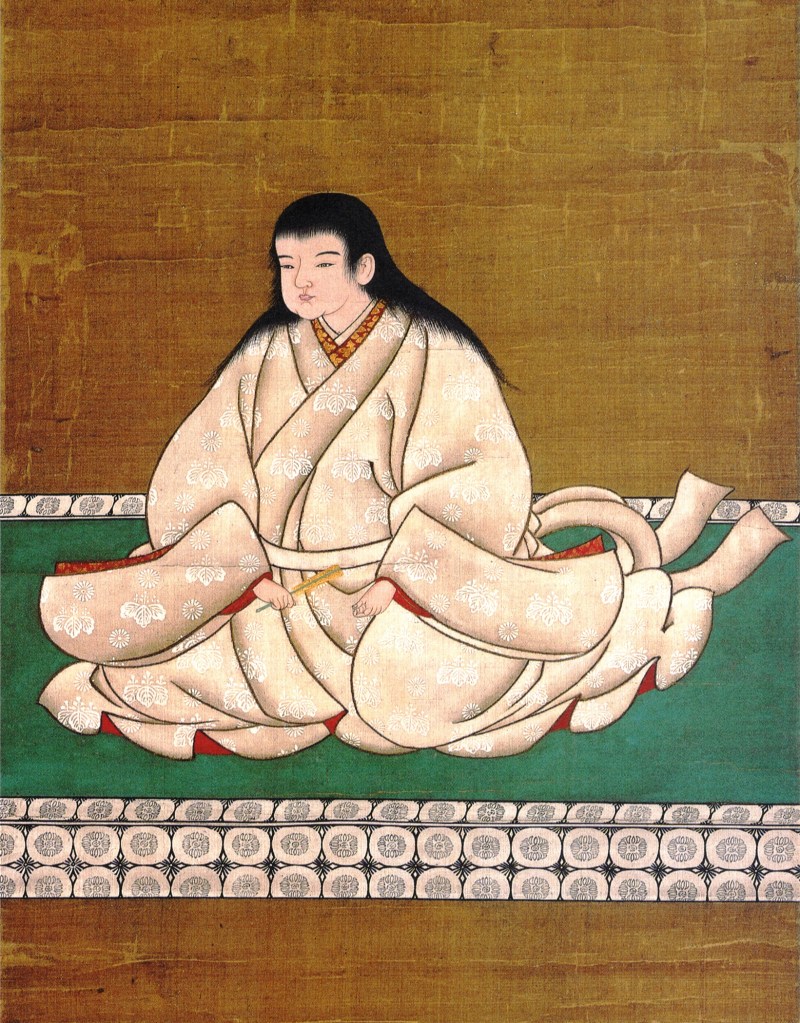
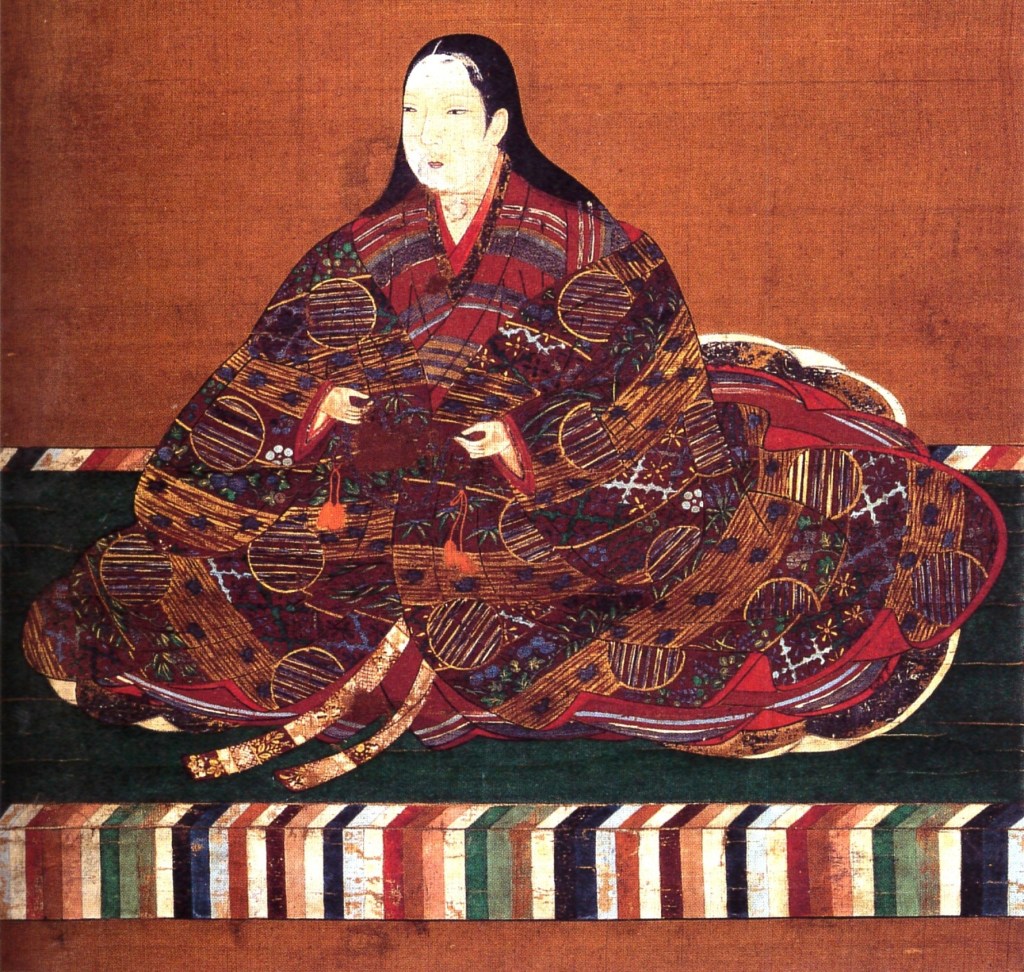
By late 1614, Hideyori was in his 20s and was beginning to attract attention as Hideyoshi’s rightful heir. One somewhat fanciful account tells us that by this time, Hideyori was nearly 2 metres tall and weighed over 160kg, and while no other sources corroborate his impressive size, he was beginning to become a focal point for Anti-Tokugawa elements in the realm.
Ieyasu had plenty of reason to fear Hideyori’s challenge to his family’s rule; some scholars even suggest that Hideyori’s generosity towards various temples was actively encouraged by the Shogun as a way to drain Toyotomi resources that might otherwise have been spent on preparations for war. Whether this is true or not, it was increasingly clear that Ieyasu couldn’t simply let Hideyori be; all he needed was a pretext.

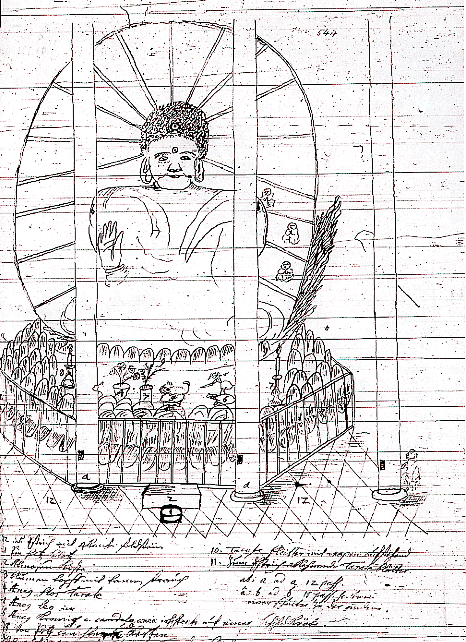
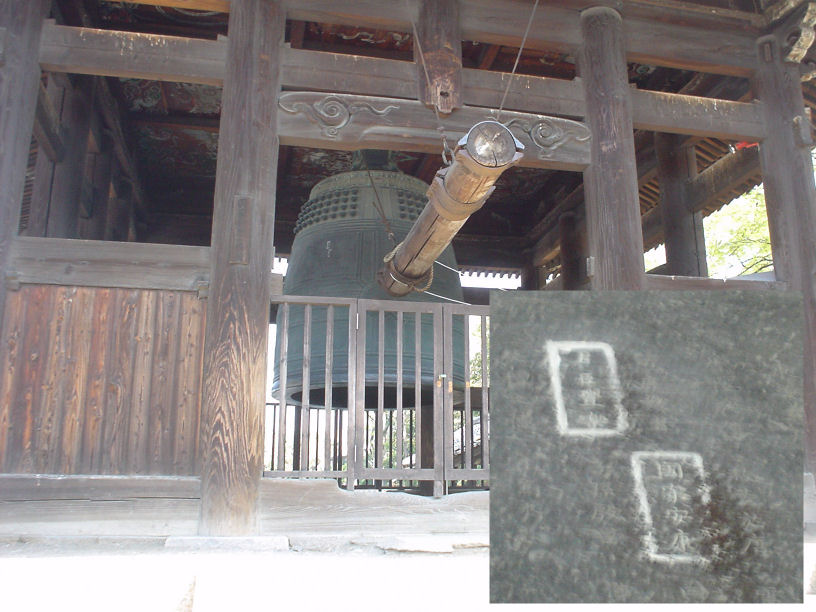
As part of his widespread temple-rebuilding projects, Hideyori commissioned a new bell for the Hokoji Temple near Kyoto. This was initially an uncontroversial act, but rumours soon spread that the bell had been inscribed with words that could be construed as prayers for the restoration of the Toyotomi and the downfall of the Tokugawa.
The phrases themselves translate into English as “National peace and prosperity” and “Lord and subject enjoy abundant happiness“. From a modern perspective, neither of these seem particularly problematic, but the problem was that, in Japanese characters, the writing contained parts of Ieyasu’s name, split in two (ie, and yasu), which was construed as a form of cursing him, whilst the second phrase suggested that the “lord” in question was the Toyotomi.
+- – 投稿者自身による著作物, CC 表示-継承 3.0, https://commons.wikimedia.org/w/index.php?curid=107332539による
This was an age of superstition, and signs and portents were taken seriously, but even so, this was as good a reason as any for Ieyasu to finally deal with the Toyotomi once and for all. He apparently wasn’t immediately set on a military option, as negotiations took place in late 1614 to try to defuse the tension. An emissary, Katagiri Katsumoto, was dispatched to explain the ‘true’ meaning of the bell, but he was unable to meet with Ieyasu or Hidetada directly, and instead returned to Osaka with three possible proposals.
It’s important to note that none of these proposals appear in any Tokugawa documents from the time, and some scholars believe they were the invention of Katsumoto himself. They were as follows:

1) Hideyori would reside alternately in Edo and Osaka, as part of the Sankin–kotai policy, in which Daimyo were obliged to live one year in Edo, and one year in their home provinces. Hideyori had previously been exempt, and accepting Sanki-kotai would have essentially confirmed him as a vassal of the Shogun.
2) Hideyori’s mother, Lady Yodo, would be sent to Edo as a hostage. She would likely have lived in comfort, but her life would have been forfeit if Hideyori ever stepped out of line.
3) Hideyori agreed to give up the formidable Osaka Castle and accept an alternative domain elsewhere.
Whether these proposals truly came from the Shogunate or not, they were so offensive to the Toyotomi that Katsumoto came under suspicion of collusion with the Tokugawa. Although no contemporary evidence exists, other Toyotomi vassals believed the rumours and tried to have Katsumoto killed. The man himself escaped by fortifying his residence, and it took direct intervention from Hideyori to end the crisis, with Katsumoto agreeing to become a monk.
Hideyori swiftly dispatched emissaries to Ieyasu, explaining that the fortification and massing of troops were in no way aimed at the Tokugawa, and that it had been an internal matter, now resolved. Ieyasu either genuinely or else conveniently chose not to believe this explanation, and gave orders for forces to be gathered to punish the Toyotomi.

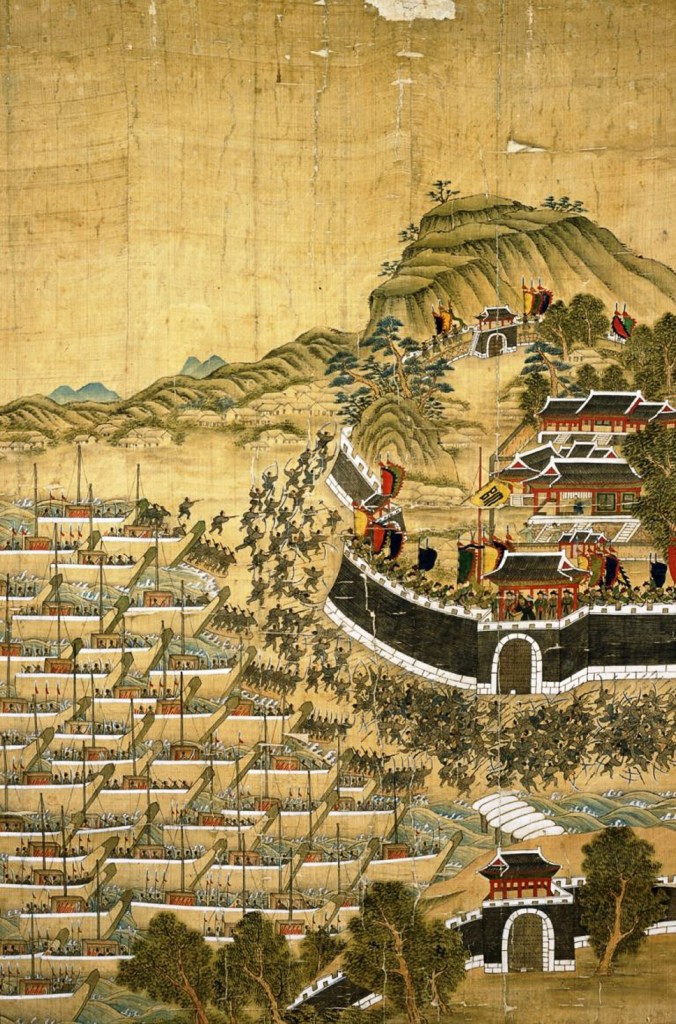
In response, the Toyotomi issued a call to arms, gathering those loyal to the Toyotomi through old association or opposition to the Tokugawa. Very few Daimyo rushed to join up, but the vast wealth left behind at Osaka Castle by Hideyoshi was used to persuade thousands of Ronin (masterless Samurai) to come to Osaka and fight for the Toyotomi.
Meanwhile, food, provisions, and weapons were either purchased or “acquired” from storehouses in and around Osaka, with or without the owners’ permission. In relatively short order, the Toyotomi had gathered some 100,000 men in Osaka.

Some were motivated by a genuine desire to see the Toyotomi family restored to power, either out of loyalty or with the expectation of reward should they succeed. Others were there to take revenge on the Tokugawa, with many having become Ronin in the aftermath of Sekigahara, where dozens of lords had lost everything as punishment for opposing Ieyasu. Still others were naked opportunists, motivated to fight for cash rewards or to restore/earn a reputation, as their forefathers had done.
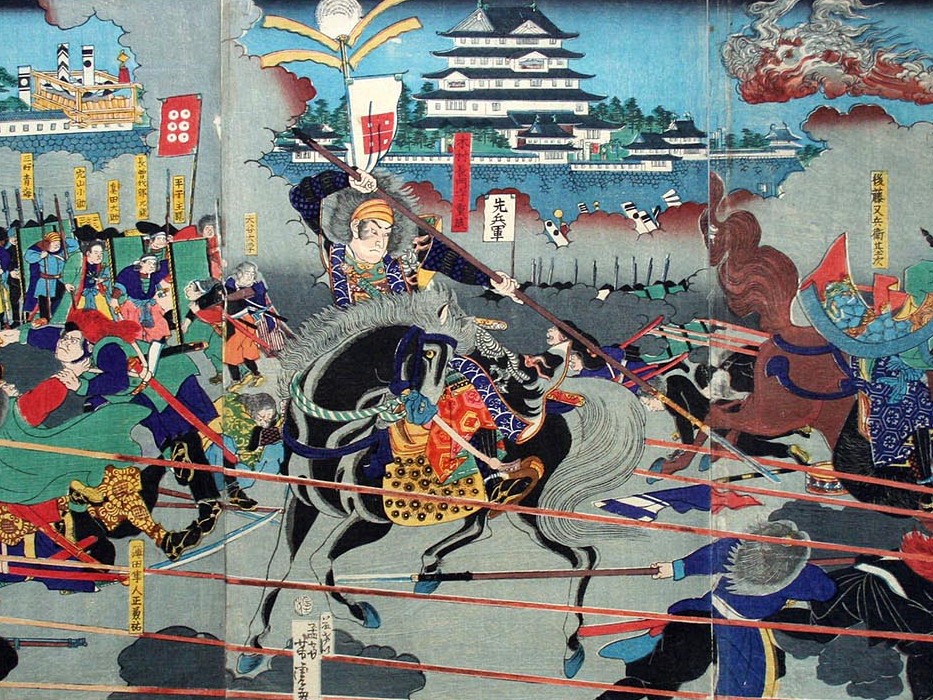
In response, Ieyasu and Hidetada mustered a force which was, in some accounts, twice the size of the one now surrounding Hideyori, and these men suffered little, if any, confusion about their intentions, loyalty to the Shogun, and hostility to the Toyotomi. Such a massive force was almost impossible to gather in one place, and so detachments of various sizes made their way towards Osaka.
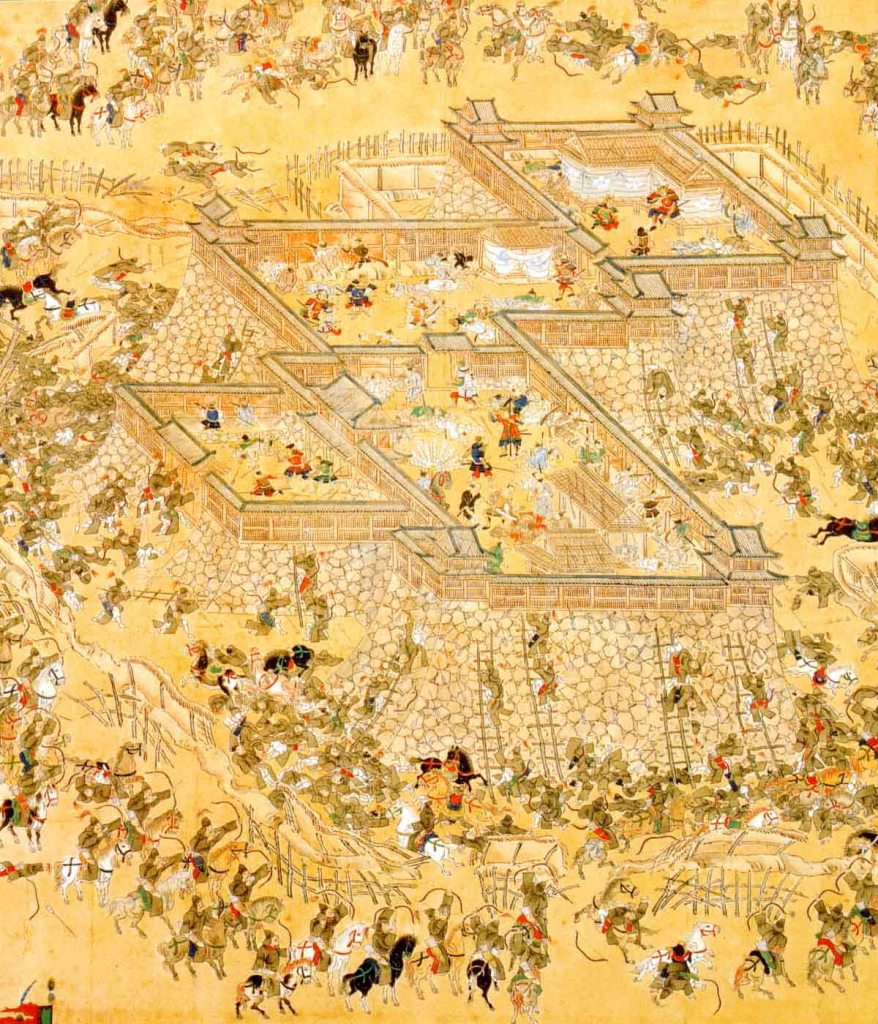
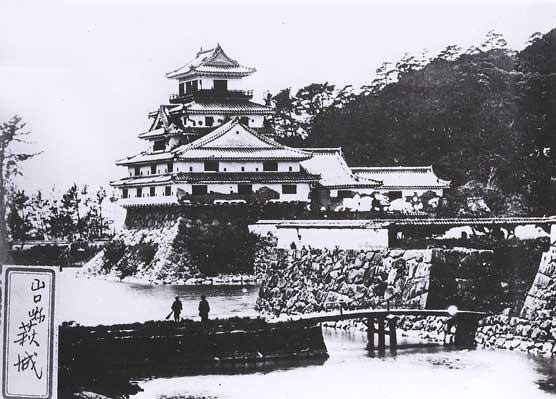
The Toyotomi forces were not idle in the meantime, attacking and briefly taking the important port at Sakai (modern Osaka) before being forced to withdraw by a Tokugawa counter-attack. Understanding the disparity in forces, the Toyotomi then retreated to Osaka Castle, arguably the strongest fortress in the realm, and waited for the storm to break.
Sources
https://ja.wikipedia.org/wiki/%E5%A4%A7%E5%9D%82%E3%81%AE%E9%99%A3
https://ja.wikipedia.org/wiki/%E5%A0%BA
https://ja.wikipedia.org/wiki/%E5%BE%B3%E5%B7%9D%E5%AE%B6%E5%BA%B7
https://ja.wikipedia.org/wiki/%E6%B5%AA%E4%BA%BA
https://ja.wikipedia.org/wiki/%E6%96%B9%E5%BA%83%E5%AF%BA%E9%90%98%E9%8A%98%E4%BA%8B%E4%BB%B6
https://ja.wikipedia.org/wiki/%E6%96%B9%E5%BA%83%E5%AF%BA
https://ja.wikipedia.org/wiki/%E5%BE%B3%E5%B7%9D%E7%A7%80%E5%BF%A0
https://ja.wikipedia.org/wiki/%E6%B7%80%E6%AE%BF
https://ja.wikipedia.org/wiki/%E8%B1%8A%E8%87%A3%E7%A7%80%E9%A0%BC