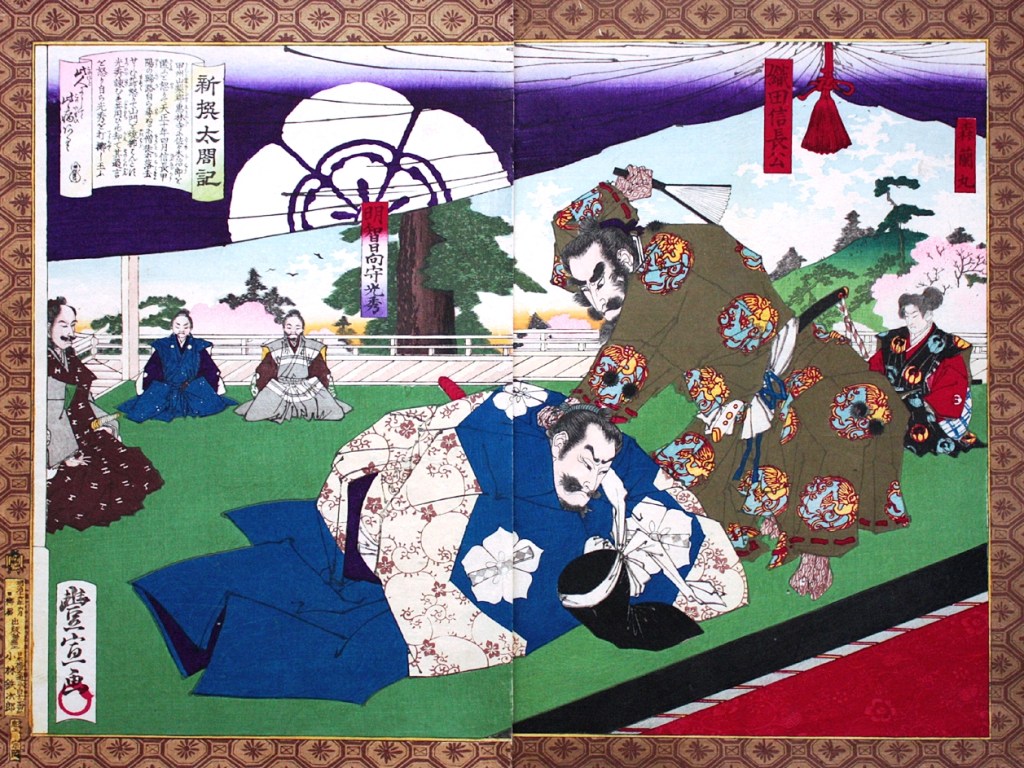
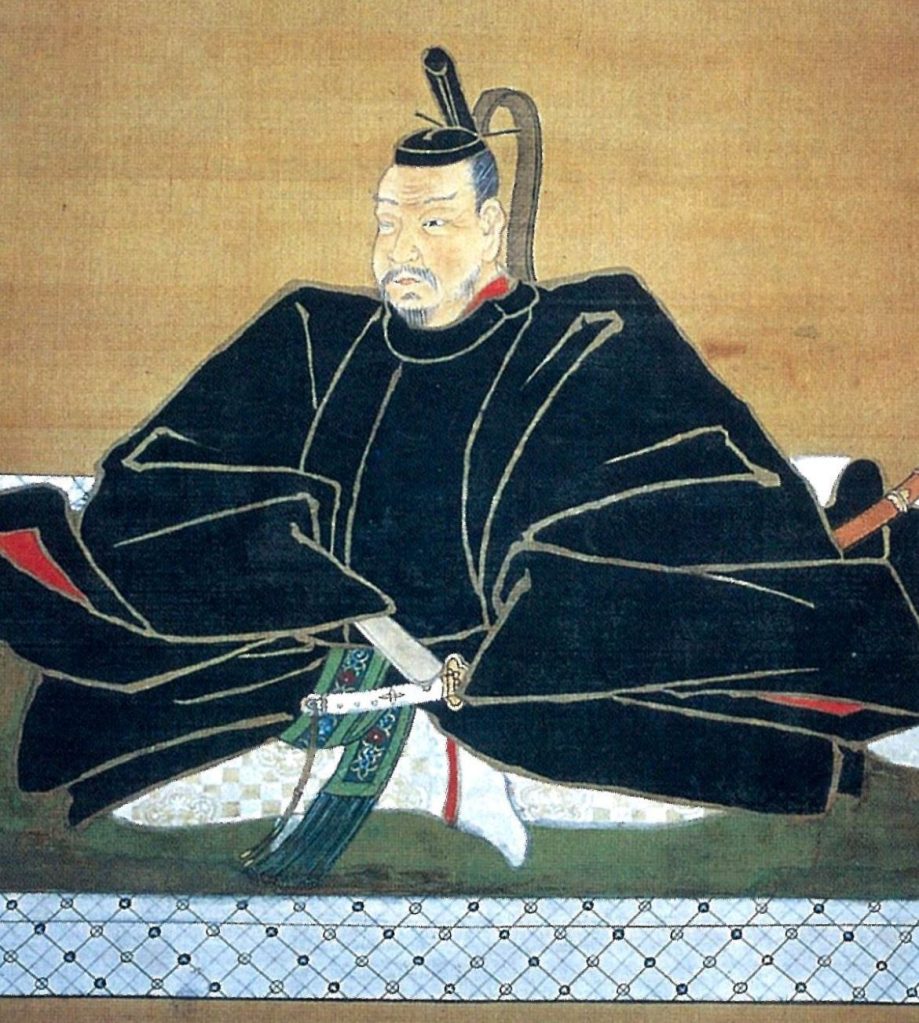
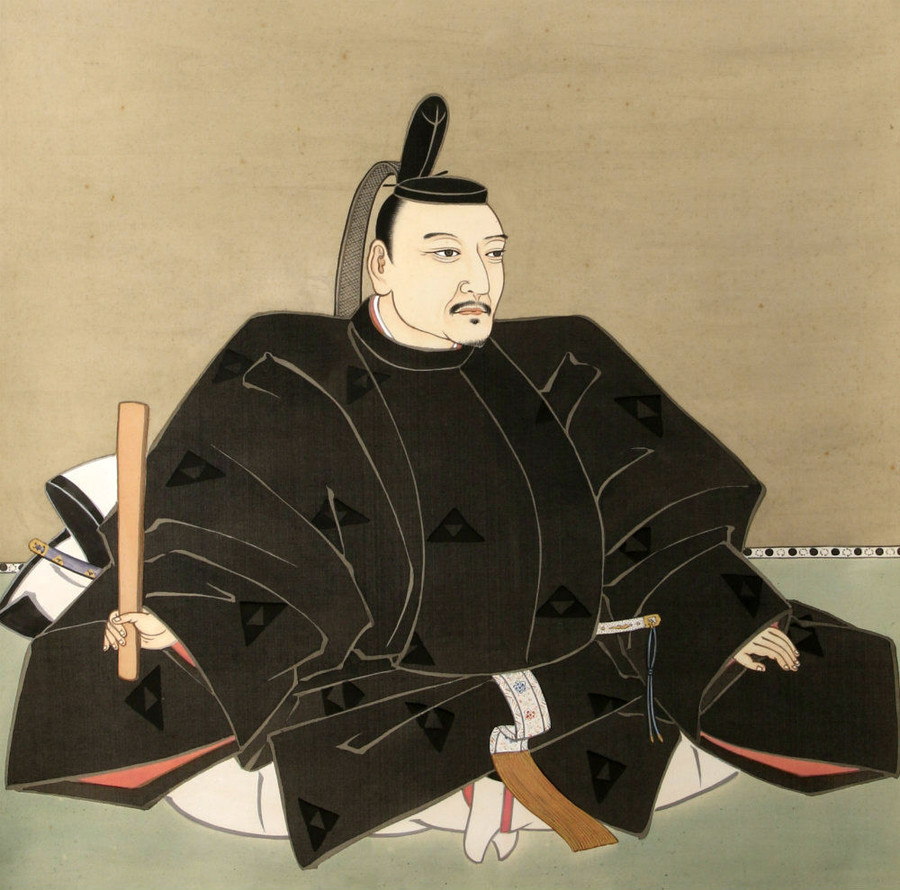
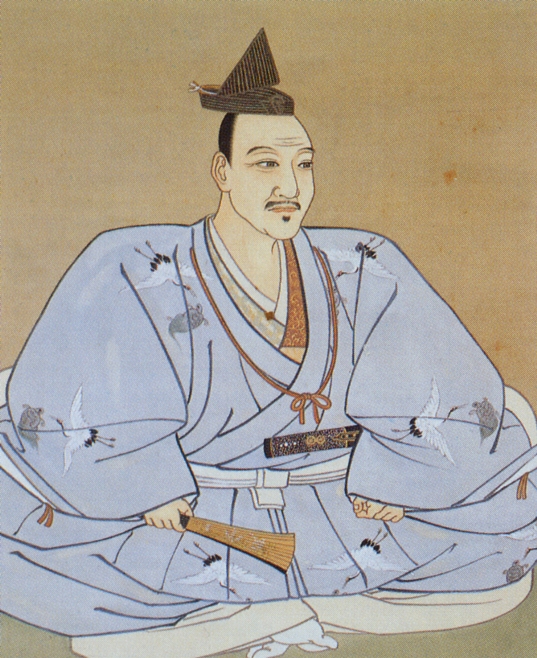
Hideyoshi’s victory over Nobunaga’s killer, Akechi Mitsuhide, left him in a strong, but far from unchallenged position. Though Hideyoshi was arguably the strongest of Nobunaga’s remaining supporters, his power was not so great that he could overcome the others on the battlefield.
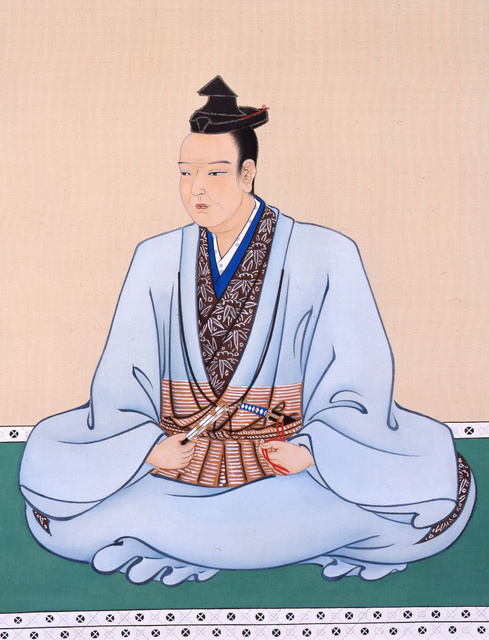
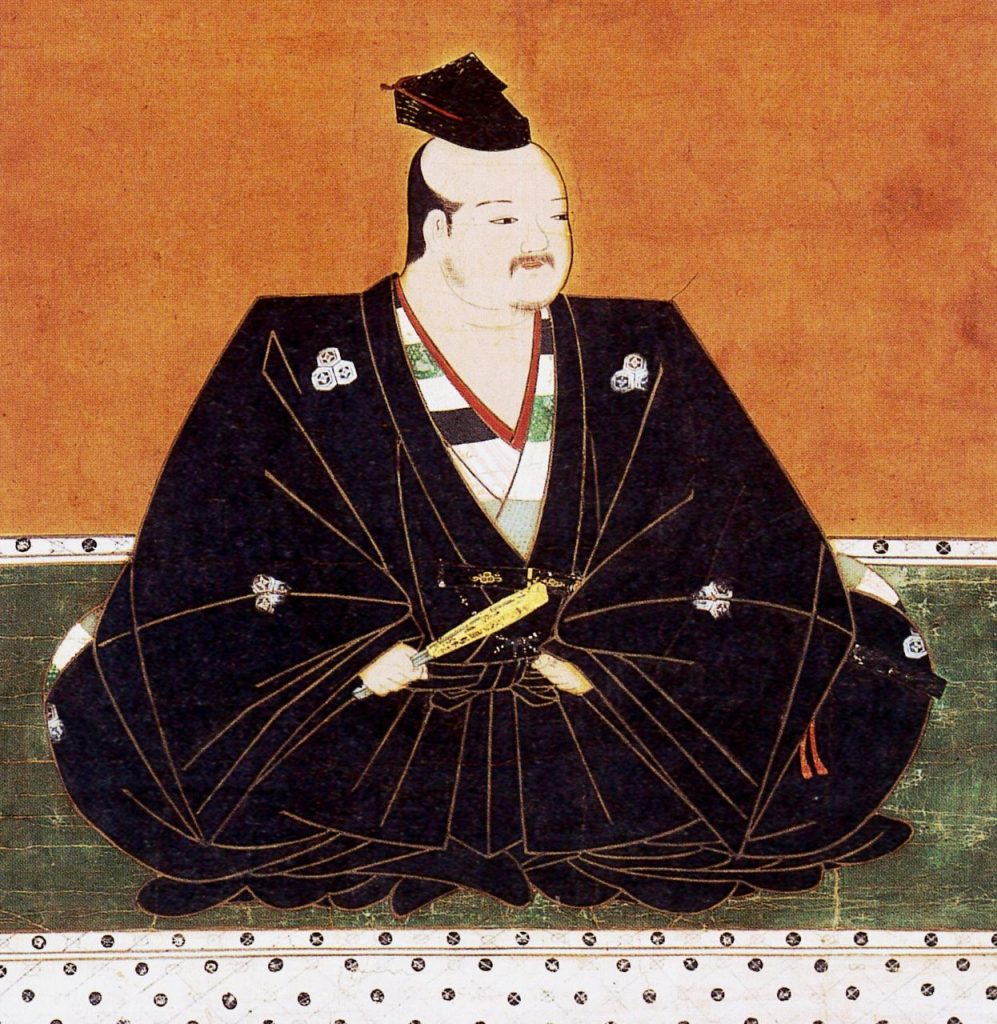
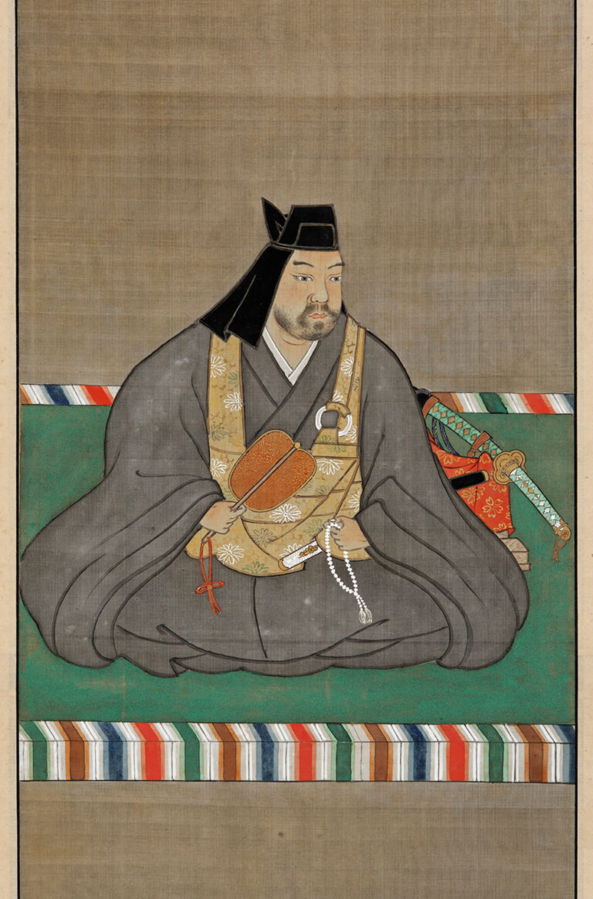
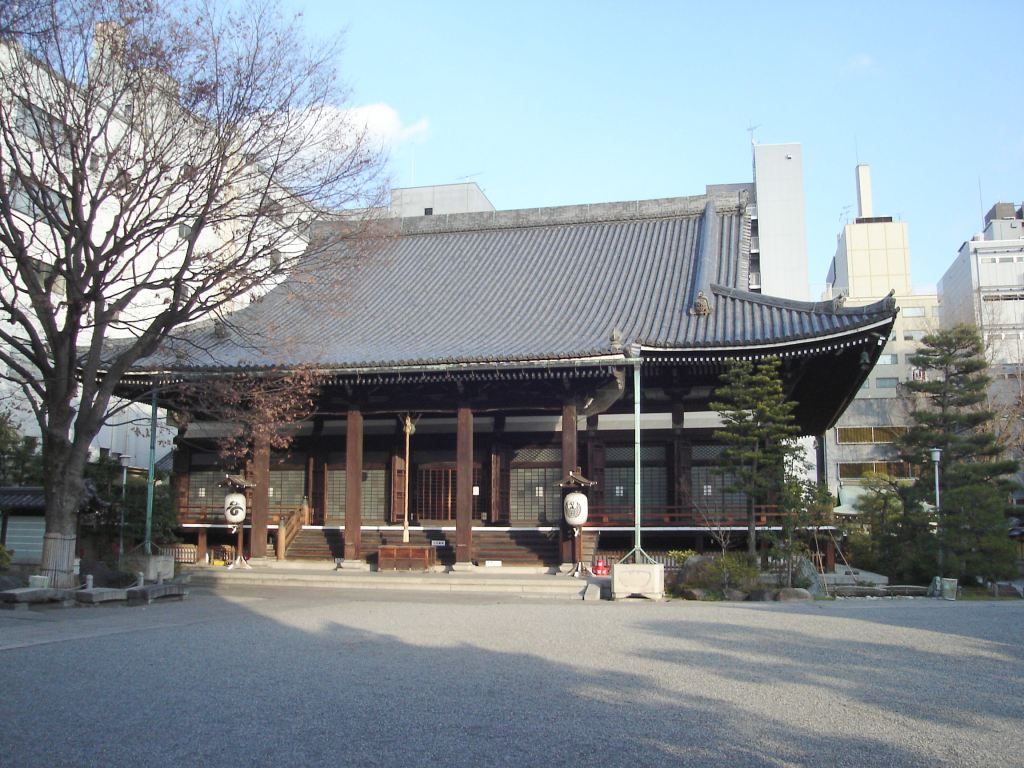
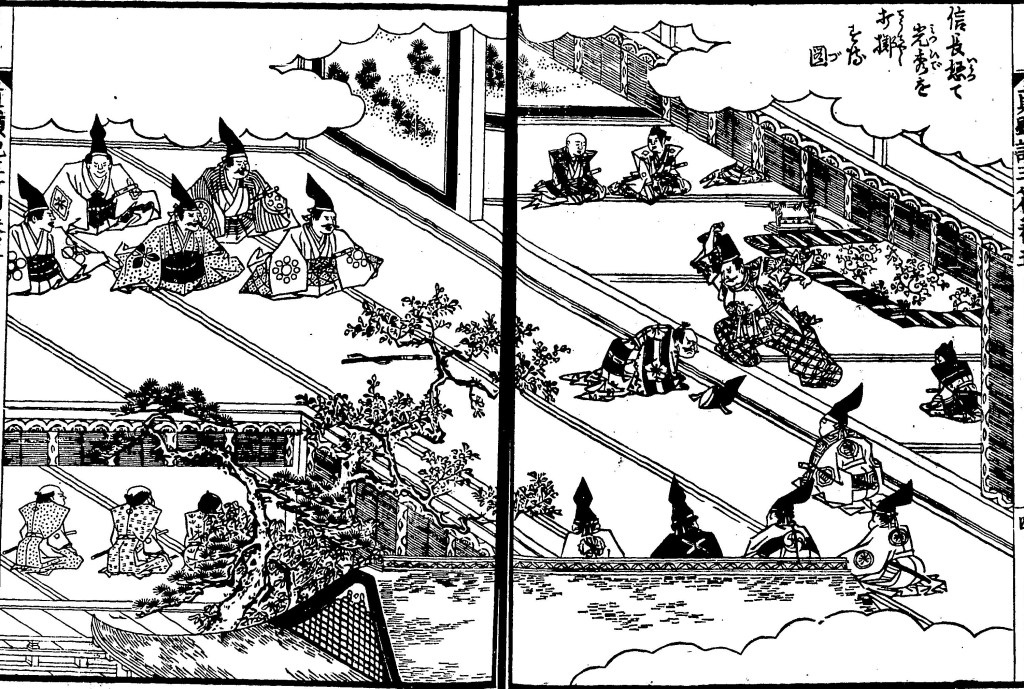
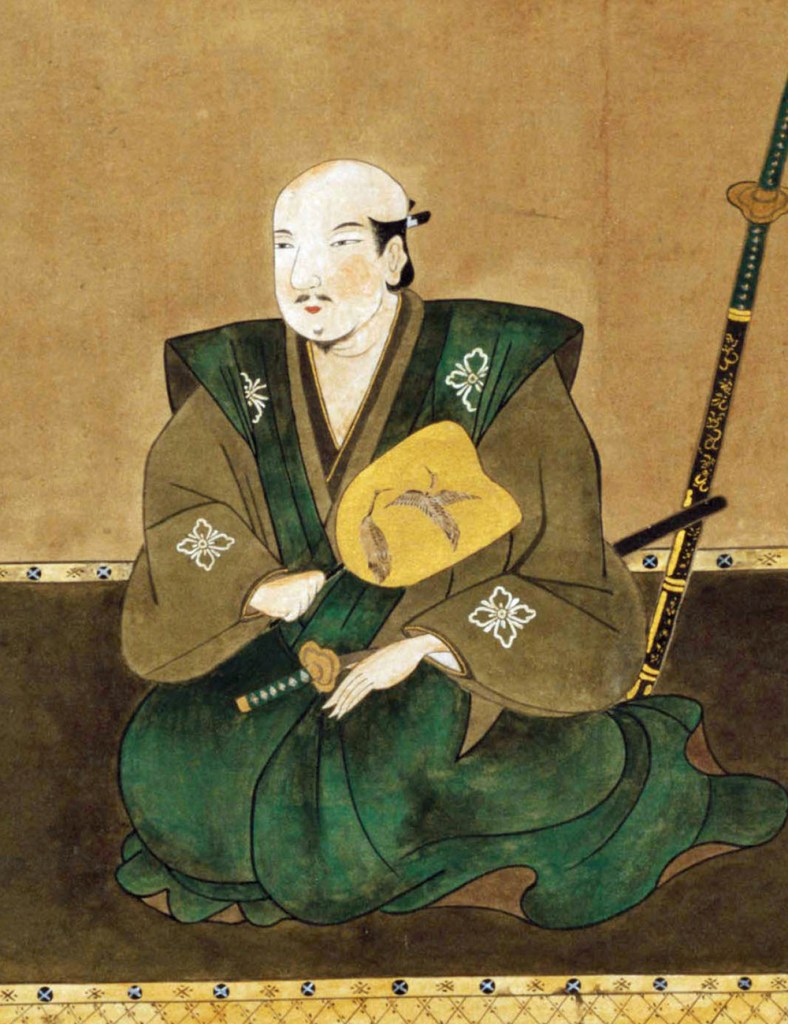
Instead, a conference was called at Kiyosu Castle on July 16th, 1582. Historians still debate exactly what Nobunaga’s plans had been for his succession, given that his second son, and most obvious heir, Nobutada, had been amongst the dead at the Honnoji Incident. Two camps quickly emerged: Hideyoshi, supporting Nobutada’s son, Hidenobu, and Shibata Katsuie, who supported Nobunaga’s third surviving son, Nobutaka.
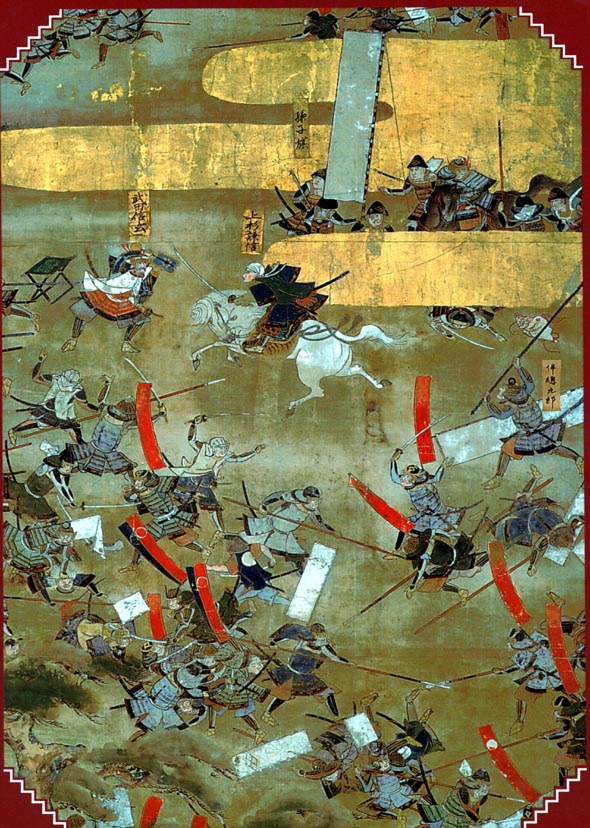
Oliver Mayer, CC 表示-継承 3.0, https://commons.wikimedia.org/w/index.php?curid=230610による
The exact course of the meeting isn’t clear, but by the end of it, Hideyoshi’s faction was in the ascendancy, and Hidenobu, at just two years old, was declared Nobunaga’s heir, with Nobutaka officially acting as his guardian. There was an attempt to mollify Katsuie by having him marry Nobunaga’s sister, Oichi, a woman of impeccable rank, but the seeds of conflict had already been sown.
In October 1582, Hideyoshi held Nobunaga’s formal funeral, and played a central, highly visible role in the ceremony, cementing his position as chief amongst Nobunaga’s retainers. Not long after this, Katsuie, supported by Nobutaka, issued letters of impeachment against Hideyoshi, who responded by demanding that Nobutaka, who had custody of the ‘heir’, Hidenobu, return him to Azuchi, as per the Kiyosu Agreement.
When Nobutaka refused, Hideyoshi used this as justification to renounce the agreement and raise an army against him. Katsuie, trapped in the north by snows and the ongoing war with the Uesugi, was unable to send help, and in a short, sharp campaign, Hideyoshi raised an army of some 50,000, forced Nobutaka to retreat, and eventually surrender, handing over Hidenobu and sending his mother and daughter as hostages to secure the peace.
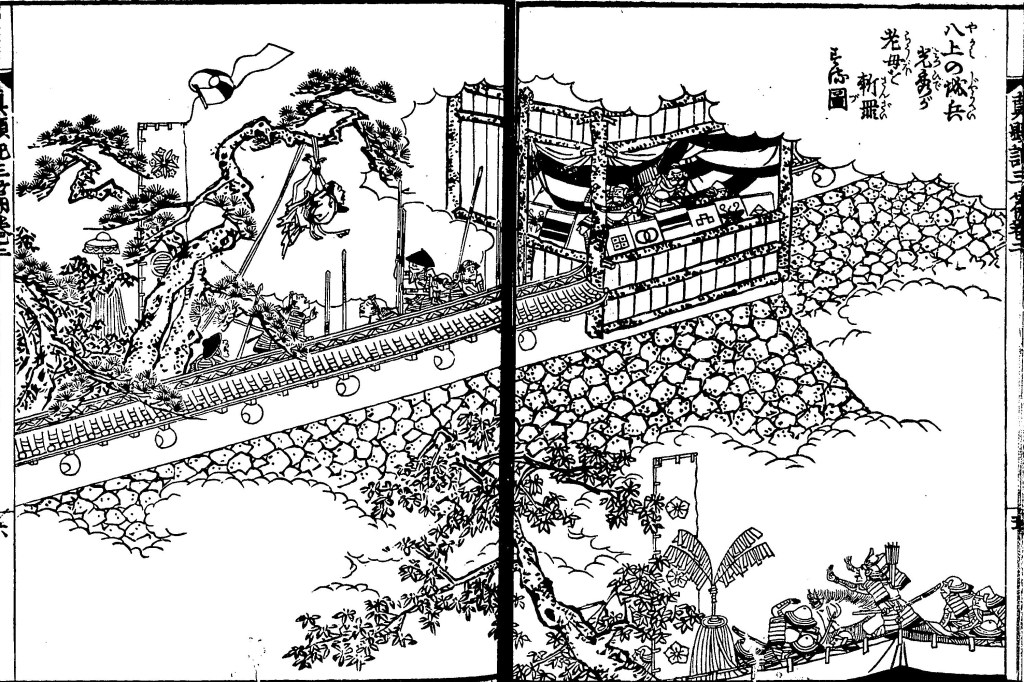
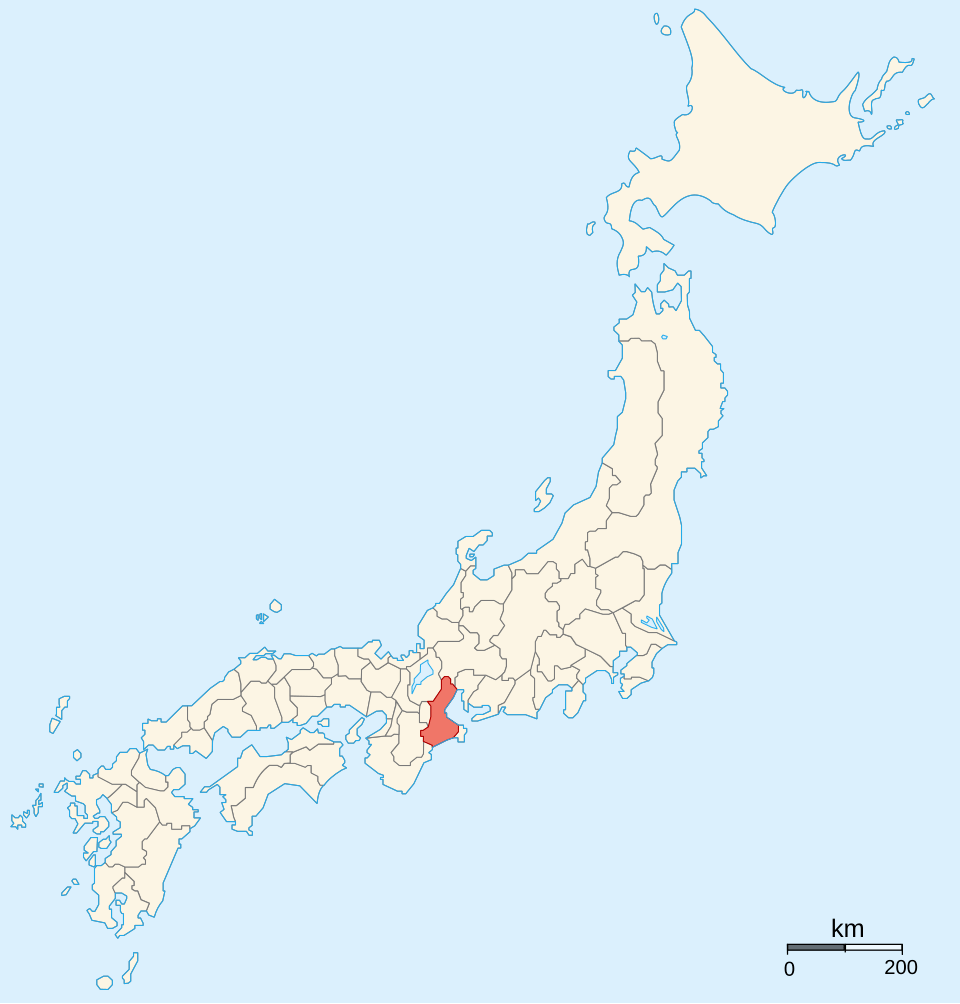
This victory did not end the war, however, and shortly after the New Year, Takigawa Kazumasu (also known as Sakon) launched successful attacks in Ise Province. Hideyoshi responded with counterattacks against Kuwana and Nagashima Castles, but the attacks failed, and he was forced to withdraw, despite an overall advantage in numbers, leaving northern Ise Province (temporarily) in the hands of his enemies.
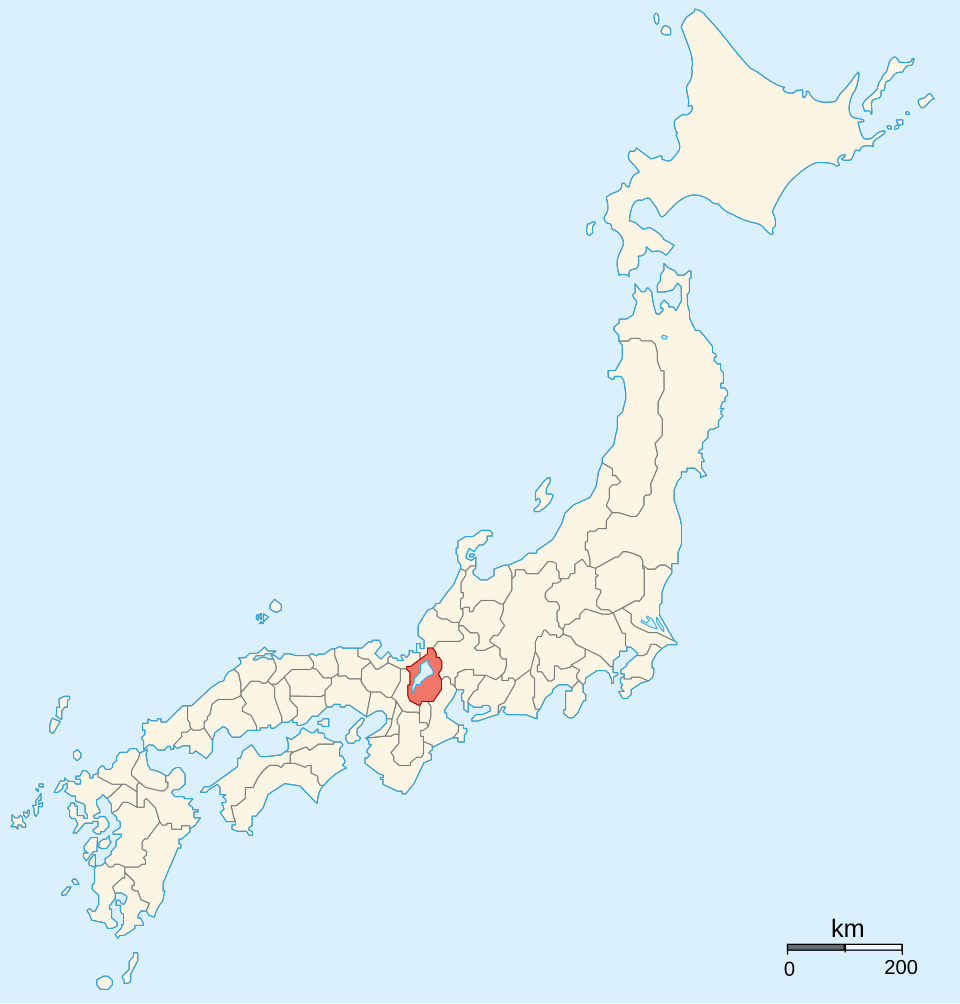
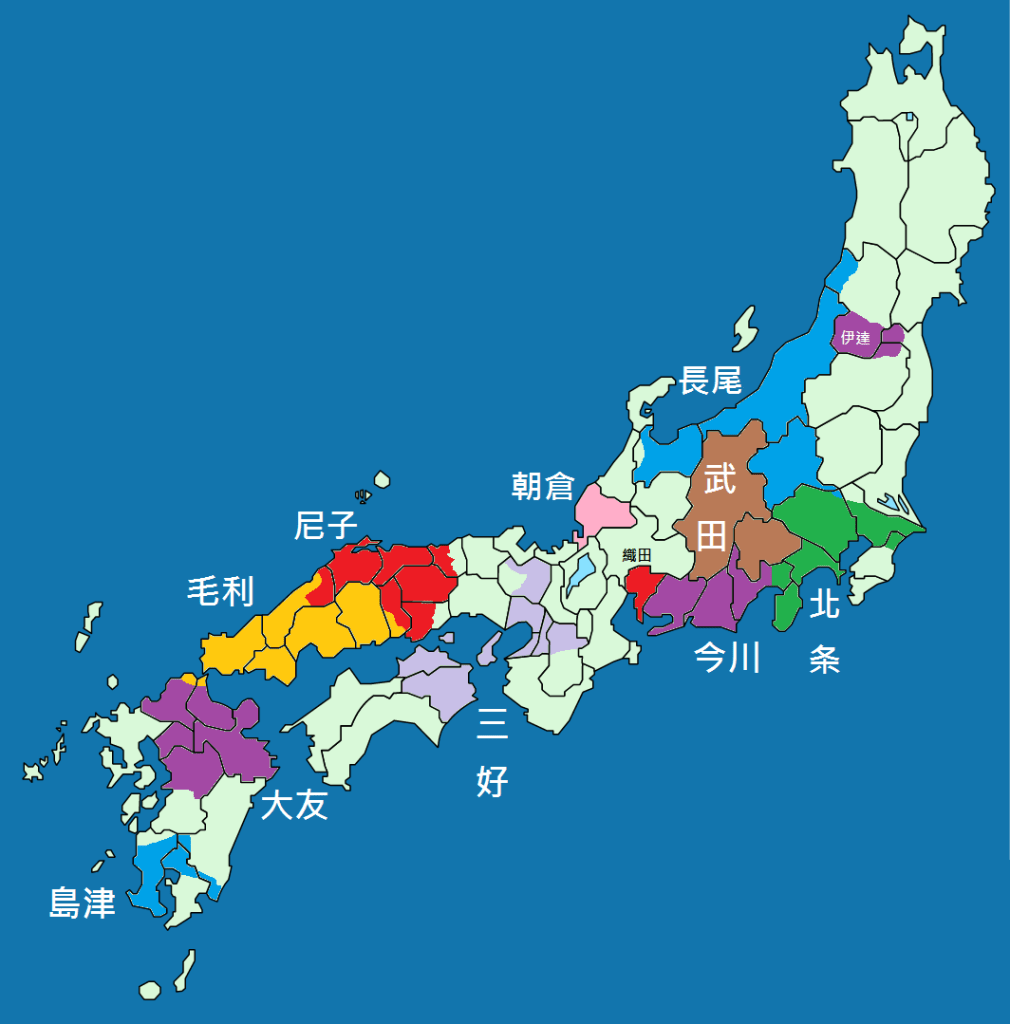
By Ash_Crow – Own work, based on Image:Provinces of Japan.svg, CC BY 2.5, https://commons.wikimedia.org/w/index.php?curid=1682471
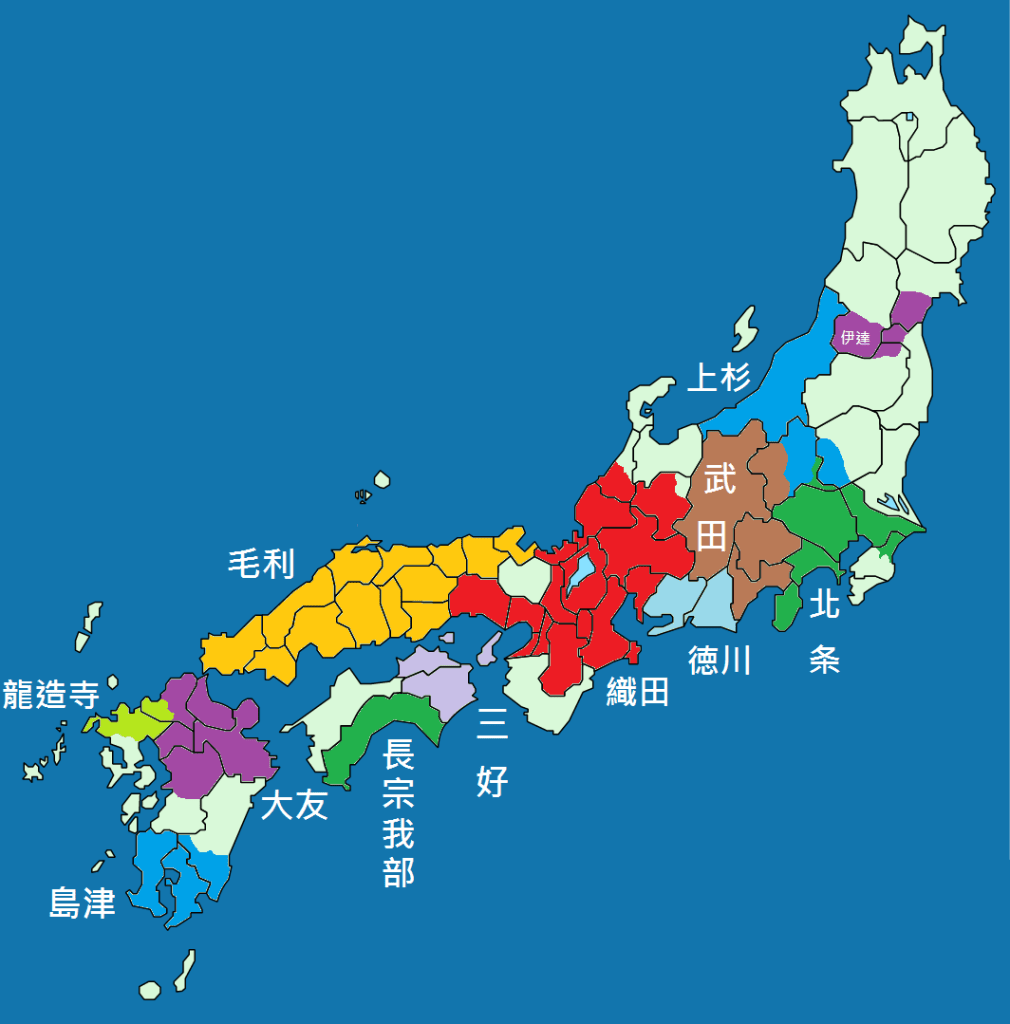
The situation got worse for Hideyoshi when Katsuie himself led an army of 30,000 into Omi Province, whilst Nobutaka raised another army at Gifu Castle. Katsuie also made contact with Mori Terumoto, hoping to secure his support in the battle to come. The Mori never outright refused, but instead adopted a ‘wait and see’ approach, as it was not immediately clear which side would win.
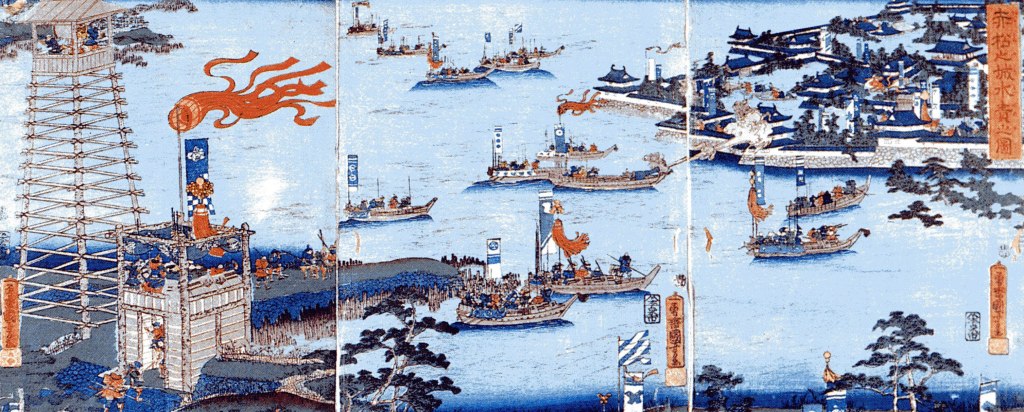
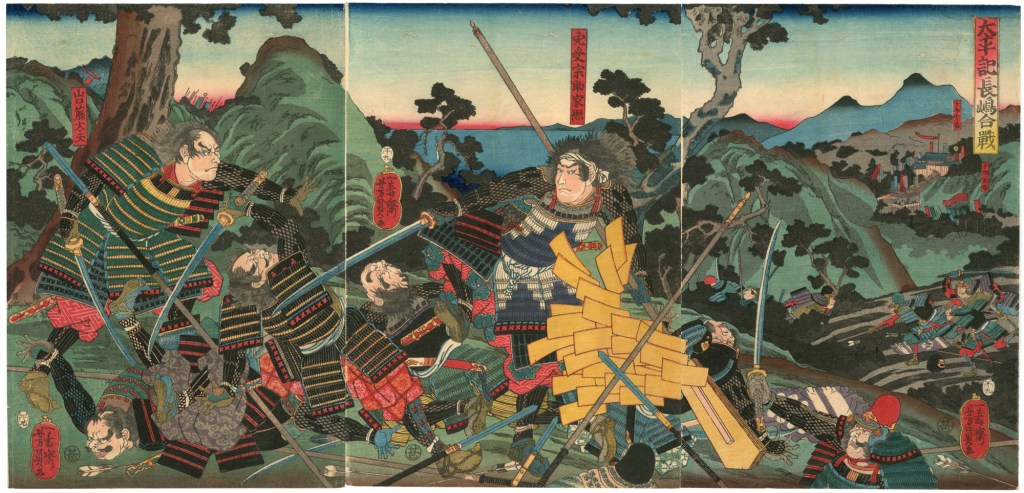
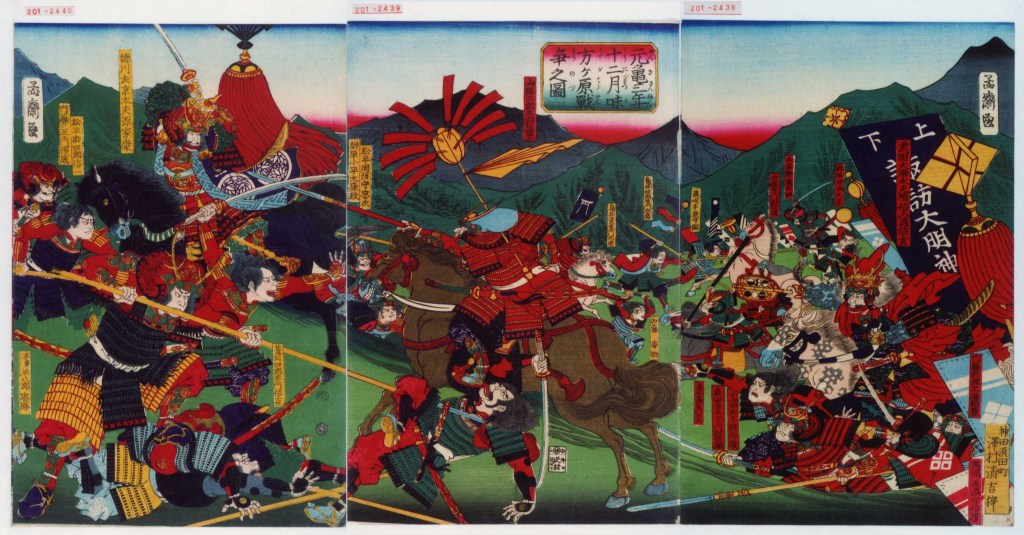
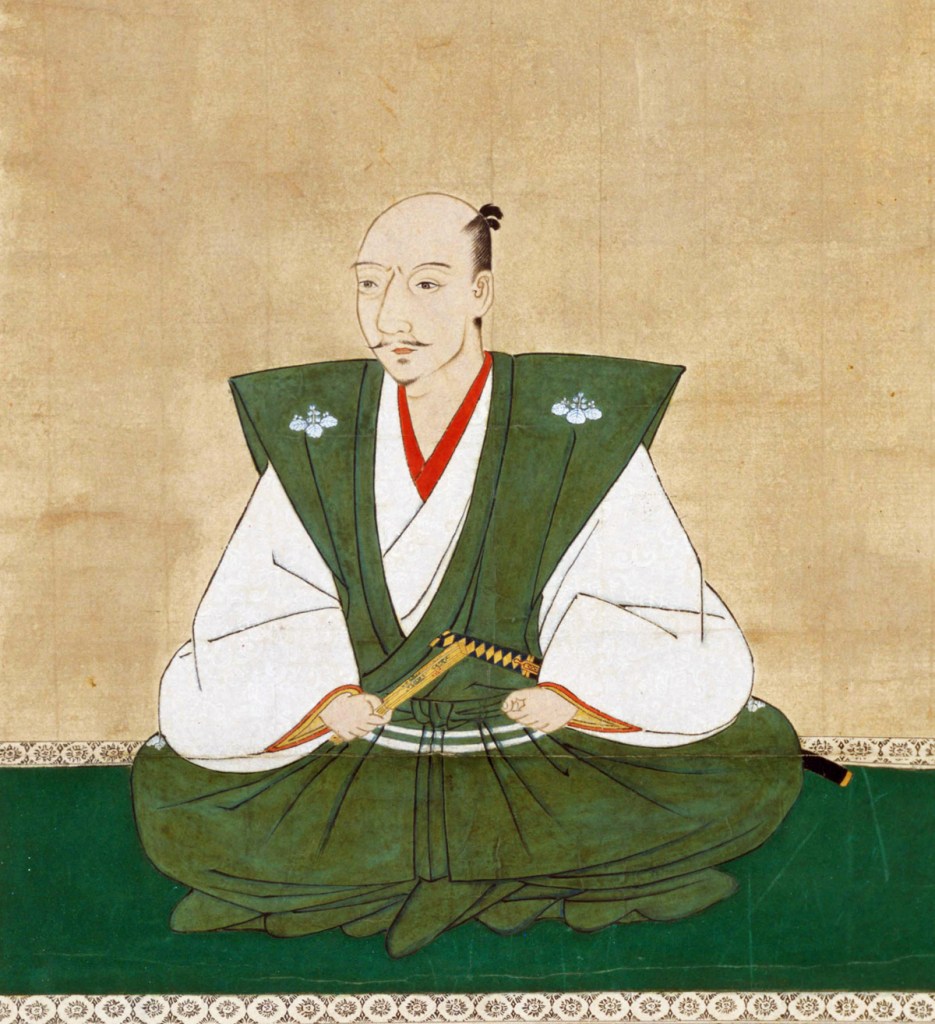
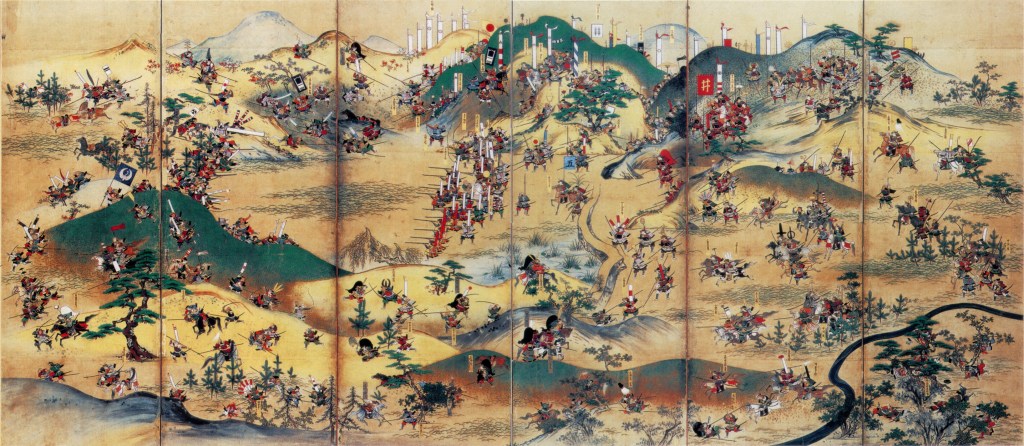
Throughout spring and early summer, the two sides clashed in skirmishes in Ise, Mino, and Omi Provinces, and the momentum would swing back and forth for some time until a decisive engagement near the fortress at Shizugatake. Hideyoshi’s forces were aided by the timely arrival of reinforcements from across Lake Biwa, and the betrayal of Maeda Toshiie, one of Katsuie’s most important generals, who switched to Hideyoshi’s side, for reasons that are still debated.
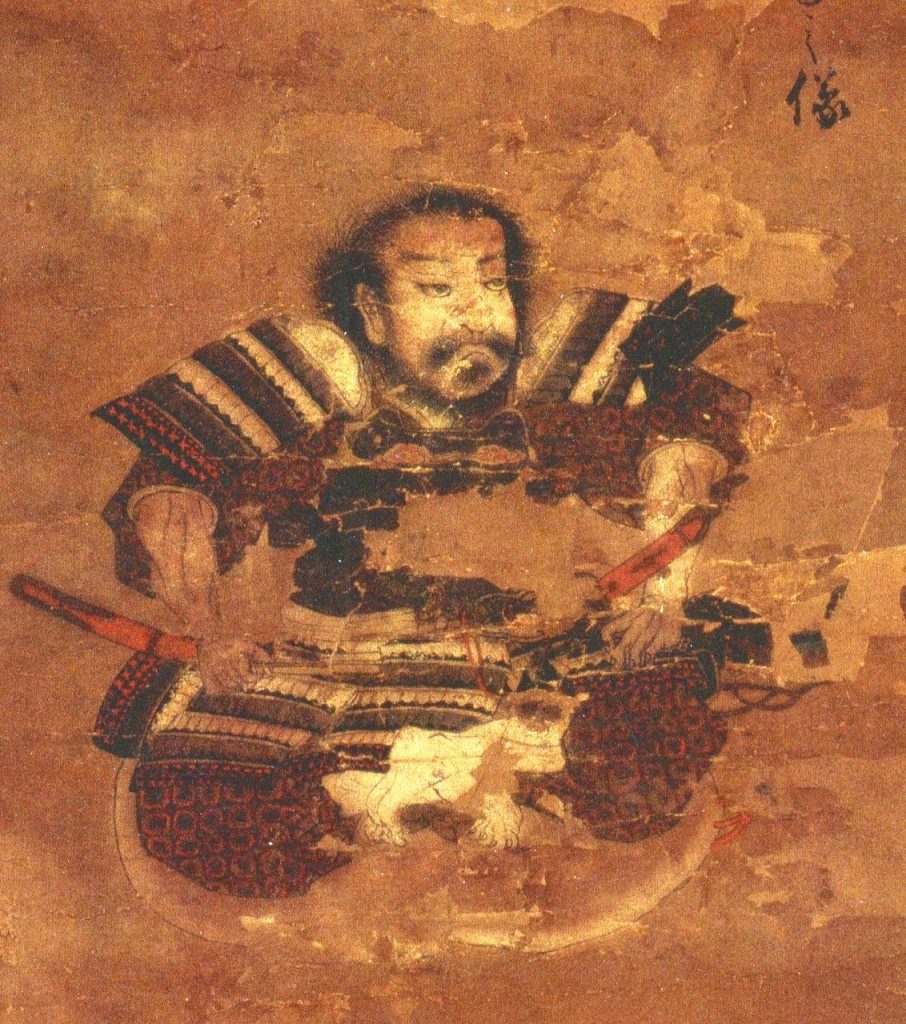
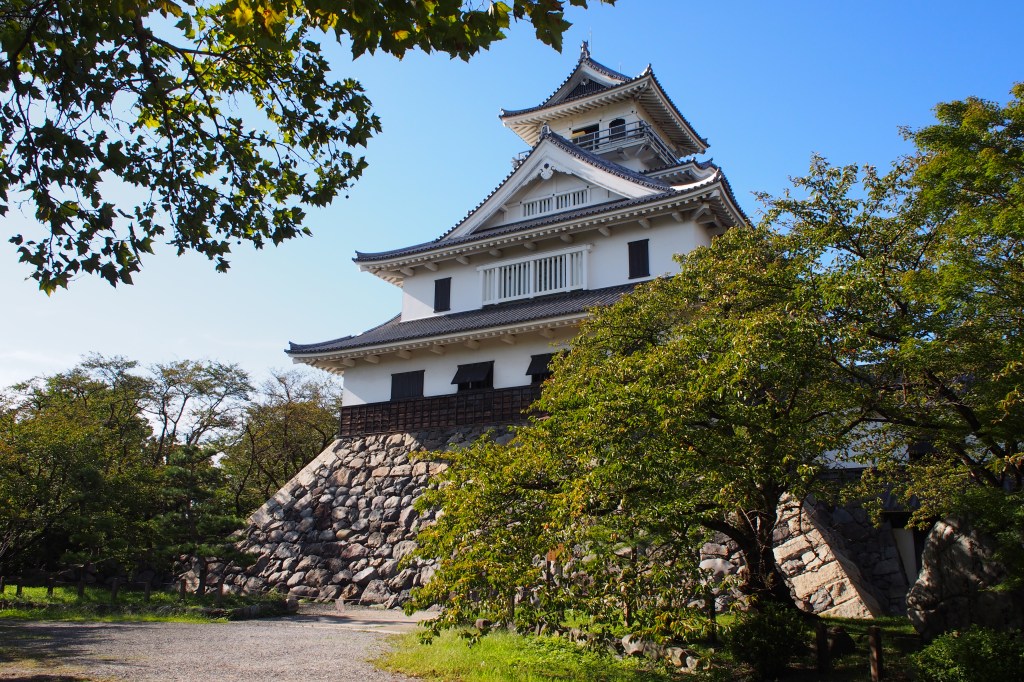
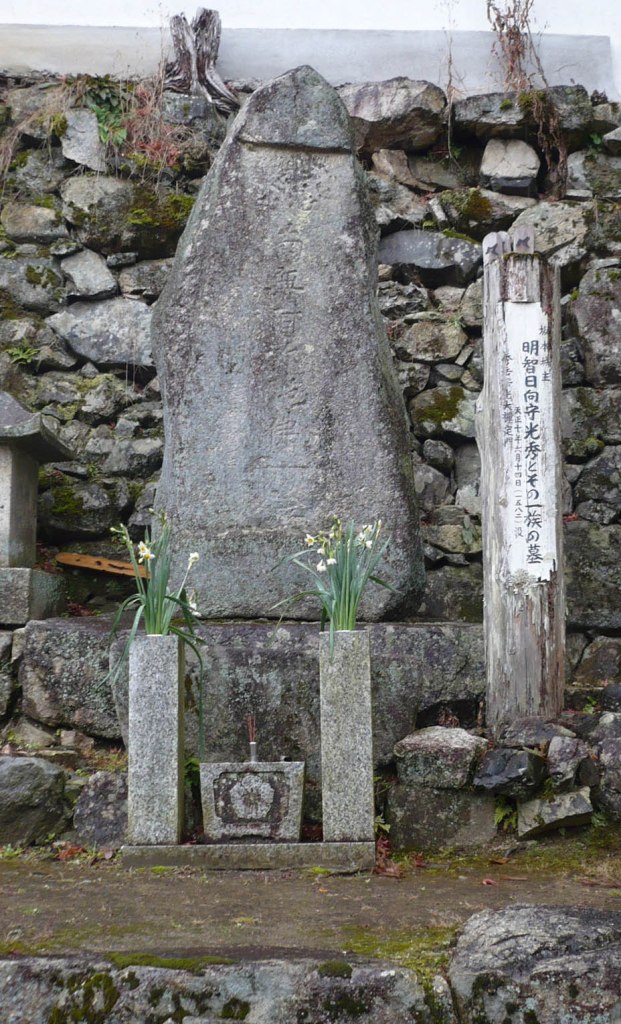
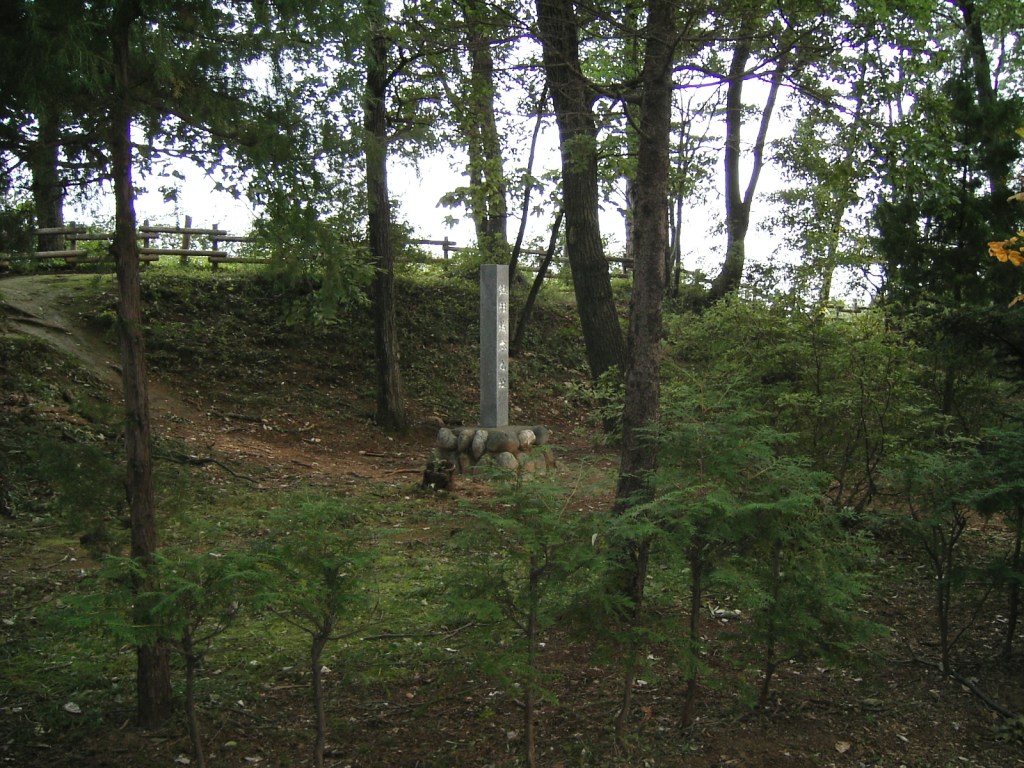
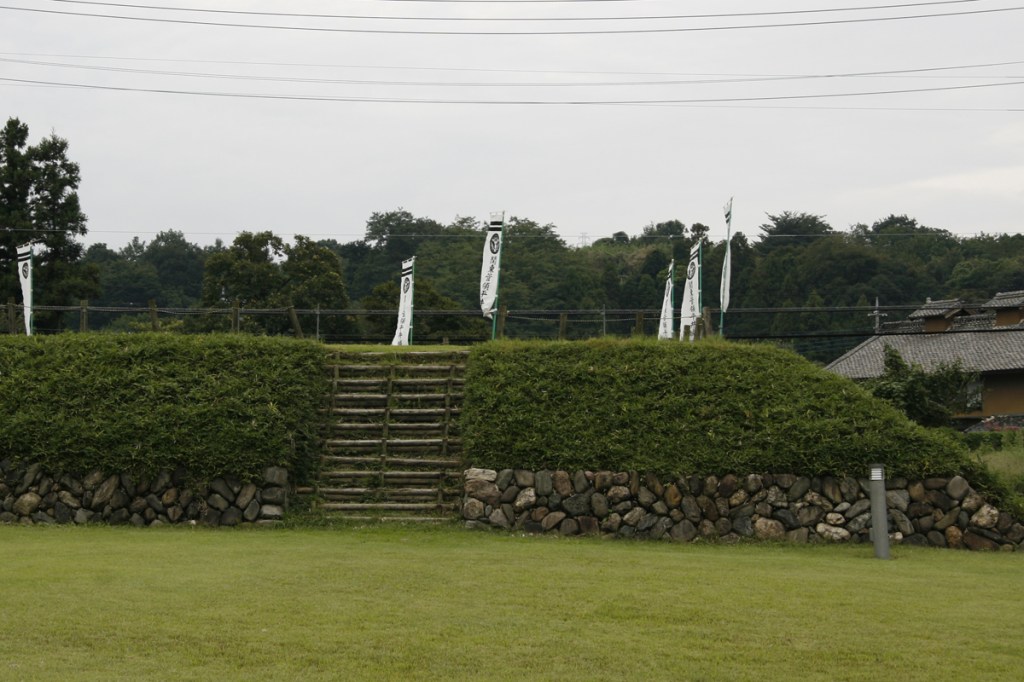
By all accounts, Katsuie and his army forced tenaciously, but with Toshiie’s betrayal, they were outflanked and outnumbered, and Katsuie was forced to retreat. He got as far as Kitanosho Castle, in modern Fukui, where Hideyoshi’s forces laid siege.
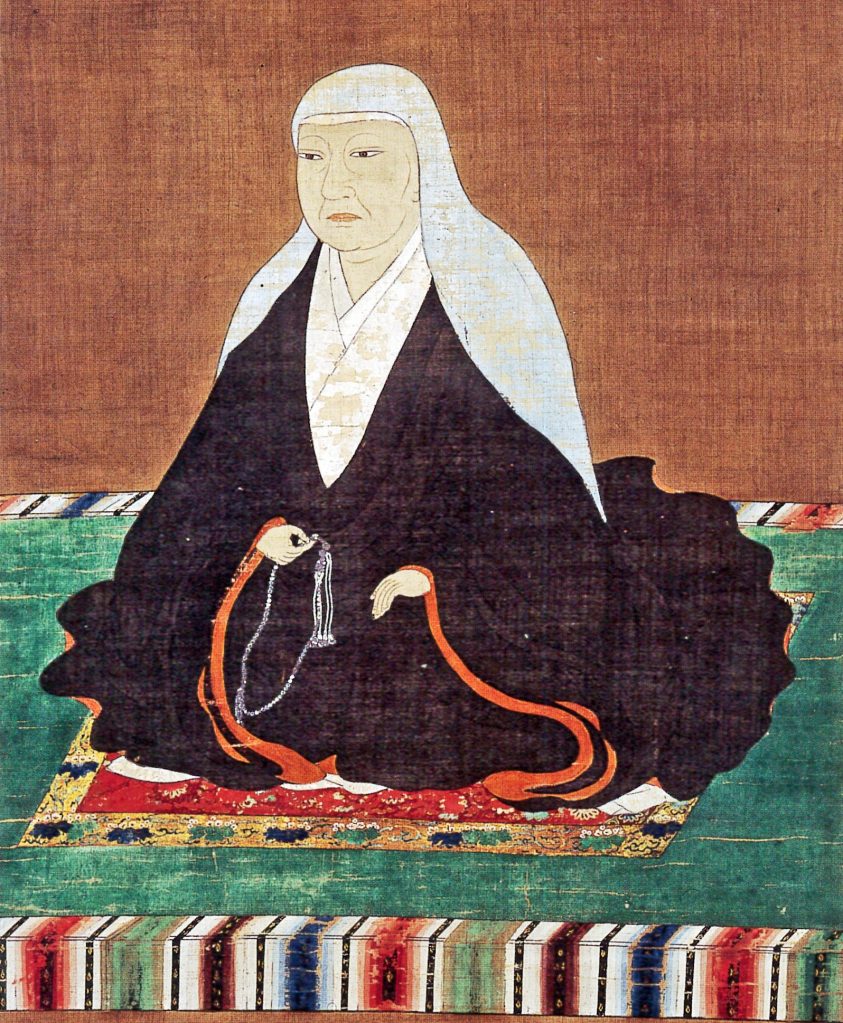
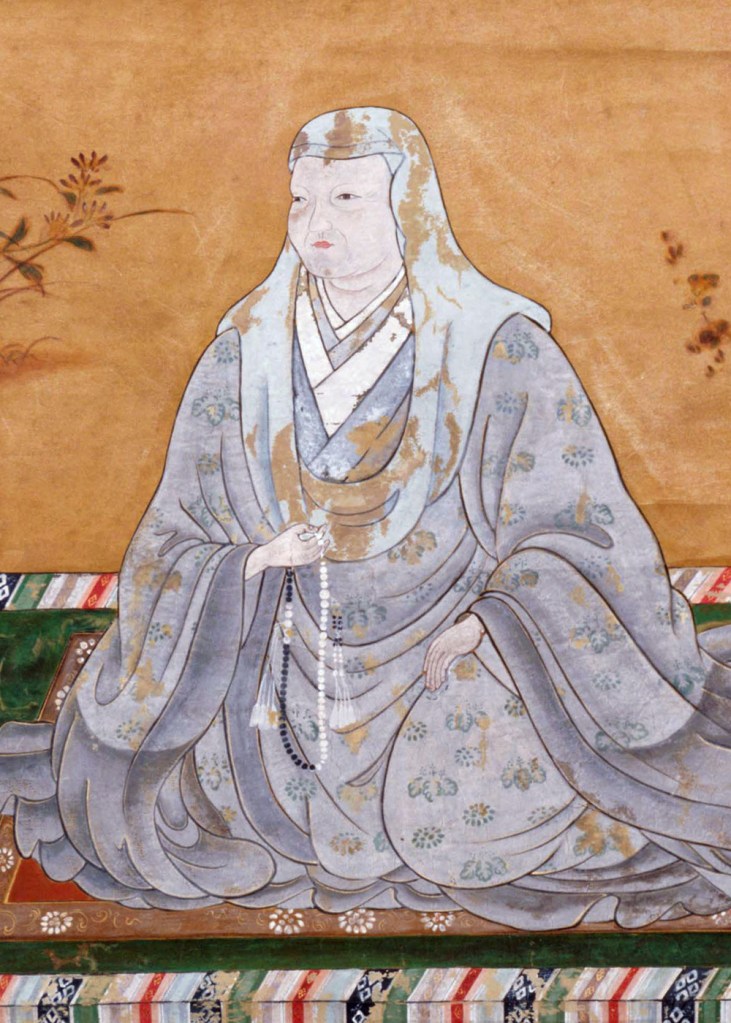
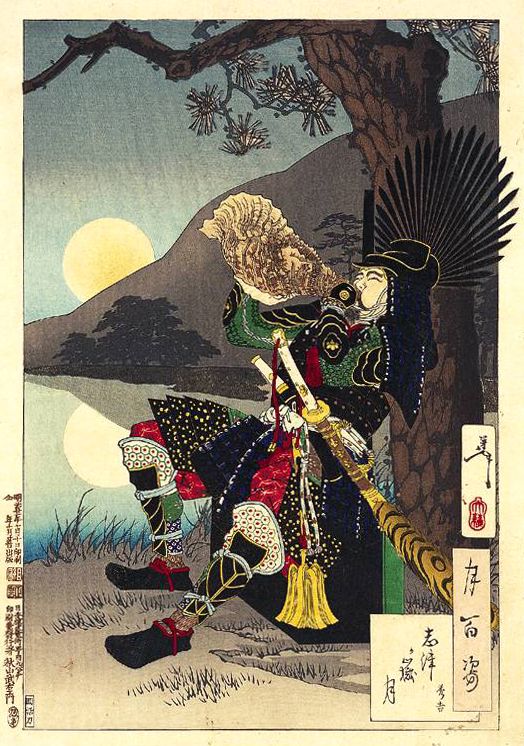
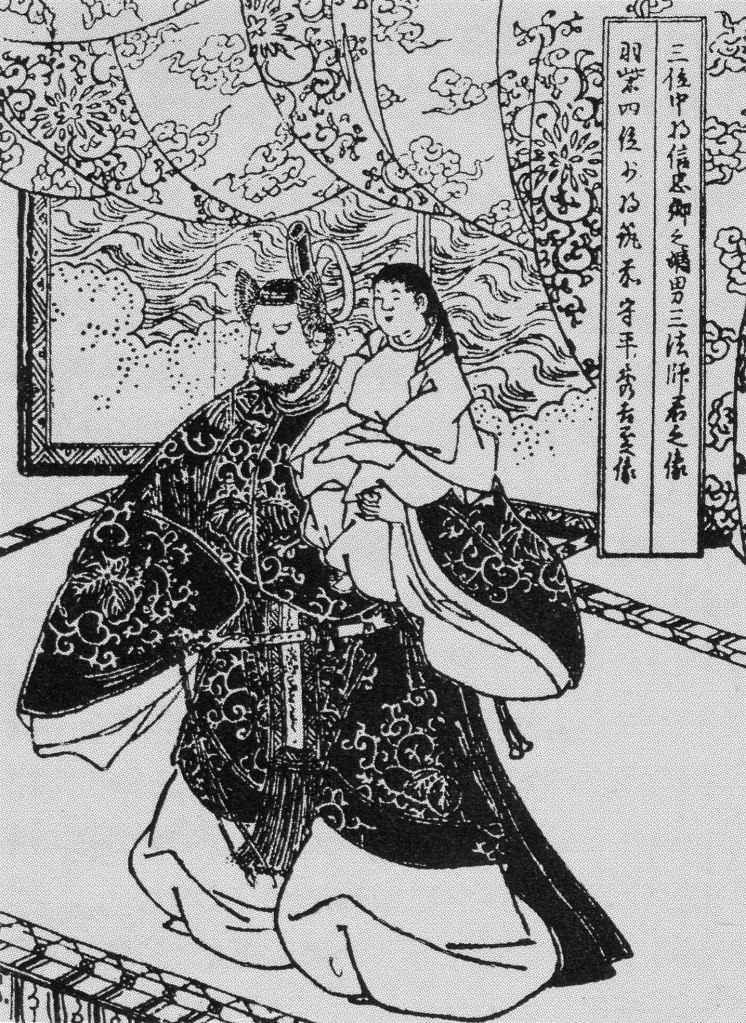
The night before the final assault, Katsuie held a final banquet with his close family and retainers, whilst his wife, Oichi, made arrangements for her three daughters to be protected by Hideyoshi and avoid what was to come. Despite pleas to save herself, Oichi refused to leave her husband’s side.

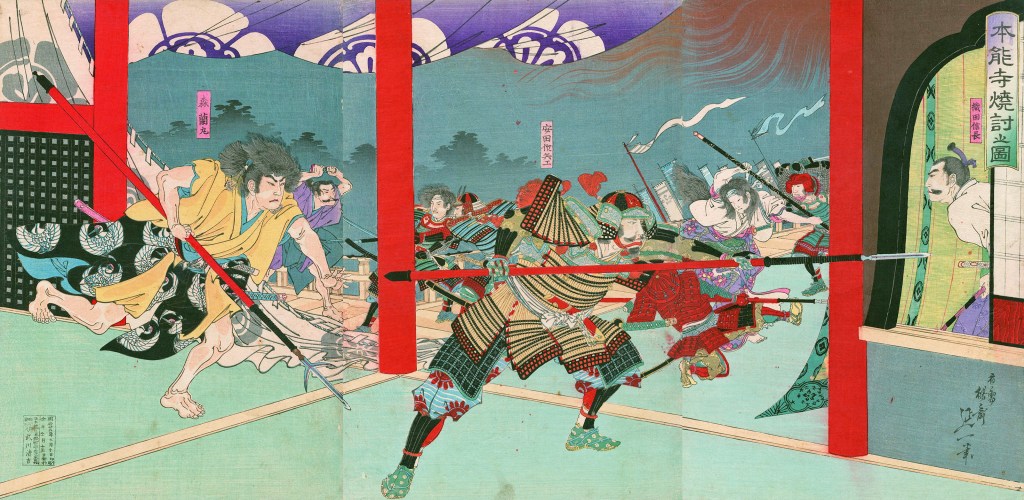
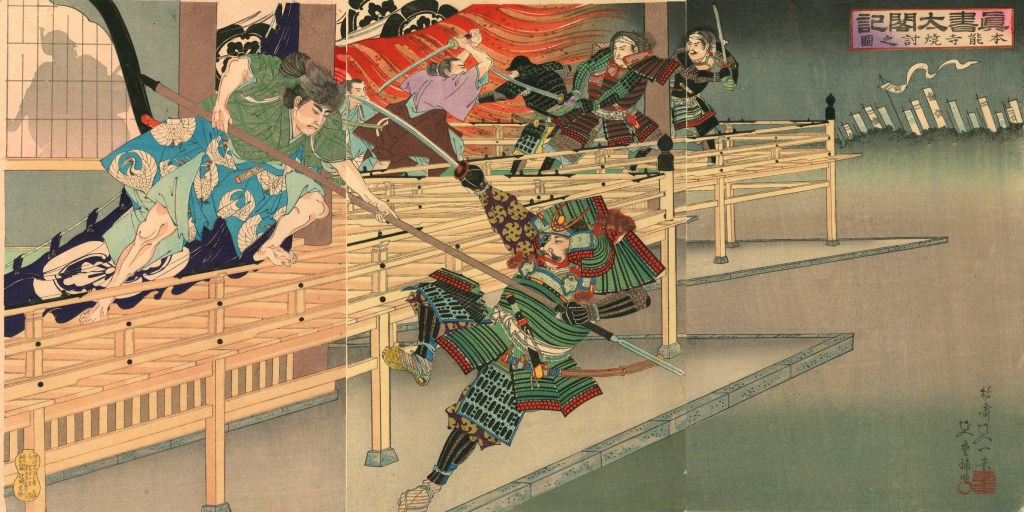
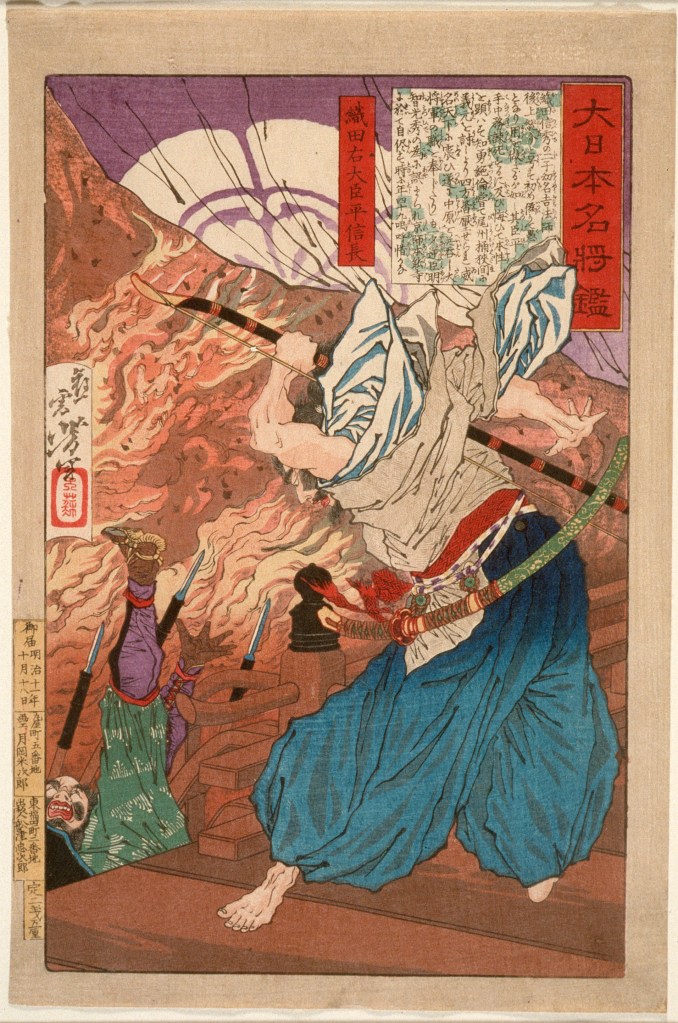
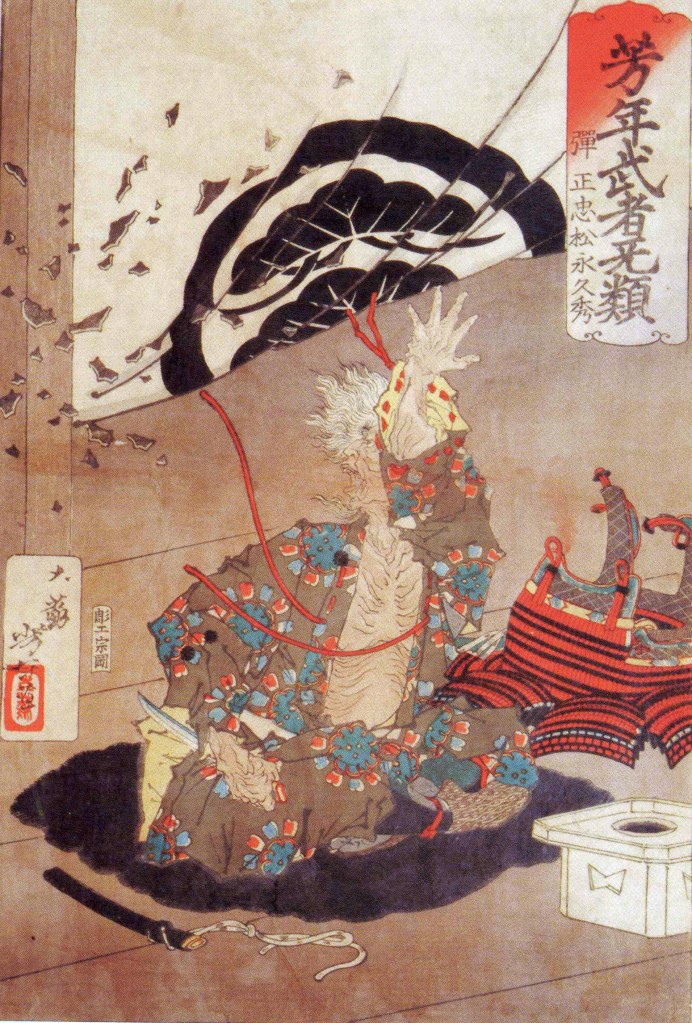
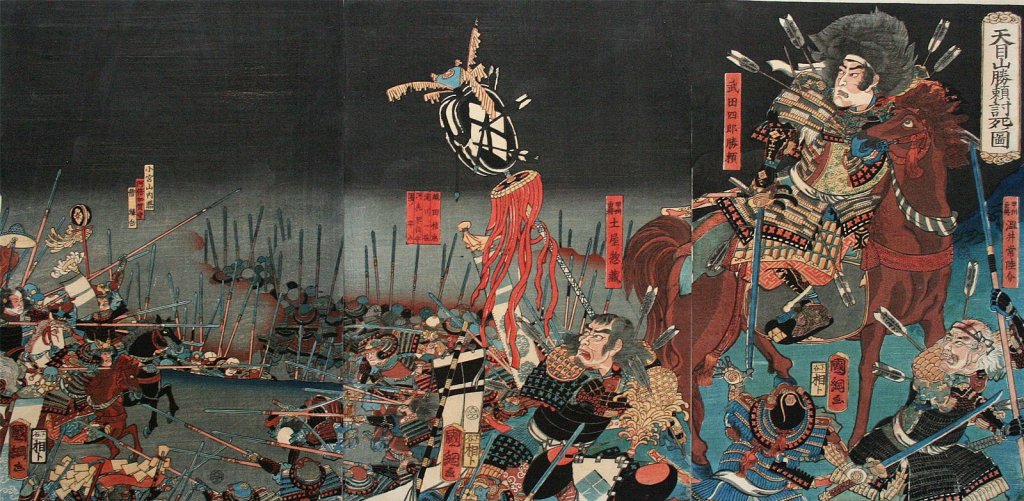
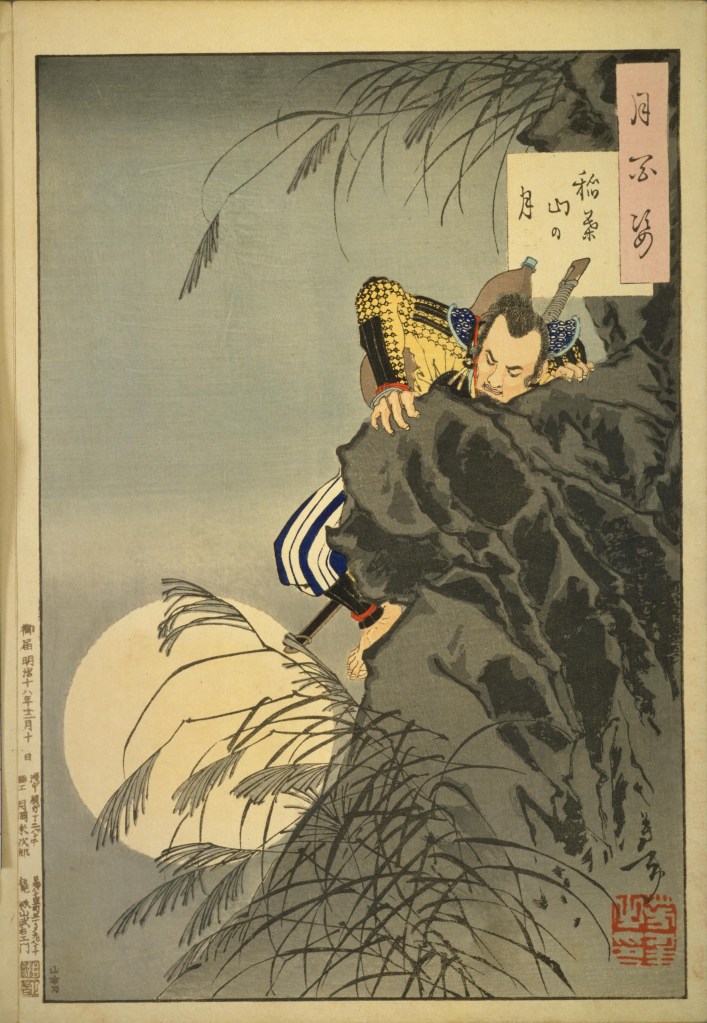
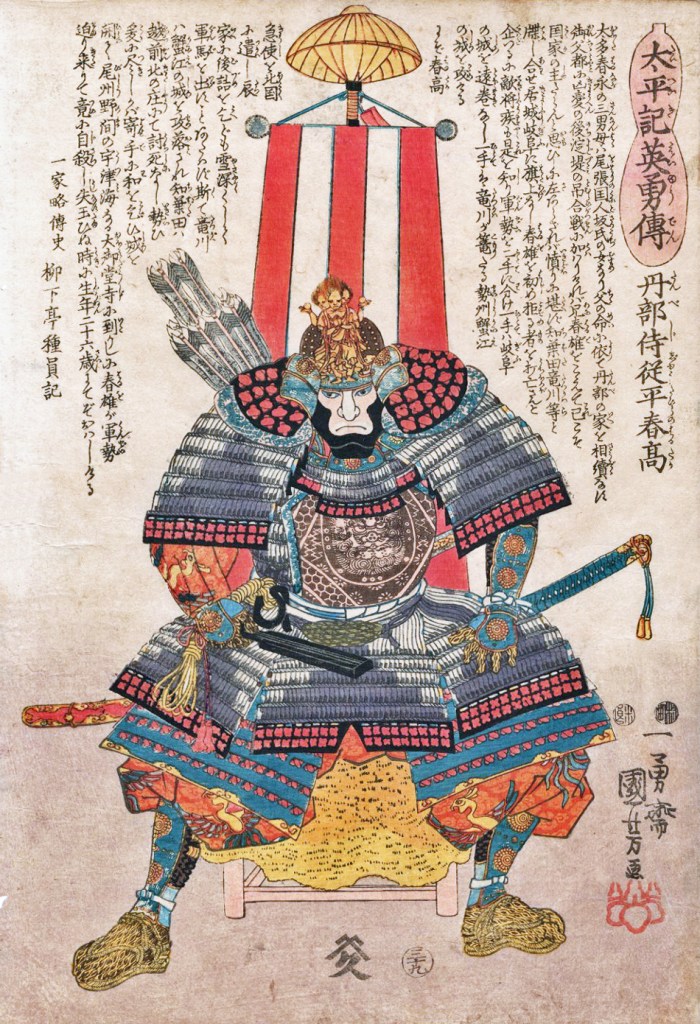
The attack started at dawn, and despite stiff resistance, by midday, the battle was clearly lost, and Katsuie retreated to the main castle, where he and 80 members of his family, including Oichi, killed themselves. Calling it ‘suicide’ is perhaps a bit generous, as the records suggest that a large number of the dead were children. When it was over, Katsuie’s forces ignited a store of gunpowder, blowing the tower apart and bringing a spectacular end to the Shibata Line.
“Katsuie, a martial artist, fought seven times but was unable to defend himself. He climbed to the ninth floor, the highest level of the main tower, and addressed the entire group, loudly proclaiming, “Watch Shuri’s hara-kiri and learn from it.” The samurai, with their hearts in tears, wet their armor sleeves. As everyone fell silent, Katsuie stabbed his wife, children, and others to death, then committed seppuku with 80 others. It was the hour of the tiger (5:00 PM).”
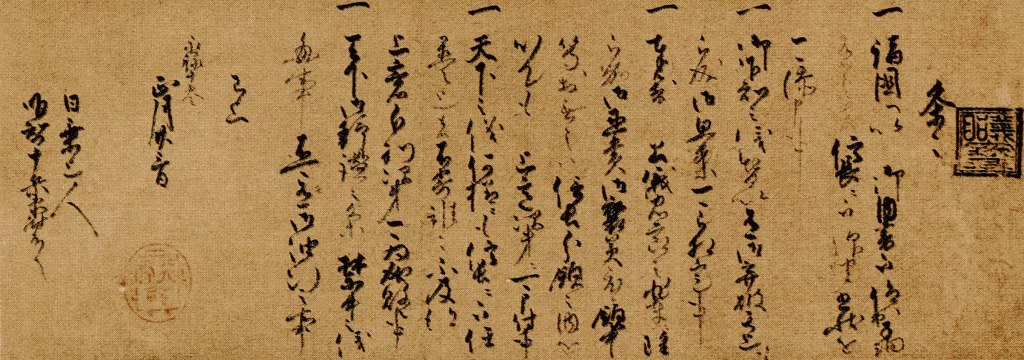
Hideyoshi’s letter to Kobayakawa Takakage dated May 15, 1583,
Just a side note, the actual record of Katsuie’s suicide is pretty harrowing stuff, and it’s always difficult to read about the death of women and children who weren’t guilty of anything other than being related to the losers. This kind of thing was expected, though; even children weren’t generally shown mercy, and though there are notable examples (Oichi’s daughters, for instance), if a child was caught in a siege, they generally died in the same manner as their parents.
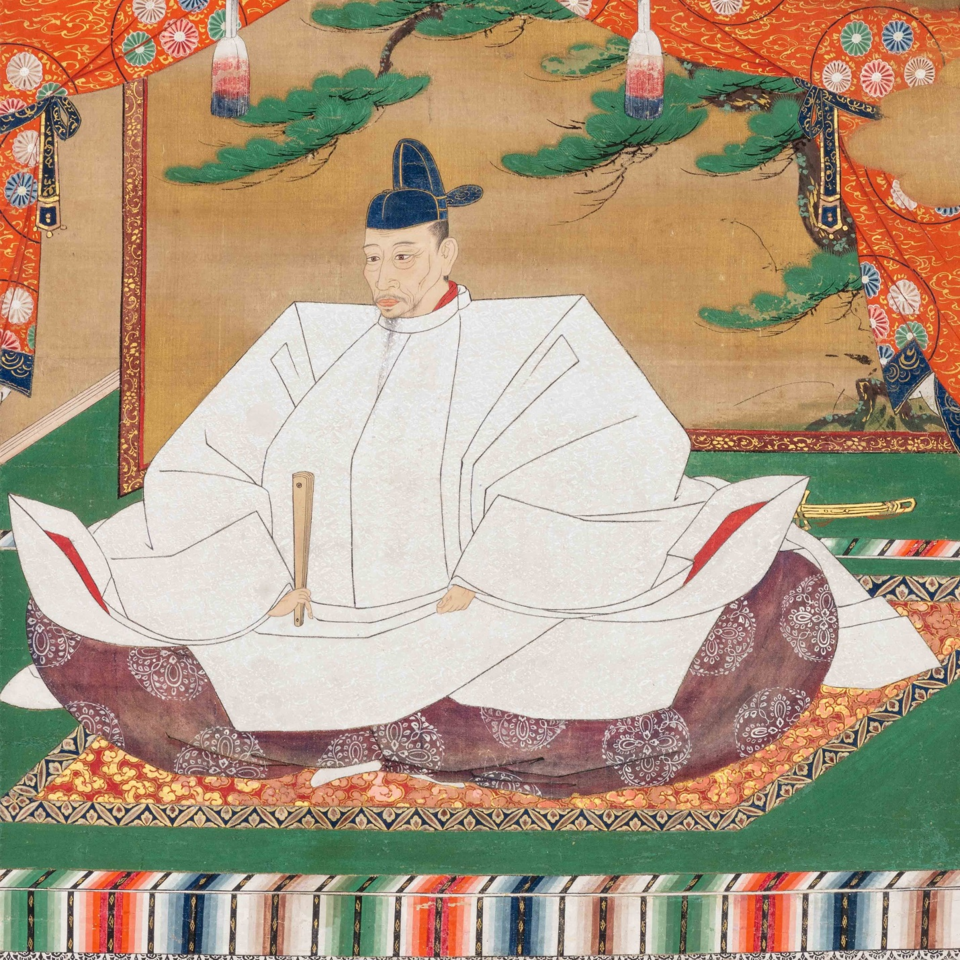
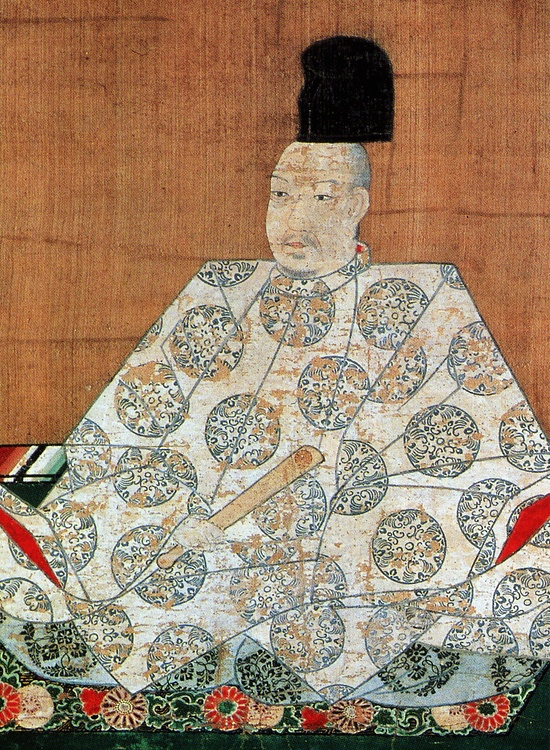
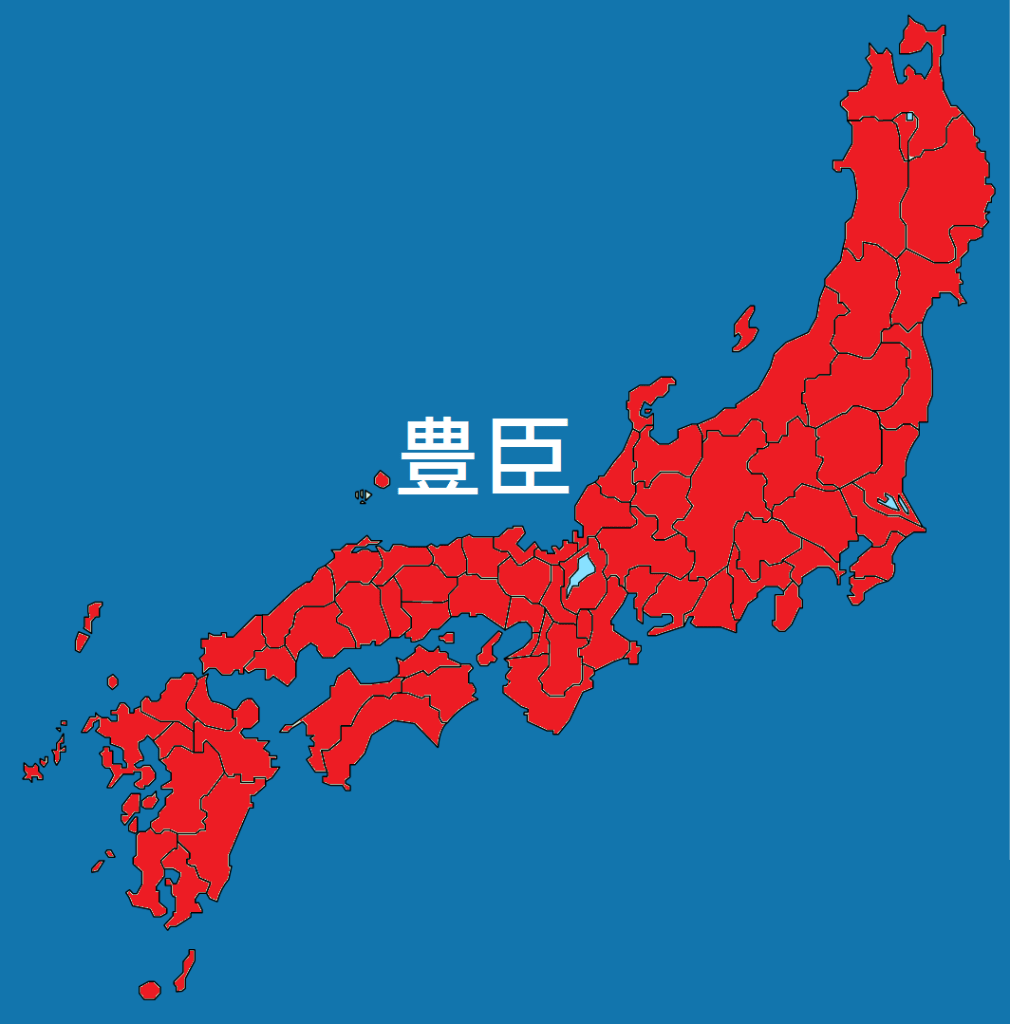
With Katsuie crushed, Hideyoshi was able to extend his direct control over the northern provinces of Koto, Noto, and Echizen, and when Nobutaka committed seppuku, and Kazumasu surrendered, Hideyoshi had established himself as the most powerful man in the realm and while Hidenobu (still just an infant) remained as the nominal ‘heir’ there was no no doubt that Hideyoshi was in charge.
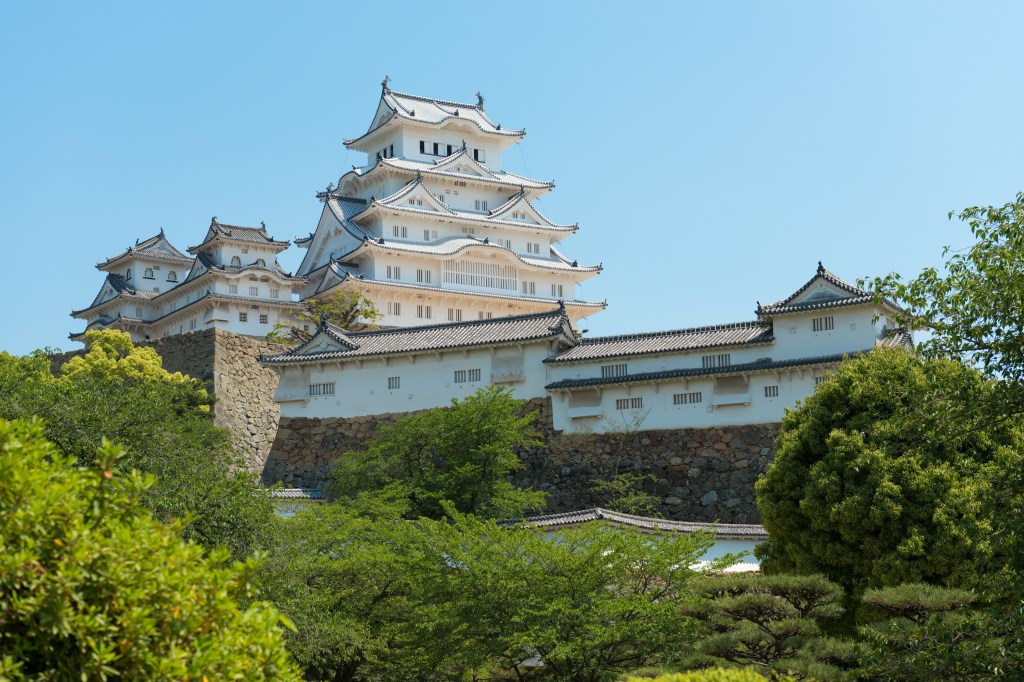
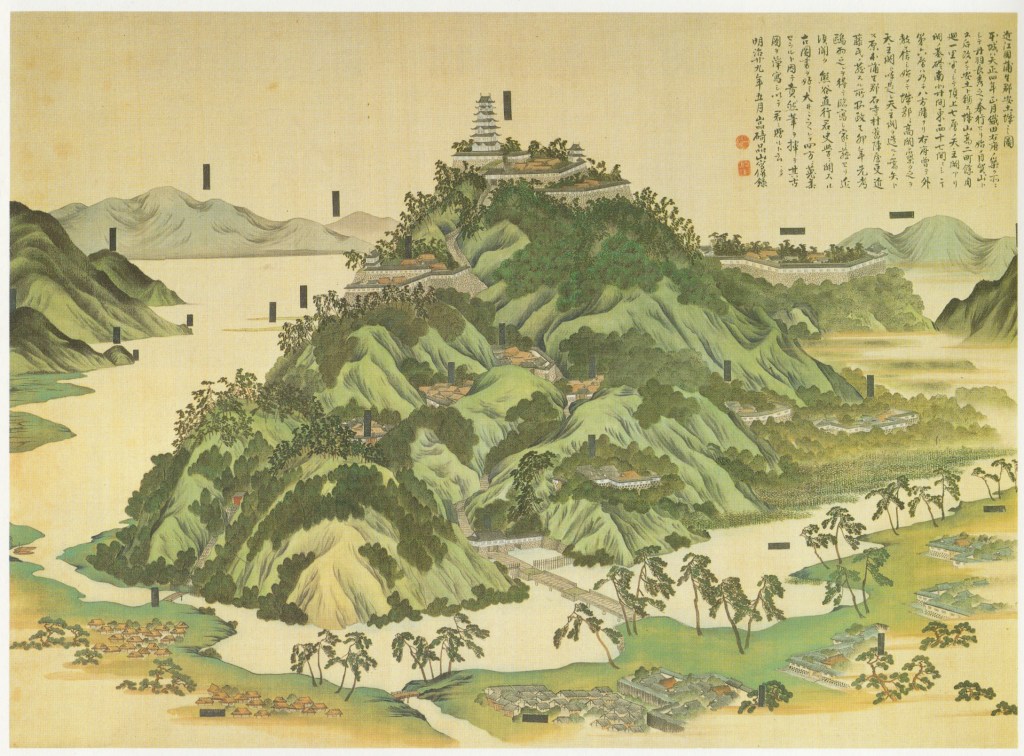
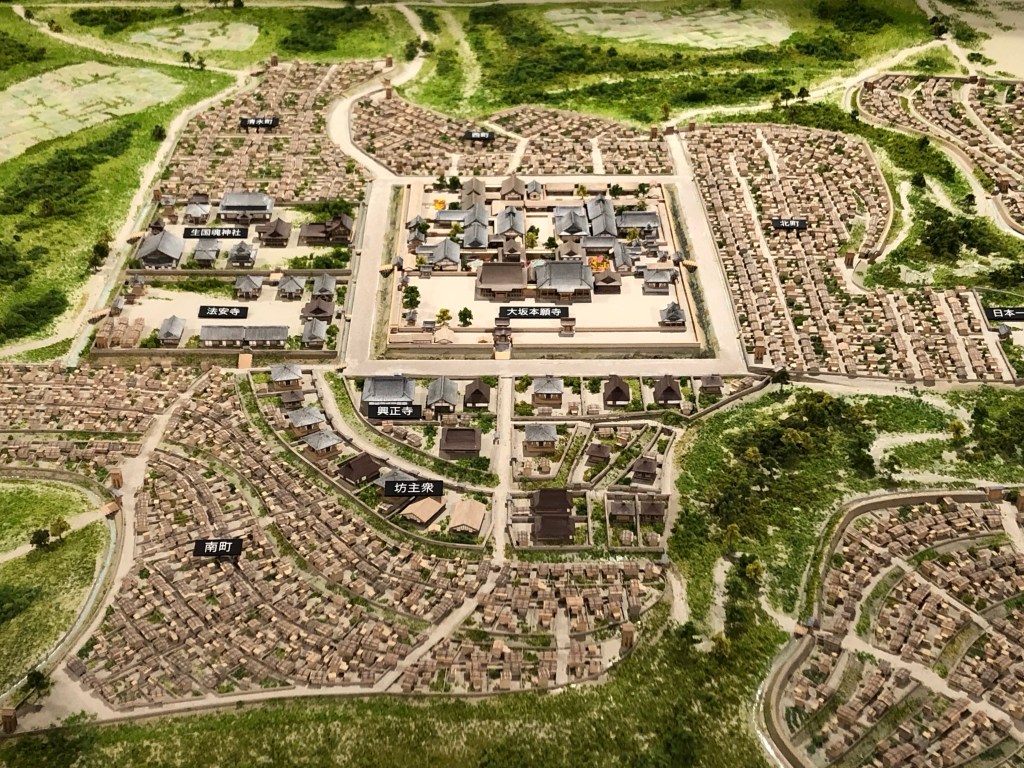
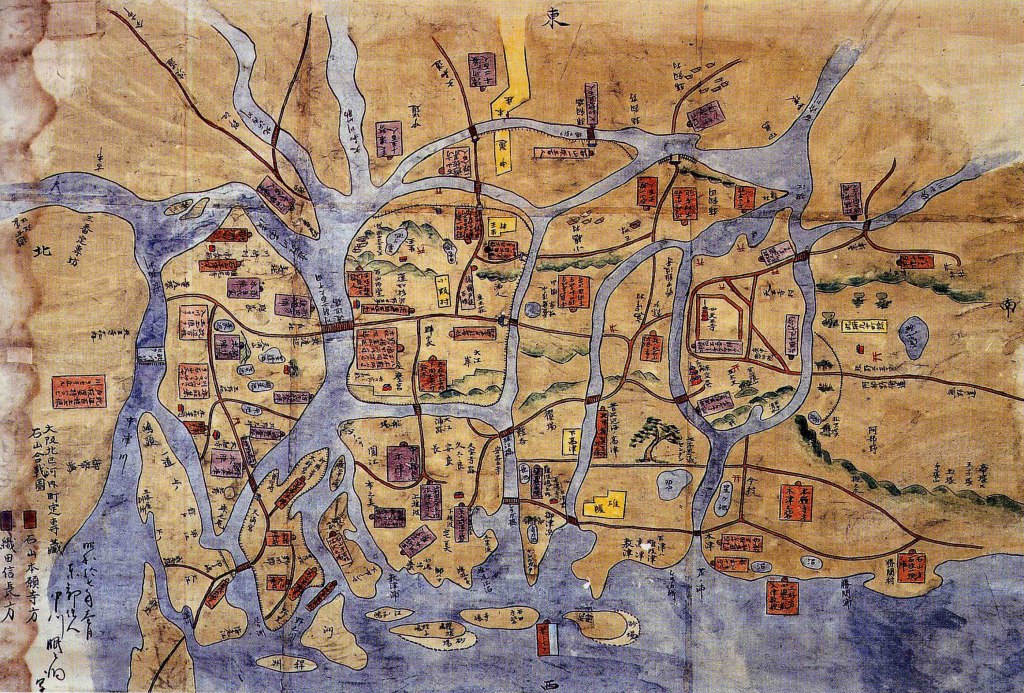
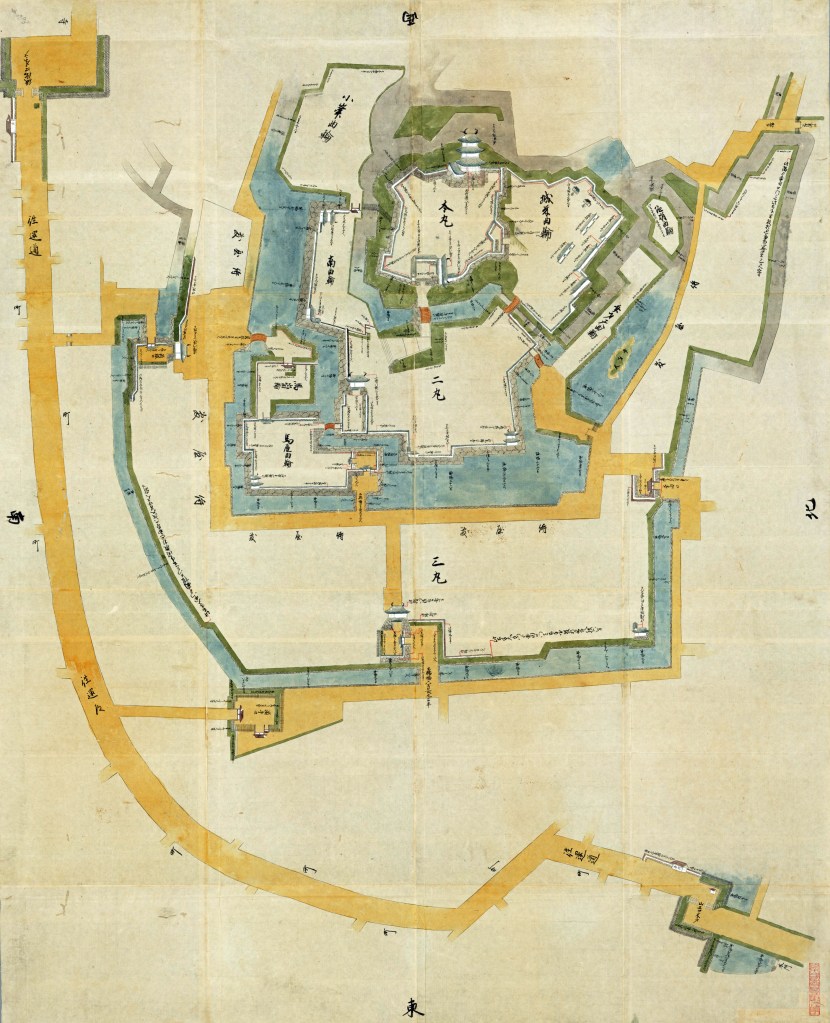
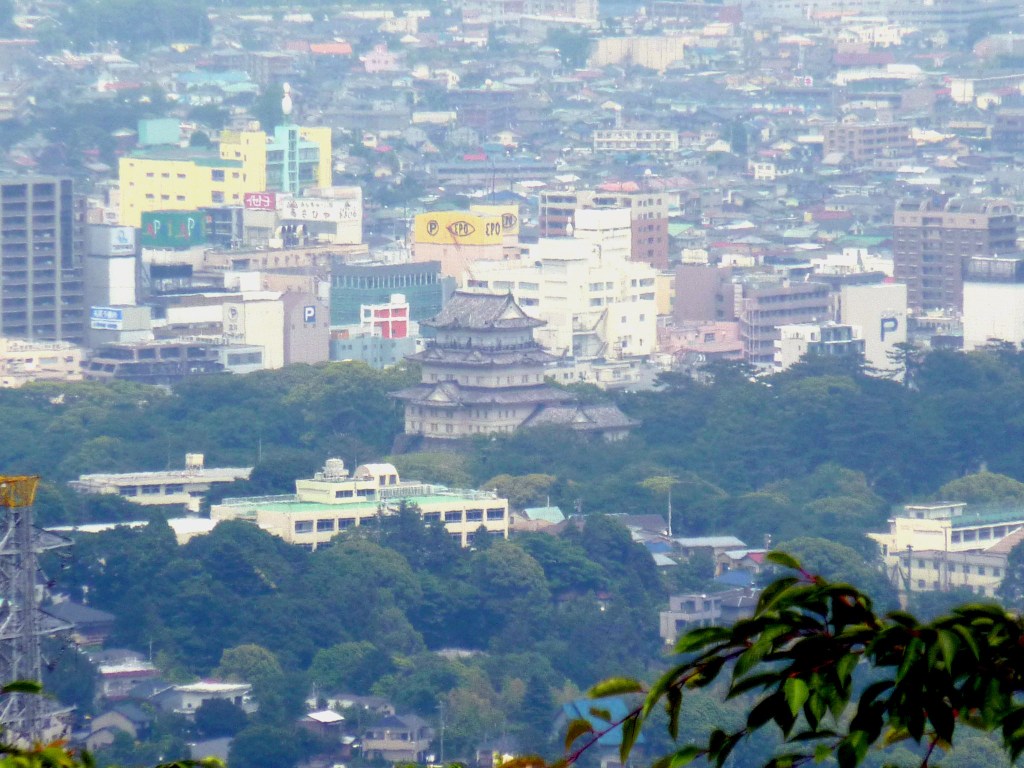
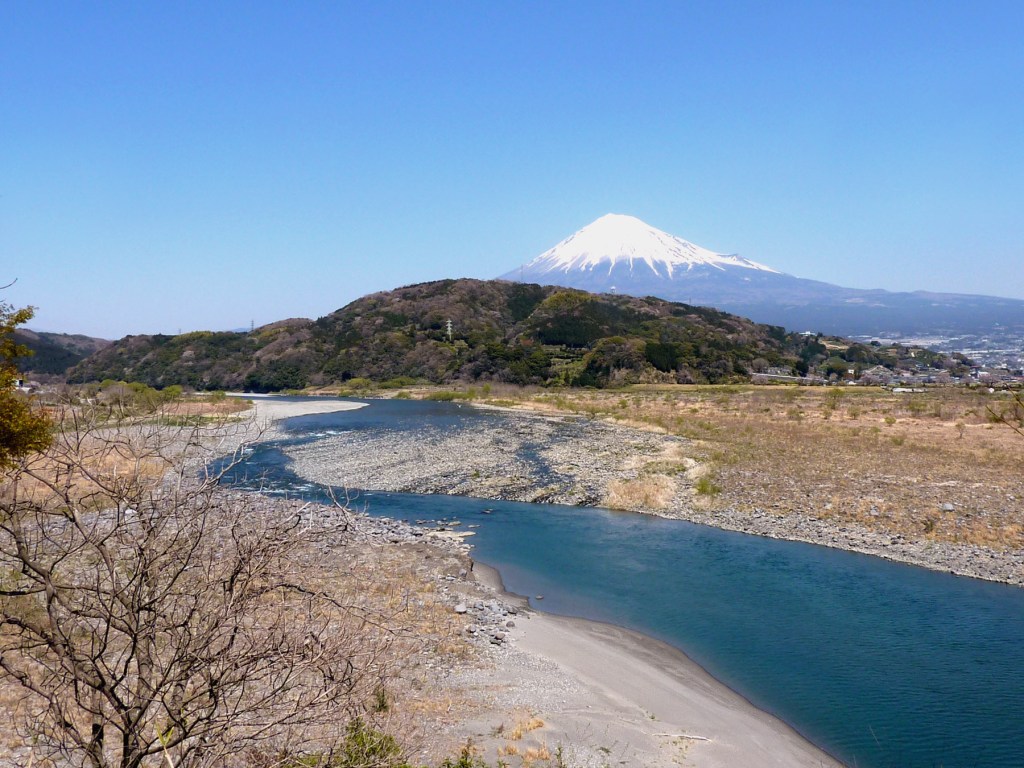
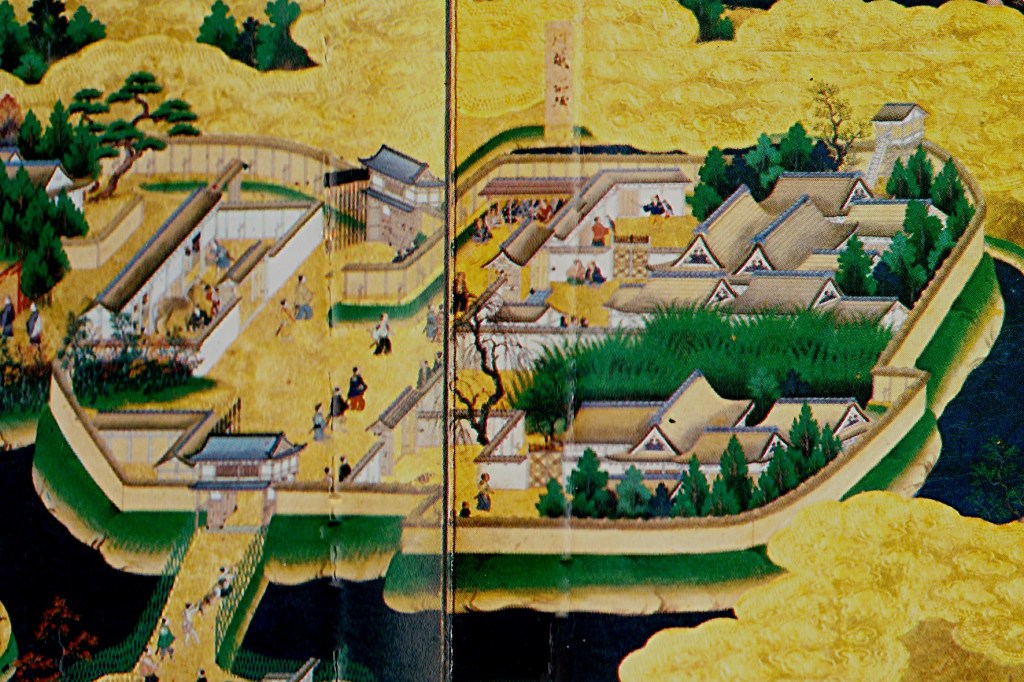
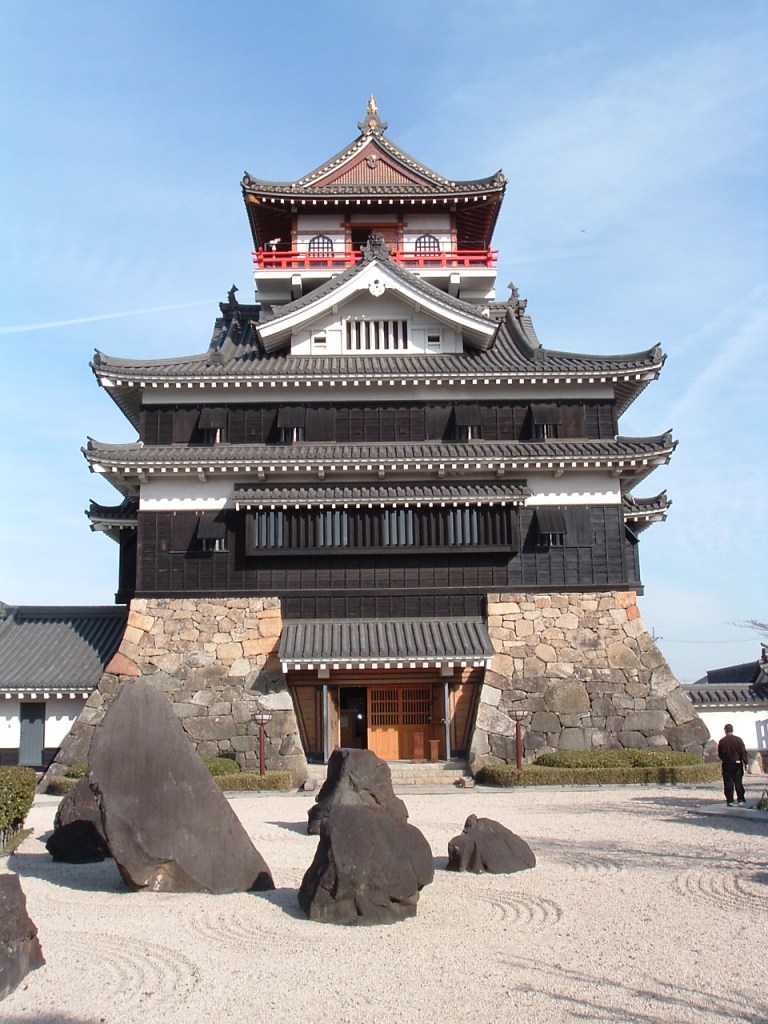
In 1583, construction began on Osaka Castle, built on the former site of the Ishiyama Hongan-ji Temple complex. It would eventually become Hideyoshi’s base and was widely considered one of Japan’s finest castles. Meanwhile, in the Kanto, a marriage alliance between the Tokugawa and Hojo presented a clear threat to Hideyoshi’s power.
In early 1584, Oda Nobukatsu, another son of Nobunaga, rebelled against Hideyoshi, quickly gaining the support of Tokugawa Ieyasu and Chosokabe Motochika, who raised armies of their own in opposition to Hideyoshi. Despite a huge advantage in manpower (some sources say 3-to-1), Hideyoshi struggled to achieve a decisive victory.

Some initial success in Ise Province was followed by a defeat at the Battle of Haguro Castle, after which Hideyoshi, who had been waiting at Osaka Castle, took the field himself, meeting Ieyasu near Komaki (near the modern city of the same name). Again, despite a significant manpower imbalance, Ieyasu’s strong position meant that Hideyoshi was unable to force a decisive engagement, and both sides focused on reinforcing castles and constructing new earthworks in anticipation of the fight to come.
The campaign that followed is often called the Battle of Komaki and Nagakute, after its two most decisive engagements, but there were actually a series of sieges, counterattacks, and skirmishes over the summer and early autumn of 1584. The fighting would result in a tactical victory for the Tokugawa, as they would arguably have the best of the fighting. On the other hand, the strategic situation favoured Hideyoshi, and he would ultimately be able to secure control over his new territory and the power that went along with it.
In the end, both sides had bigger problems. Ieyasu’s domains were under severe economic strain from the war, and a series of floods, combined with the burden of having a large number of peasants away at war, drained his treasury and threatened famine (this was before a serious earthquake in 1586 compounded his problems).
For his part, Hideyoshi’s position was not as strong as it appeared. Though he had the advantage in men, he also had powerful enemies elsewhere, enemies that were arguably more pressing problems than Ieyasu, who had proven he could hold Hideyoshi off, but not that he could mount a serious attack of his own.
Despite his inability to defeat Ieyasu, by the dawn of 1585, Hideyoshi was effectively the ruler of Japan, already on the verge of surpassing his nominal masters (the Oda), and about to launch the campaigns that would finally bring an end to the centuries of bloodshed.
Sources
https://ja.wikipedia.org/wiki/%E8%B1%8A%E8%87%A3%E7%A7%80%E5%90%89
https://ja.wikipedia.org/wiki/%E5%B0%8F%E7%89%A7%E3%83%BB%E9%95%B7%E4%B9%85%E6%89%8B%E3%81%AE%E6%88%A6%E3%81%84
https://ja.wikipedia.org/wiki/%E5%B2%A9%E5%B4%8E%E5%9F%8E%E3%81%AE%E6%88%A6%E3%81%84
https://ja.wikipedia.org/wiki/%E5%B0%8F%E7%89%A7%E5%B1%B1
https://ja.wikipedia.org/wiki/%E5%A4%A7%E5%9D%82%E5%9F%8E
https://ja.wikipedia.org/wiki/%E8%B3%A4%E3%83%B6%E5%B2%B3%E3%81%AE%E6%88%A6%E3%81%84
https://ja.wikipedia.org/wiki/%E5%8C%97%E3%83%8E%E5%BA%84%E5%9F%8E%E3%81%AE%E6%88%A6%E3%81%84
https://ja.wikipedia.org/wiki/%E6%B5%85%E4%BA%95%E4%B8%89%E5%A7%89%E5%A6%B9
https://en.wikipedia.org/wiki/Kitanosho_Castle
https://ja.wikipedia.org/wiki/%E5%89%8D%E7%94%B0%E5%88%A9%E5%AE%B6#%E4%BA%BA%E7%89%A9%E3%83%BB%E9%80%B8%E8%A9%B1
https://ja.wikipedia.org/wiki/%E6%A1%91%E5%90%8D%E5%9F%8E
https://ja.wikipedia.org/wiki/%E6%B8%85%E6%B4%B2%E4%BC%9A%E8%AD%B0
https://ja.wikipedia.org/wiki/%E5%A4%A7%E5%BE%B3%E5%AF%BA
https://ja.wikipedia.org/wiki/%E7%B9%94%E7%94%B0%E4%BF%A1%E5%AD%9D
https://ja.wikipedia.org/wiki/%E7%B9%94%E7%94%B0%E7%A7%80%E4%BF%A1
https://ja.wikipedia.org/wiki/%E7%B9%94%E7%94%B0%E7%A7%80%E4%BF%A1
https://ja.wikipedia.org/wiki/%E6%9F%B4%E7%94%B0%E5%8B%9D%E5%AE%B6